The documentation for WooCommerce Blocks has moved to the WooCommerce monorepo.
Please refer to the documentation in the new location as the files in this repository will no longer be updated and the repository will be archived.
Zip file for testing: woocommerce-gutenberg-products-block.zip
Remove compatibility notice for Mini Cart block (6803)
- Make sure you have a blocks theme active (like Twenty Twenty-Two).
- Clear the local storage of your browser.
- Add the Mini Cart block to the header template part.
- Don't see compatibility notice.
- Create a new page > Add the Cart block to that page.
- See the compatibility notice as normal.
Add new icon for mini cart block (6784)
- Make sure you have a blocks theme active (like Twenty Twenty-Two).
- Navigate to Appearance > Editor (Beta) and add a Mini Cart block somewhere in your site.
- Select the Mini Cart block in the editor and confirm the icon in the inserter and toolbar reflect the changes.
| Before | After |
|---|---|
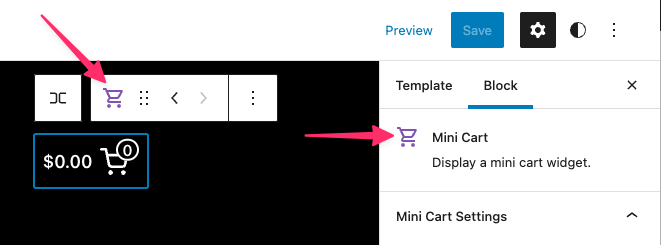 |
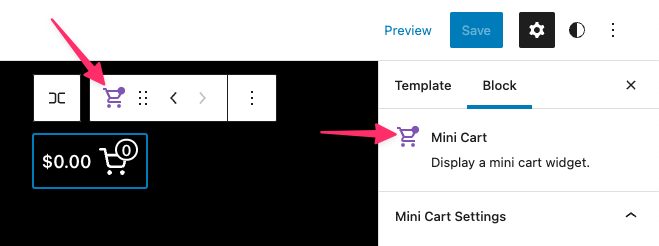 |
Fix: Replace DropdownSelector with FormTokenField from Gutenberg (6647)
- Add the Filter Products by Attribute block and the All Products block into a post or page.
- Change the display type of Filter Products by Attribute to
Dropdown. - Ensure the block functions normally.
- Enable the Filter button, and ensure the block functions normally.
Use the archive-product template to render product attributes pages (6776)
- Make sure you have a blocks theme active (like Twenty Twenty-Two).
- Navigate to
Products>Attributesand edit an existing one or create a new one. - Click the
Enable Archivesoption and save, go back. - Click
Configure termsnext to your attribute. - Hover over one of the terms and click the
Viewlink of one of the attributes. - Check that the page is rendered with a header, a footer, and using a product grid.
| Before | After |
|---|---|
 |
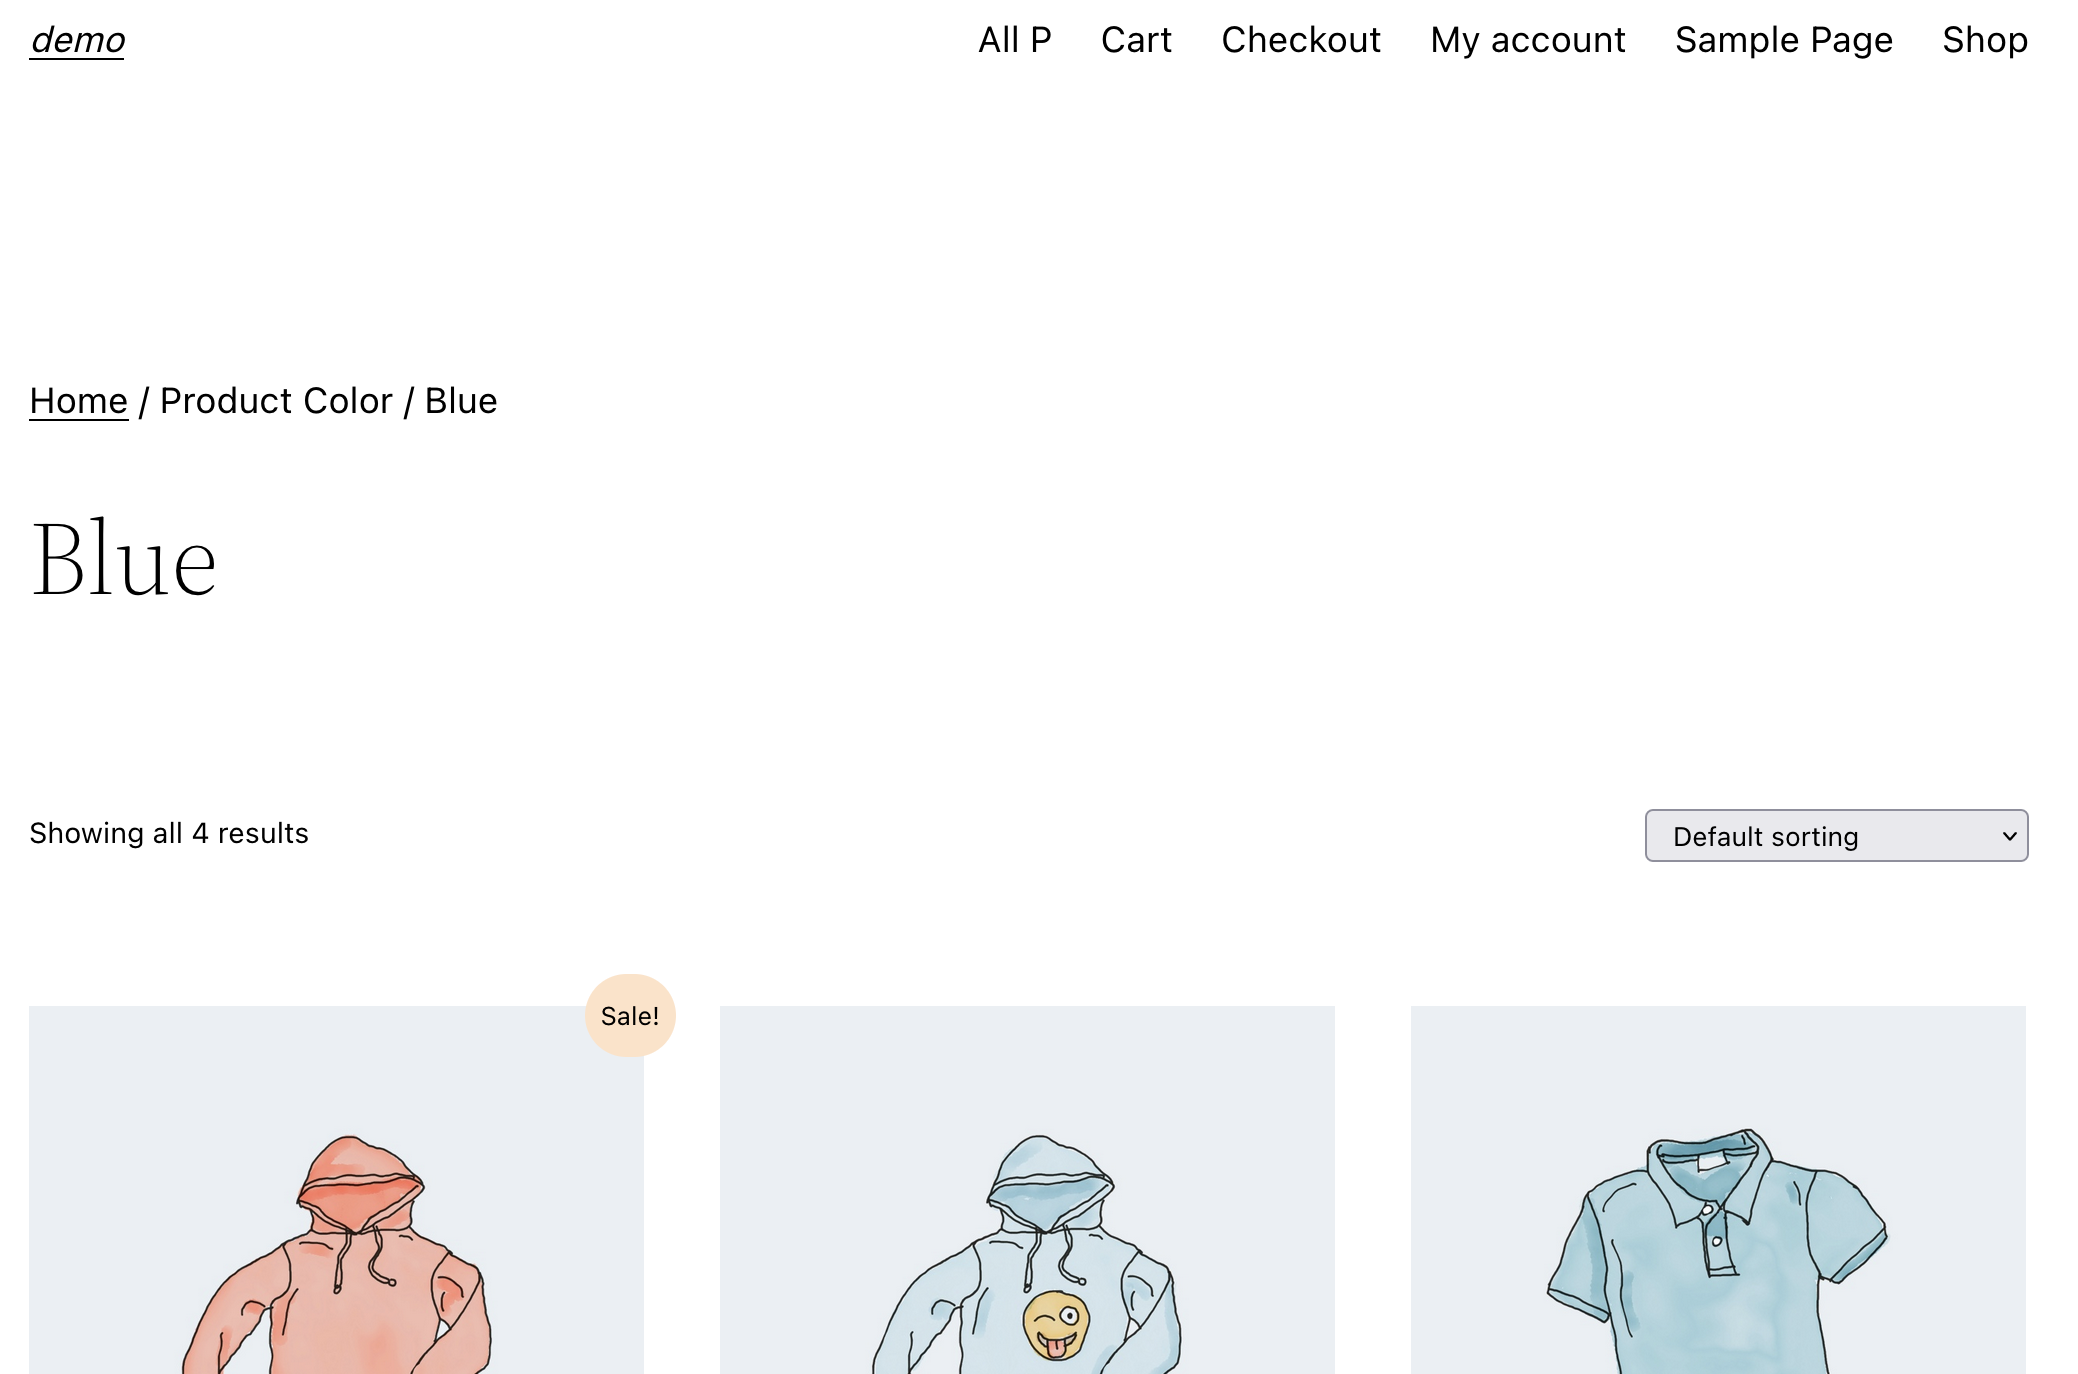 |
All Products block: Migrate to block.json (6754)
- Add the All Products block to a post or page.
- Verify it works as before in the editor and the frontend and there are no errors.
Start using block.json and convert to TS the Product by Category block (6680)
Test that there are no regressions compared with the previous Products by Category block version.
- Create a page and add a
Products by Categoryblock. - Save the page and check it renders correctly the default config in the frontend.
- Edit the page again and make some changes to the block (hiding some content, changing columns number, ordering, etc.).
- Save the page and check it renders properly with the new config.
Start using block.json and convert to TS the Product Best Sellers block (6683)
Test that there are no regressions compared with the previous Product Best Sellers block version.
- Create a page and add a
Product Best Sellersblock. - Save the page and check it renders correctly the default config in the frontend.
- Edit the page again and make some changes to the block (hiding some content, changing columns number, ordering, etc.).
- Save the page and check it renders properly with the new config.
Select the correct inner button for the "Featured Item" button to update its url (6741)
- Create a new page and add a
Featured Productblock. - Edit the block and select a different product.
- Make sure the button URL on the block is updated to the new product link.
- Duplicate the block and change the new block to a different product.
- Make sure the button URL on the block is updated to the new product link.
- Repeat 1-5 for the
Featured Categoryblock.
Fix: navigate through Mini Cart contents with keyboard (6731)
- In the site editor, add the Mini Cart block to your site header.
- Edit the Mini Cart template part and add an image in the inner contents.
- In the frontend, add some products to the Cart.
- With the keyboard, open the Mini Cart.
- With the Tab key try to navigate to the Mini Cart products.
- Notice you can focus the Mini Cart products inner elements.
Fix: WooCommerce messages don't appear in block themes with Mini Cart block (6728)
- Switch to a block theme (ie: Twenty Twenty-Two), add the Mini Cart block to the header, and go to a product page.
- Add the product to your cart.
- Notice the add to cart success message is shown on the top of the page.
SearchListControl: Fix preserving case of original item (6551)
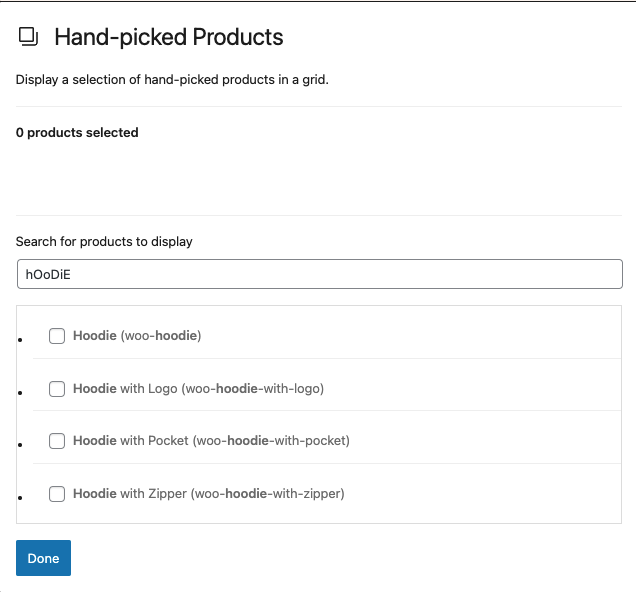
- Add a “Hand-picked Products” block to your page.
- Type the name of one of your products with the incorrect case (e.g. if you have imported the sample data, type “hOoDiE”.
- Make sure all matching products appear on the list.
- Make sure all items on the list preserve their original case.
| Before | After |
|---|---|
 |
 |
Fix proceed to checkout button on Cart (6804)
- In a new page, insert Cart block.
- Select Proceed to Checkout block.
- In the sidebar, change the link to something else.
- On frontend, add an item to cart, go that newly created cart page, and click the proceed to checkout button.
- It should take you to your new page.
Ensure addresses sync correctly when loading the Checkout Shipping Address Block (6773)
- Add items to your cart.
- Go to the Checkout Block
- Uncheck "use shipping as billing" and fill out different addresses for shipping and billing.
- Place the order and verify on the order confirmation screen that the addresses were different.
- Add another item to your cart then go to the Checkout Block.
- Leave "use shipping as billing" checked.
- Place order, check the thank you page, ensure the billing and shipping addresses match.
Ensure shipping rate names show when multiple packages are used (6753)
- Install the "Multiple Packages for WooCommerce" plugin
- Navigate to WooCommerce -> Settings -> Multiple Packages
- Adjust the settings to work based on "Per Product"
- Add two/three/four different products to the cart and typically need shipping.
- Go the checkout page and look at the shipping options, ensure there is a title for each one.
- Disable the plugin and reload the Checkout Block, ensure the shipping section still looks OK.
| Before | After |
|---|---|
 |
 |
Fix missing translations in inspector (6737)
- Change your site language (I tested using French & NL)
- Go to the C&C Blocks (Editor mode)
- Select each inner block and make sure the
title&descriptionare translated in the inspector. See image below:
