-
Notifications
You must be signed in to change notification settings - Fork 0
Use Cases
This page enlists the Use Cases of the CCDT project.
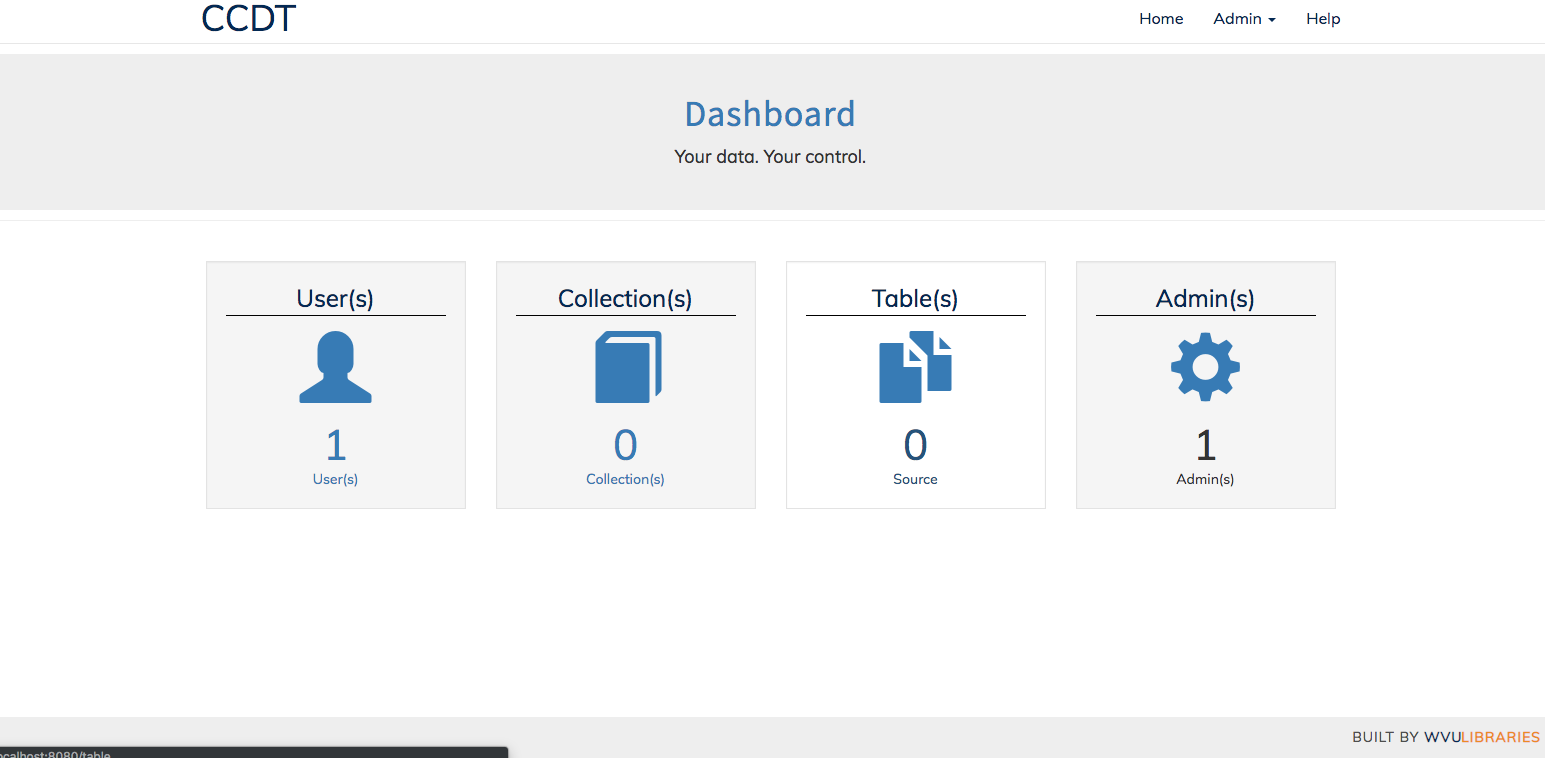
All tables that are imported need to belong to a collection. To Create a new collection select the Collection(s) option from the Dashboard.
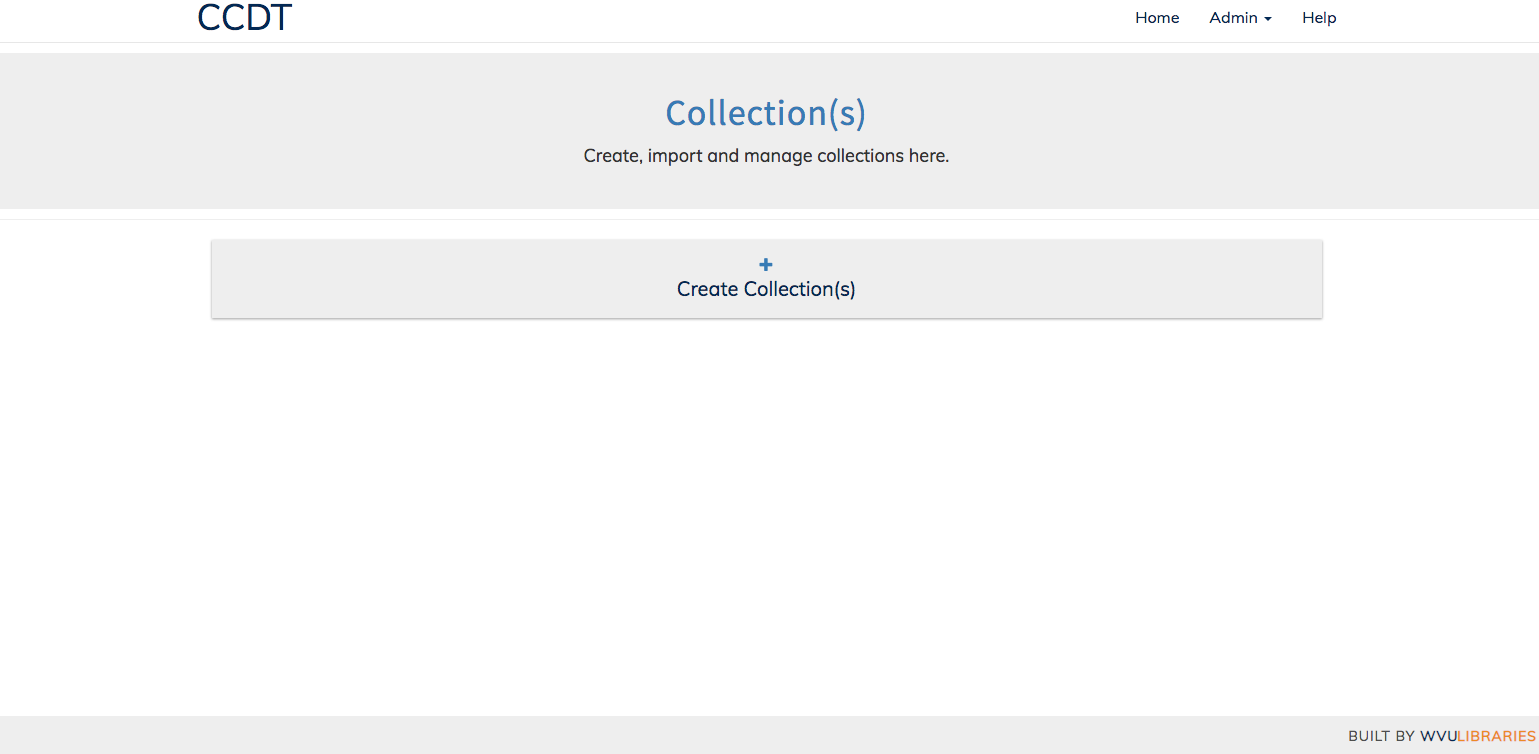
From the Collection(s) screen you will see the following where you can create collection(s), Edit or Disable existing collections.
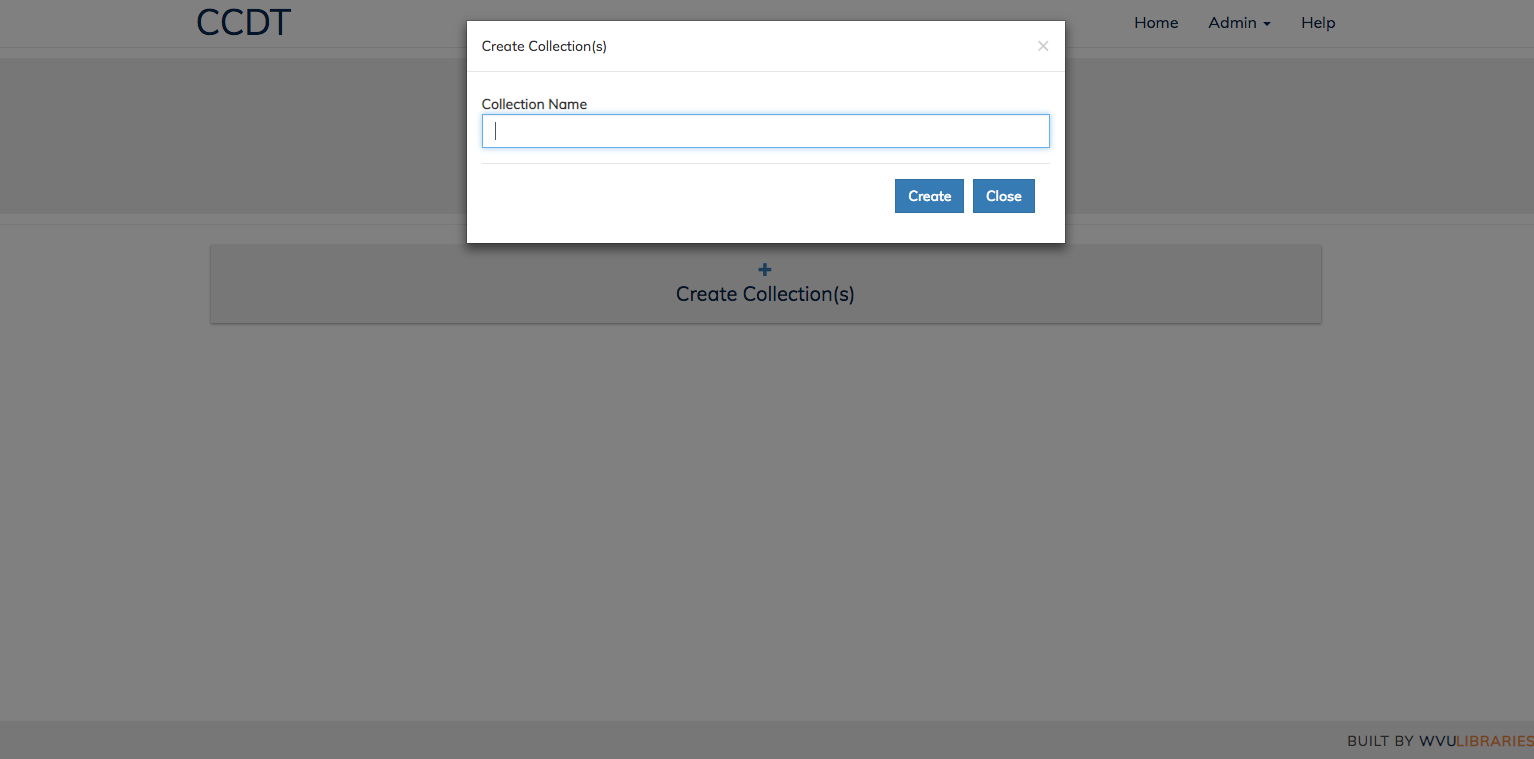
To create a new collection click Create Collection(s) and a popup window will appear.
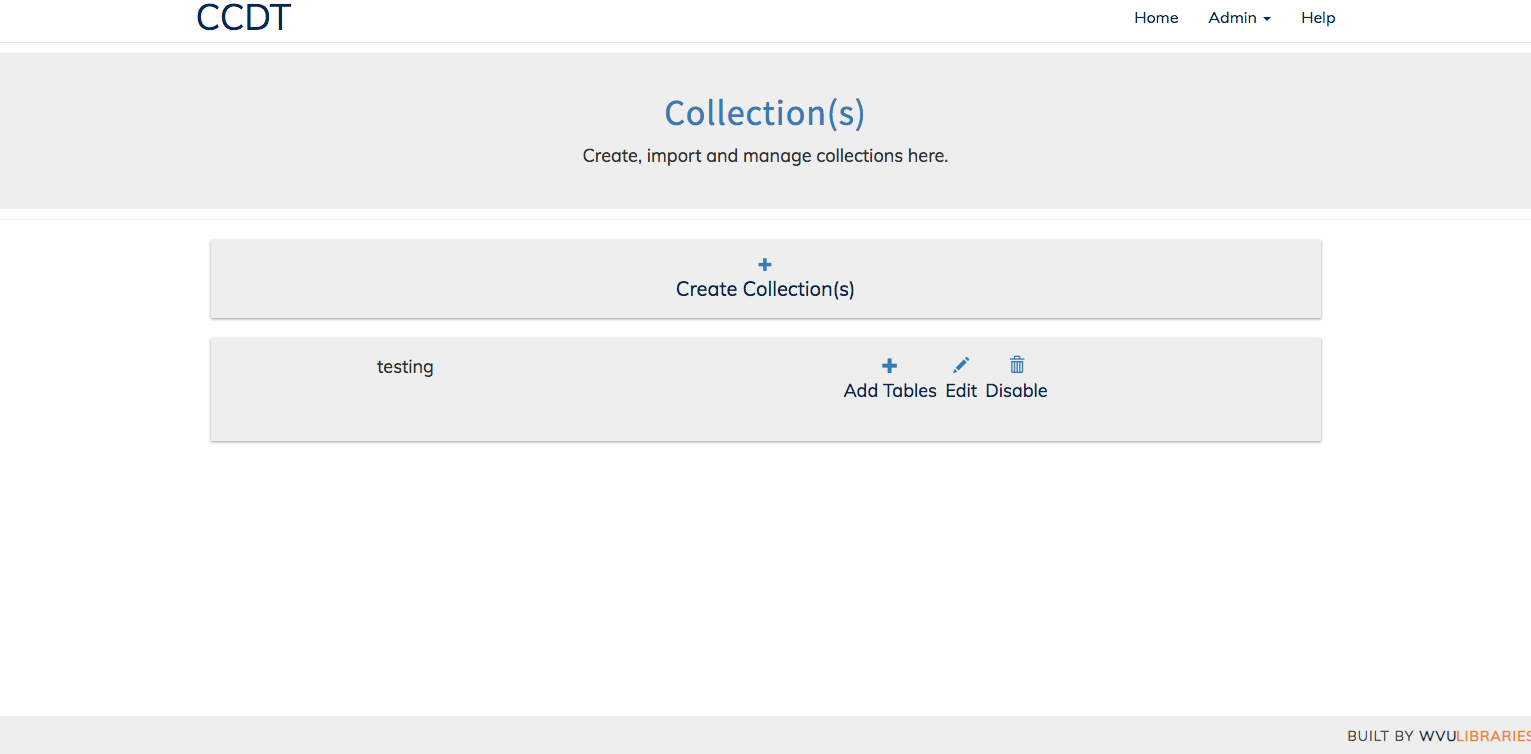
Once the collection has been created it will be displayed on the Collection(s) page.
To Import a flat file select Create Tables(s) from the Tables(s) menu.

Then Select Import from Flat File this will allow you to upload the file to the server.

If your file is too large to be uploaded through the web interface it can be manually be placed on the server in the following location.
\src\project-css\storage\flatfiles
To import these files (or previously uploaded files) use Select from directory and you will be able to choose from any of these files.
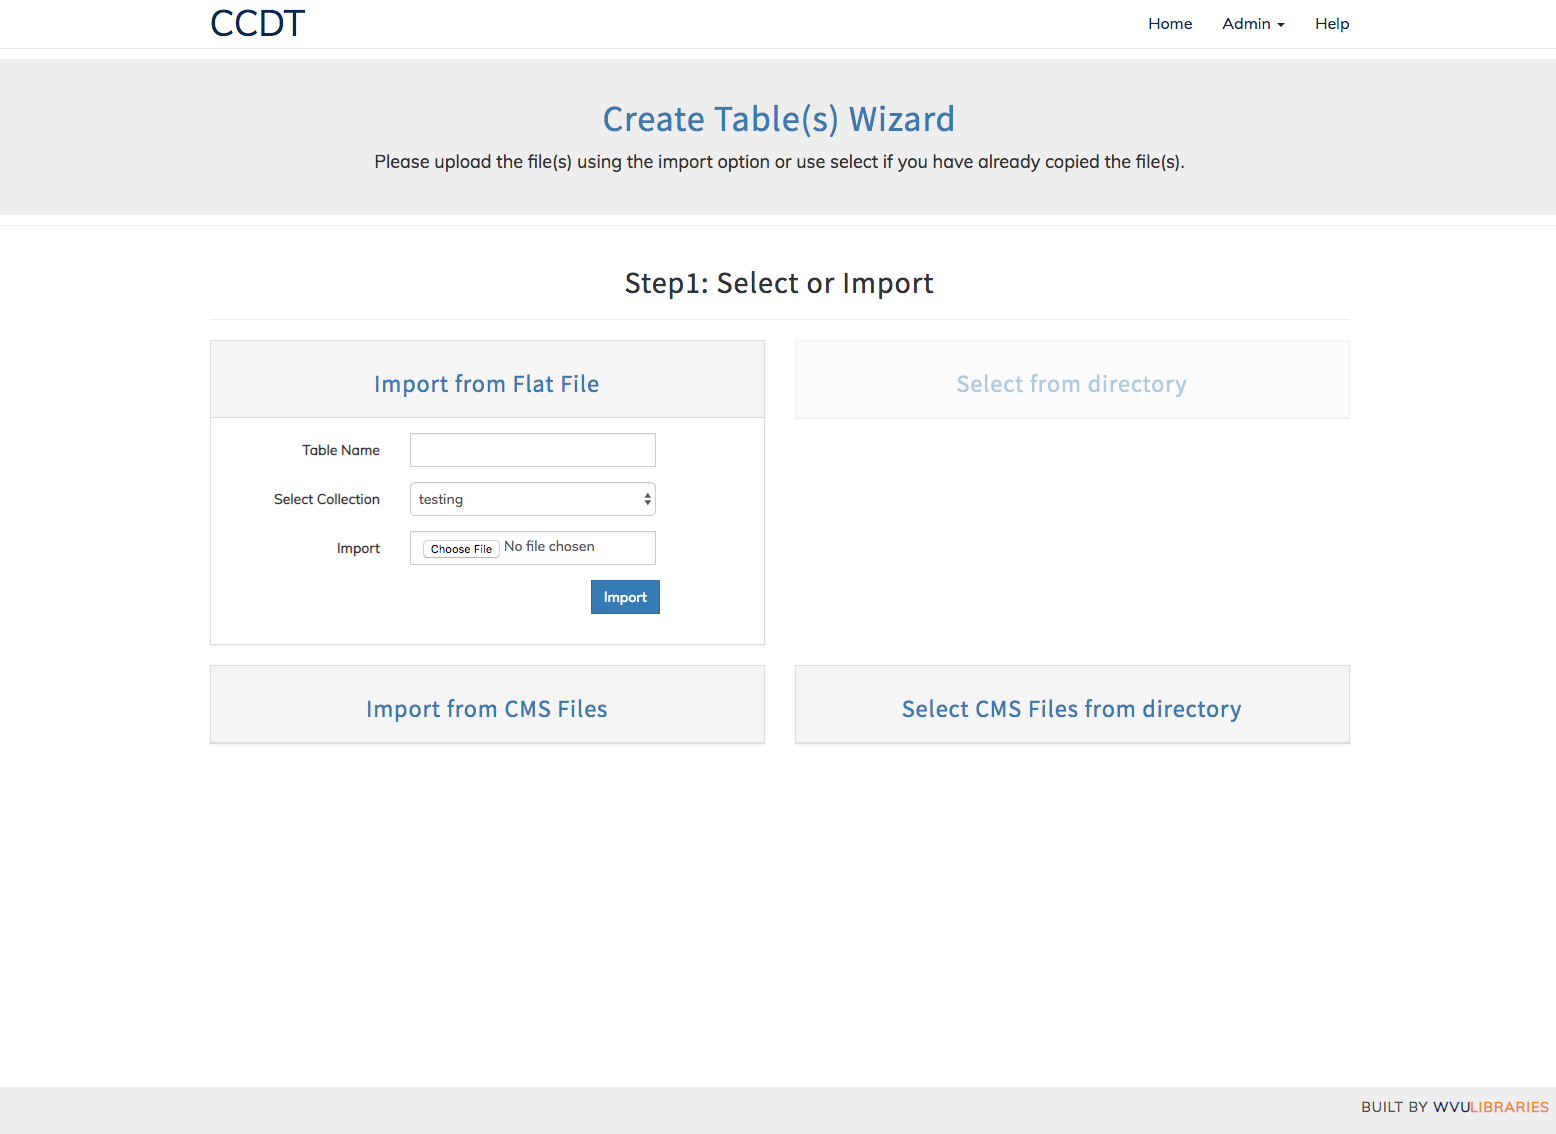
After selecting 'Import from Flat File' the options will be revealed here you can enter your table name, choose the Collection to add the table to and select the file you want to upload and import.
On successfully reaching this page, automatically imported the schema from the flat file is shown. However, the user is given an option to edit column names, data type and size. Following are the conventions for data type and size:
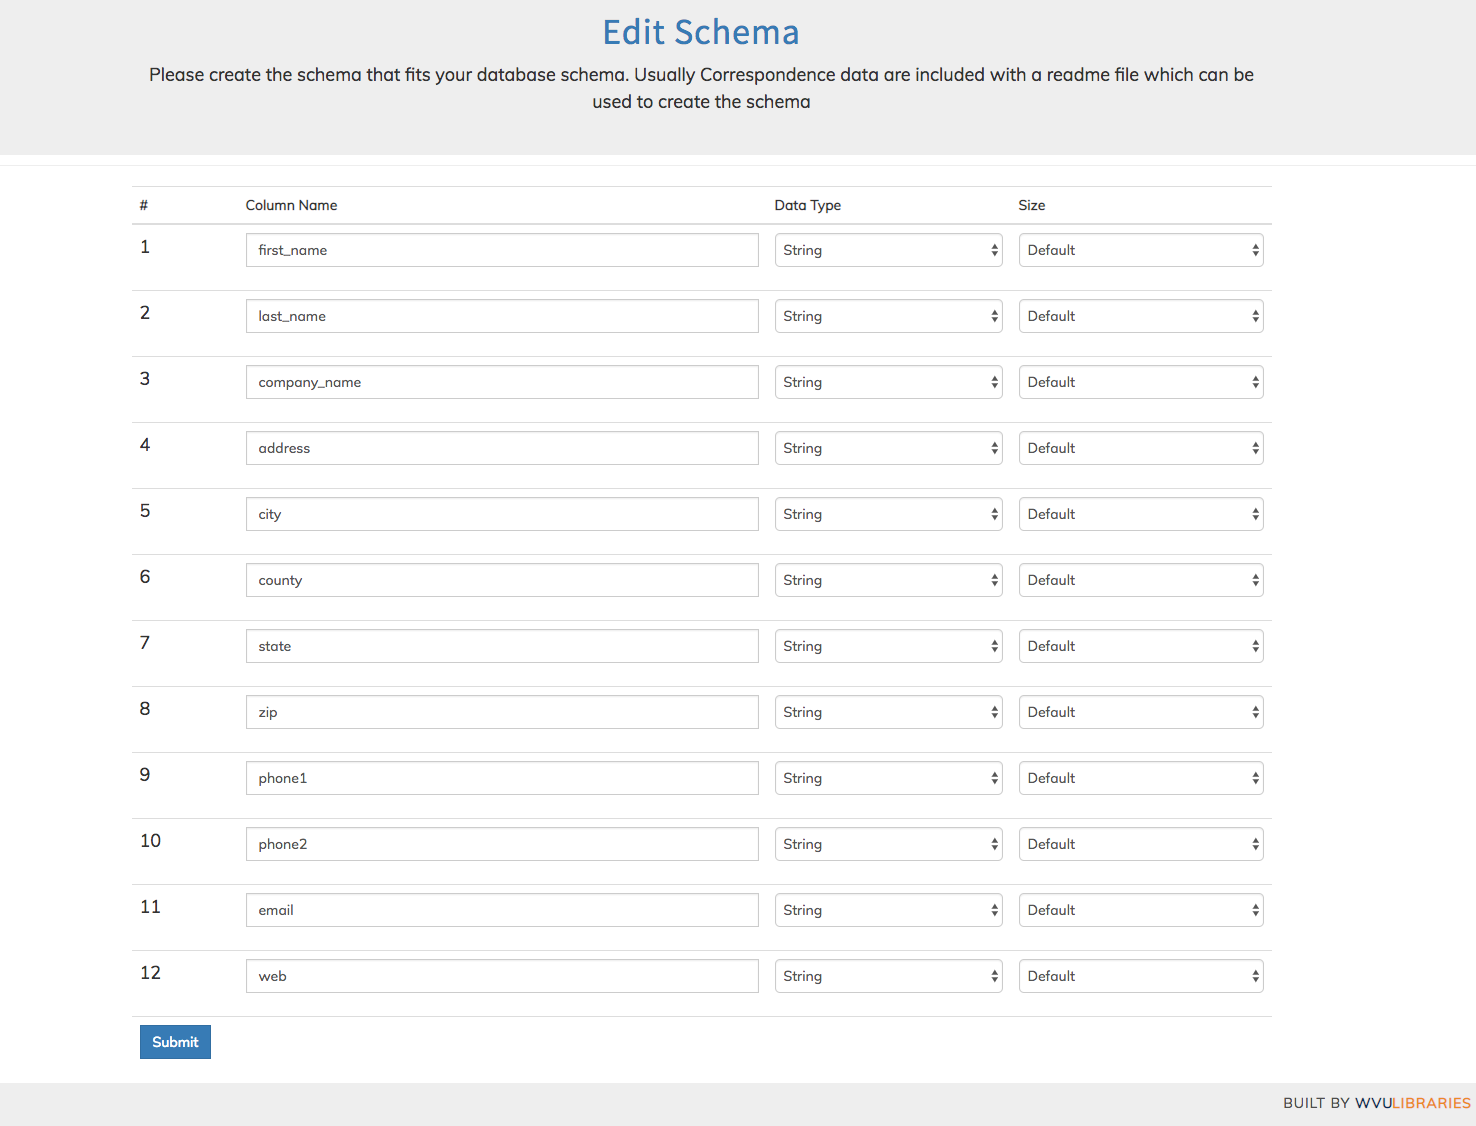
data type
The three data types appearing in the flat files from our observation are string, text and integer. For simplicity, the same two data types are provided at this point. As a general rule, any data type can be stored as string or text.
size
Following the idea to keep it simple and stupid, we have provided three predefined sizes for each data type. The Description for each size is outlined here:
| Data Type | Size | Description |
|---|---|---|
| Integer | Default | INTEGER equivalent for the database. |
| Medium | MEDIUMINT equivalent for the database. | |
| Big | BIGINT equivalent for the database. | |
| String | Default | VARCHAR equivalent column with size 30 characters. |
| Medium | VARCHAR equivalent column with size 50 characters. | |
| Big | VARCHAR equivalent column with size 150 characters. | |
| Text | Default | TEXT equivalent column with size 65,535 characters. |
| Medium | MEDIUMTEXT equivalent column with size 16,777,215 characters. | |
| Big | LONGTEXT equivalent column with size 4,294,967,295 characters. |
To Import CMS file(s) select Create Tables(s) from the Tables(s) menu.

If your file(s) are too large to be uploaded it can be manually be placed on the server in the following location.
\src\project-css\storage\flatfiles
To import these files (or previously uploaded files) use Select CMS Files from directory and you will be able to choose from any (or multiple files) to import.
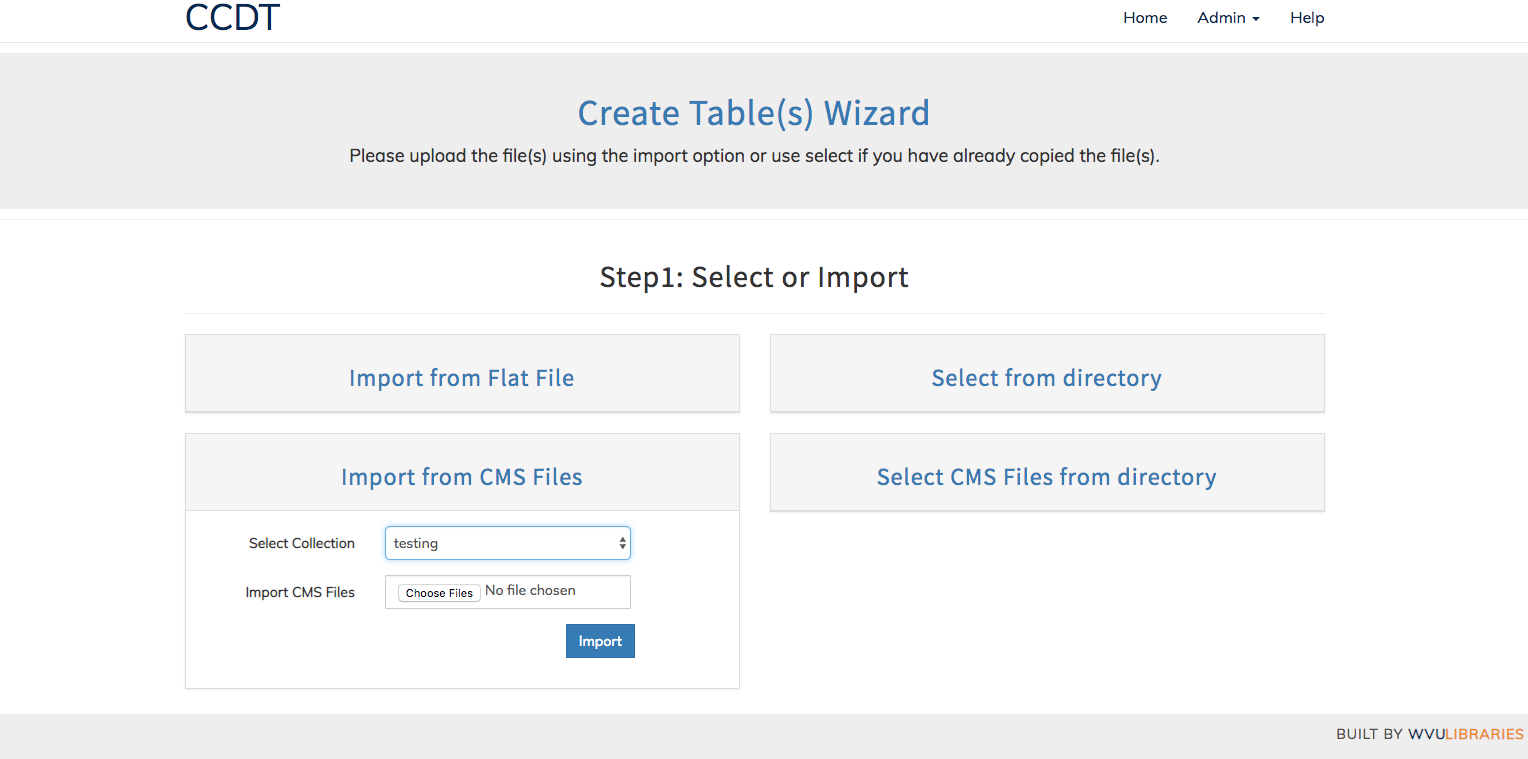
After selecting 'Import from CMS Files' the options will be revealed here you can choose the Collection to add the table to and select the file(s) you want to upload and import.
Once you have selected your file(s) they will be placed into the queue to be imported.
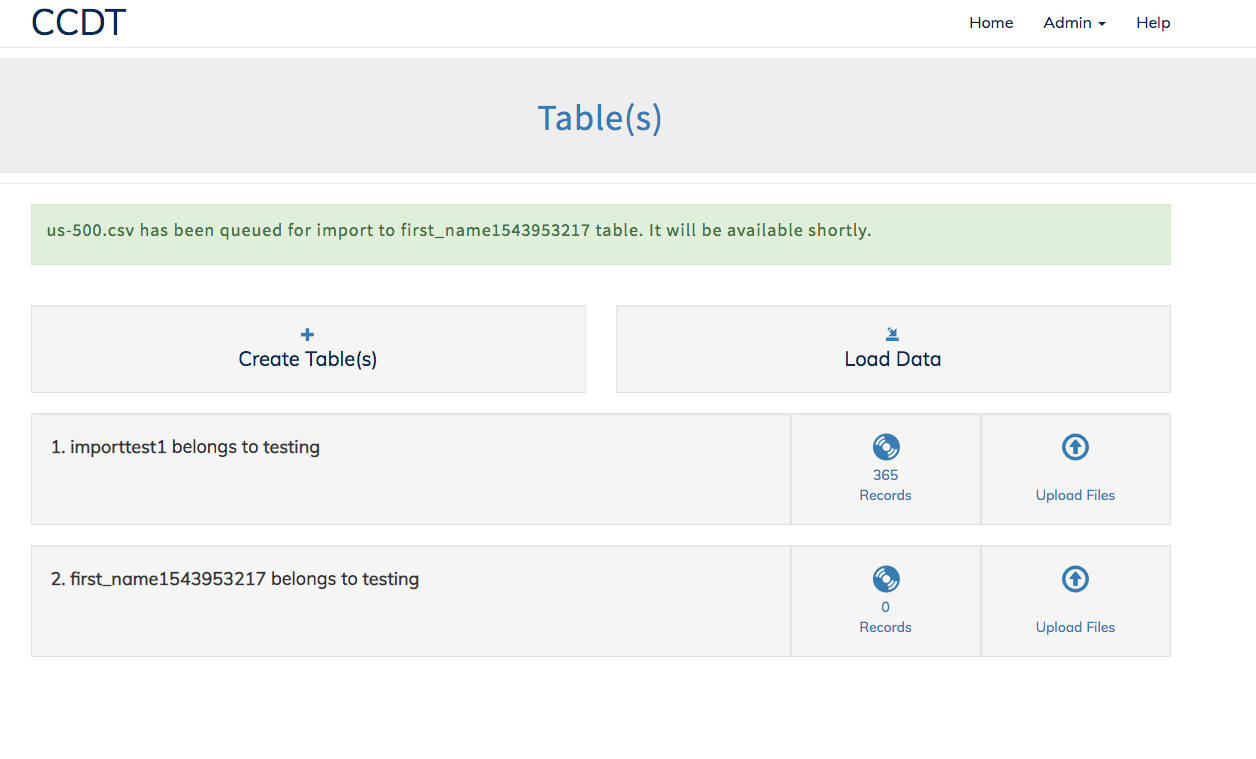
Note: CMS table names are auto-generated.
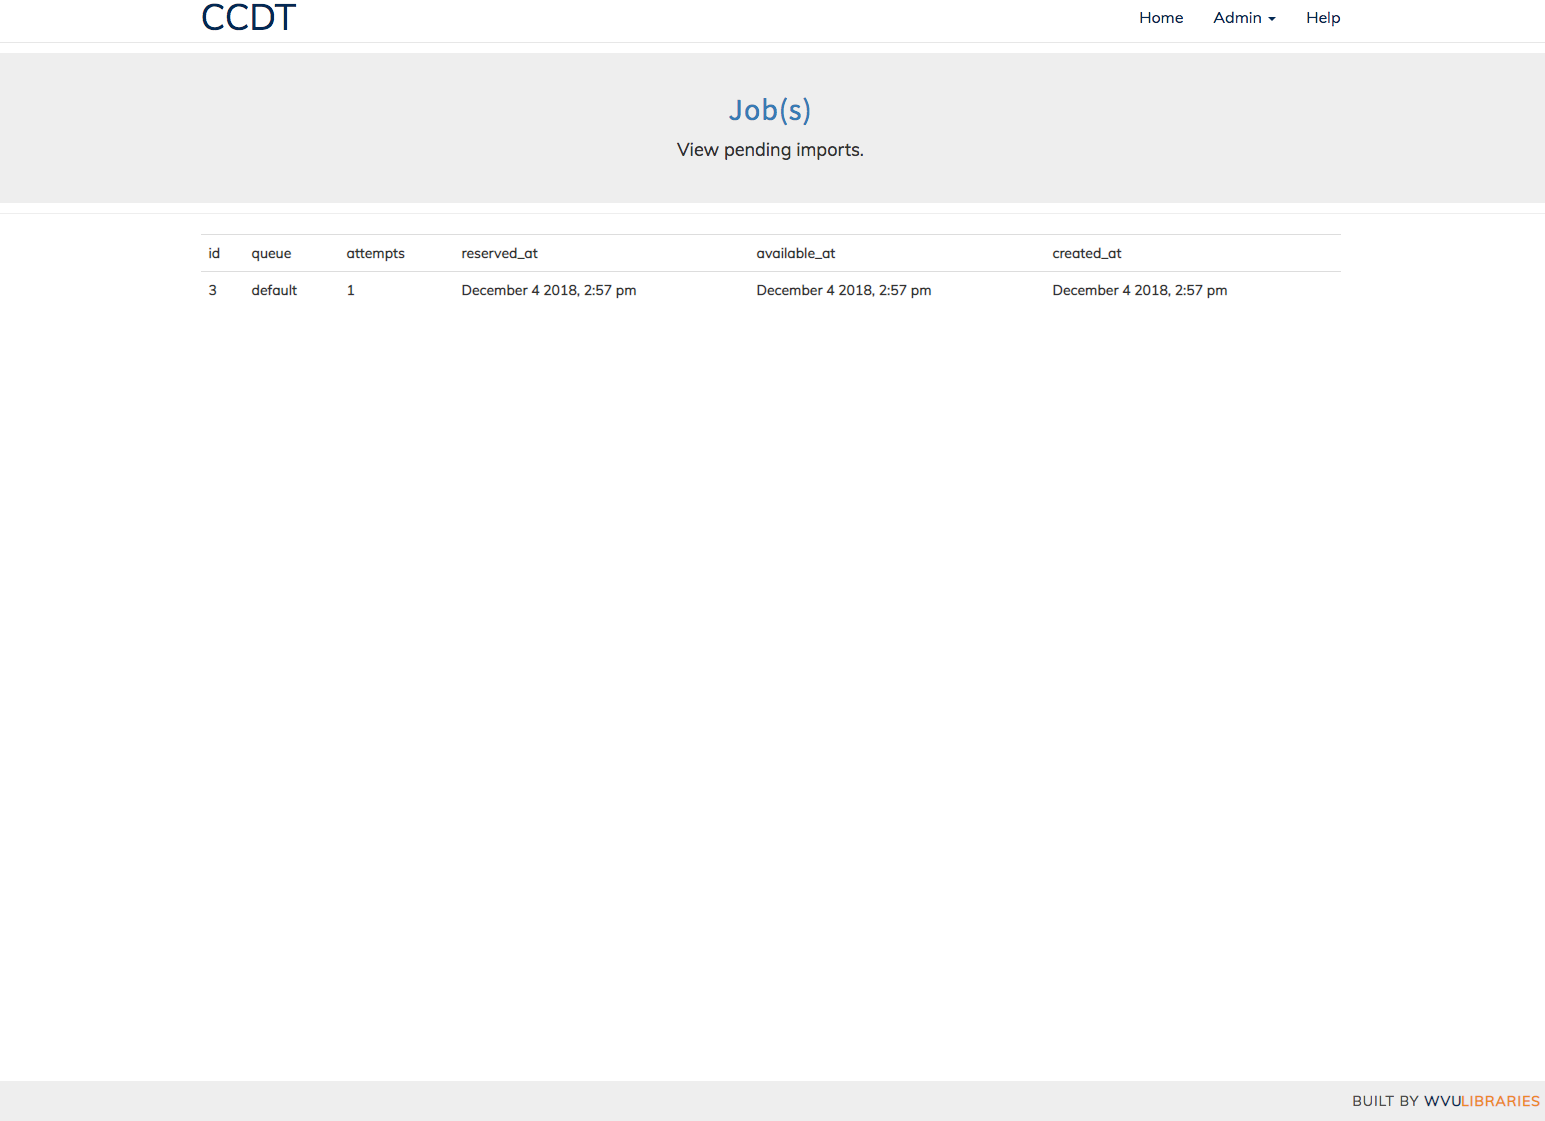
To view the current job queue click Admin from the menu bar then click View Pending Job(s)
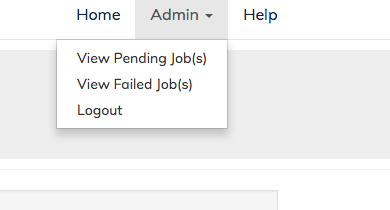
from here you should see the list of queued jobs
To view the failed job(s) click Admin from the menu bar then click View Failed Job(s)
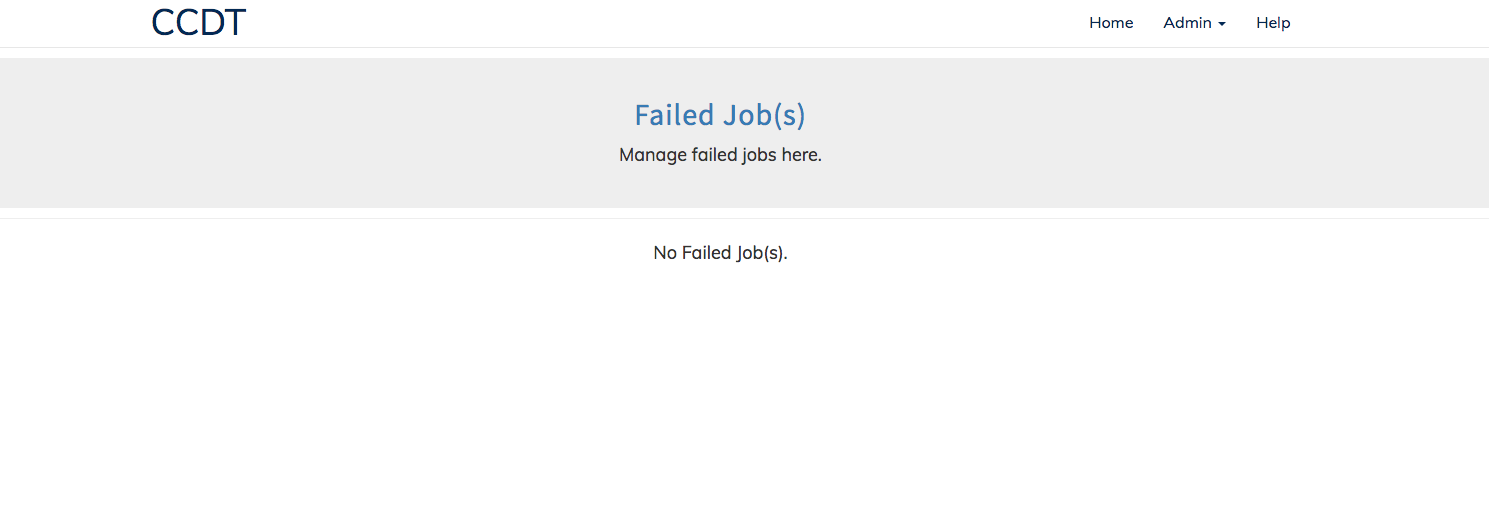
From here you can manage the failed jobs.
To Search a table first select the table from the Table(s) menu by clicking on the icon that shows the number of records.
After you select the table you should see a search bar.

Default users are kept in
/src/project-css/app/database/seeds/UserTableSeeder.php
It is recommended that you do not use the default accounts in production. These should be changed prior to setting up the application.
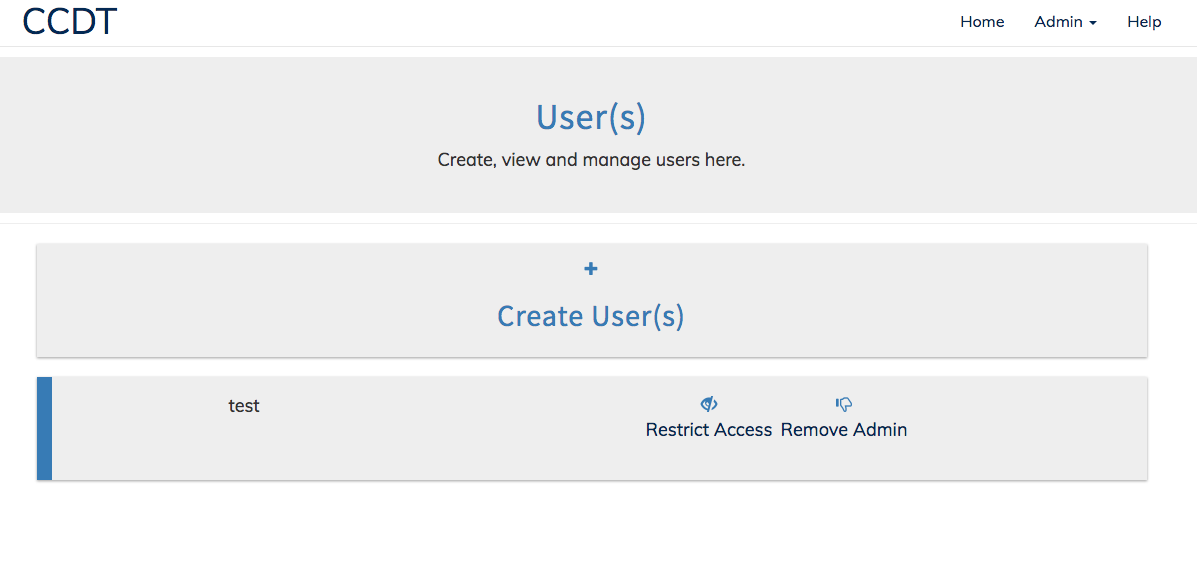
To add or change any users you first must be logged in as a Admin Then from the dashboard select User(s)

This screen will allow you to Create New User(s), Restrict Access, Make Admin or Remove Admin privileges.
Planned for future releases.
BUILT BY WVU LIBRARIES