This is an Angular2 full project boilerplate on steroids!
It provides both frontend and a simple PHP backend REST API service to deliver the data which is being cached for two hours in the filesystem, the Docker image provides everything you'll need to develop locally, so no crazy LAMP installations will occur.
The steroids component is the speed and optimizations already done for you, by using several mechanisms which includes the Angular AoT compilation mechanism also but not only and all managed through Gulp tasks.
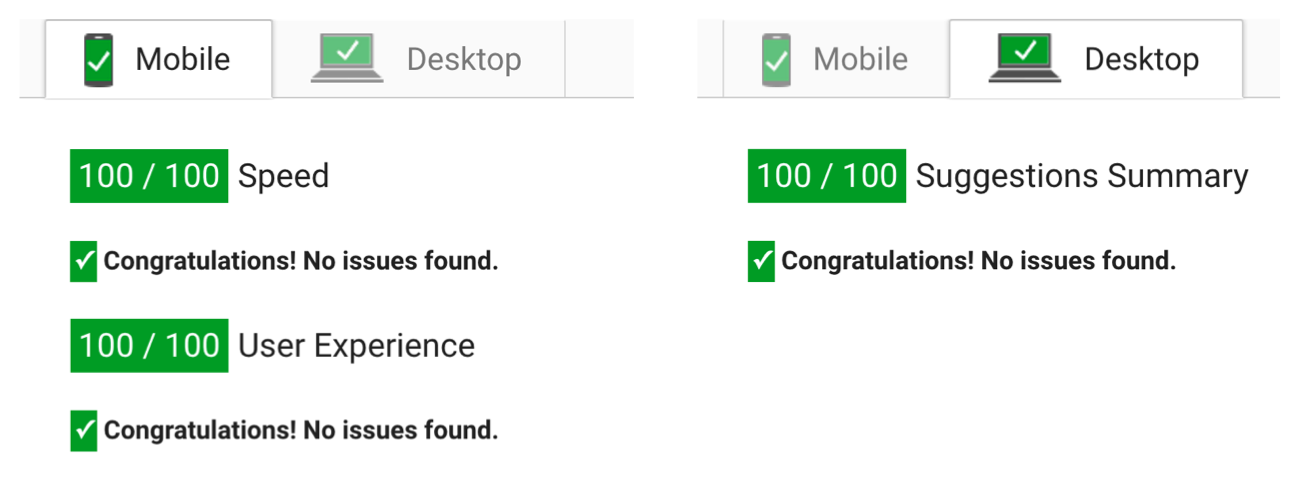
Latest performance results from Google PageSpeed Insights
Latest performance results from WebPageTest
The live version of this boilerplate it's actually my own personal website at: http://igeni.us, so feel free to test it for yourself ;)
This implements a simple personal website with three pages, reading content from json endpoints from Medium, Instagram and Github; then there's an about page and a contacts page.
The front-end section is build with Angular2, the back-end uses PHP to deliver the results and also cache them locally, also provides all the necessary .htaccess files and rules to make the app work properly.
The project uses a series of methods and mechanisms to achieve top performance and speed, and all is manageable through simple Gulp tasks; the only more complex task is the task that performs the Angular AoT compilation mechanism which replaces the app entry code by updating some imports, it was a hacky solution to achieve conditional imports because that is something that Typescript does not support.
Another complex mechanism is added as a task also to deliver a first version of the content for the above-the-fold target, which basically transforms index.html into an index.php with the top menu bar and only loads through PHP the Medium feed, a barely perceived difference on good connections, but on slow connections it makes all the difference between someone leaving your site or start reading something right away and staying for more.
You can read all about this project story on Medium
npm install- navigate to: api/www/services/content and do
composer install
- gulp.json
cp config/gulp.example.json config/gulp.json- Fill in your details:
- ssh for later deploy usage to your server
- googleKey for analytics site ID (the first part of the html file)
- cloudfare credentials (signup now for the free plan)
- .env
cp api/www/services/content/.env.example api/www/services/content/.env- Your Instagram API credentials if you plan to use it
npm start, starts the front-end server, be sure to have a build first withgulp build- Configure your back-end server:
- Navigate to api folder and do:
docker build -t ngboilerplate .to build the image, you only need to do this once, be sure to configure the start script also included in the api folder and start your docker service. - Configure your shared folder path both in api/start script
sh api/start, starts the back-end server
- Navigate to api folder and do:
gulp build- Task to perform to do a simple build and test the site with
npm startafterwards
- Task to perform to do a simple build and test the site with
gulp dev- Task to be used while developing
gulp stage- Task to test your build before deploying
gulp deploy- Task to deploy a new release to your server, creating a new symlink and keeping older versions for a rollback if needed
MIT

