Learn has a deep integration with Git and GitHub. We need to teach you just enough git to interact with GitHub like a real developer. It'll be easy, just watch the video below.
- Forking a repository GitHub.
git cloneto clone a repository to your local computer.git statusto see the status of your locally cloned git repository.git add .to add your local changes to be committed.git commit -am "Commit Message"to commit changes that have been added with a message.git pushto upload your local changes to GitHub.- Opening a Pull Request on GitHub.
Forking is the process of making a personal copy of the Learn lab on GitHub. It's basically how you tell Learn that you have started working on a lab.
To fork, just click the 
Then select your personal GitHub account as the location to fork to.
Cloning is the process of downloading a copy of the lab from your personal fork on GitHub to your computer.
To clone, make sure you've first clicked on the SSH link (it starts with [email protected]: and not https://github.com, then click the copy button next to the Clone URL to copy it to your clipboard (you can also copy it by selecting the text and copying it to your clibpoard as you would normally).
Next, in your Command Line (or Shell, or Terminal), navigate to the parent directory where you would like to place this lab. A good place would be in your Development directory within your home directory ~. You can change directory in your terminal by typing cd ~/Development.
To clone a lab, type git clone <the clone URL you copied from GitHub>
It would look something like this: git clone [email protected]:aviflombaum/first-lab-000.git
You should see [email protected], your username, like aviflombaum, and the lab you want to work on, like first-lab-000.
Type your clone command in your terminal and hit enter and you should see git download the lab to your computer.
Once you have a git repository locally, git will keep track of every change you make to the code in that folder. You can ask git what the differences or changes you've made since the last commit by typing git status into your terminal.
It's really helpful to constantly get the status from git to see what changes you need to stage, add, commit, or push.
Adding changes with the git add command is a way to stage any changes and get them ready to become a permanent record in your git log via a commit. The workflow worth memorizing right now is to simply add all your changes via git add ..
A commit is a permanent moment in time in your git history. A commit creates a new version of your code. To commit, memorize this command. git commit -am "Your commit message". You are using the git commit command with the flags -am, which tell git to commit all the changes and to include a commit message. You supply the commit message in "" directly in the command, `"Your commit message".
Pushing is the process of taking your local code and commits and syncing them, or uploading them, to GitHub. You're updating the GitHub remote (remotes are just fancy names for copies of the repository), generally your fork, represented by a remote named origin, by pushing your code to the remote. The git command to do this is simply git push. When you git push from within a git repository, it will take all the commits that you have locally and push them to the online remote.
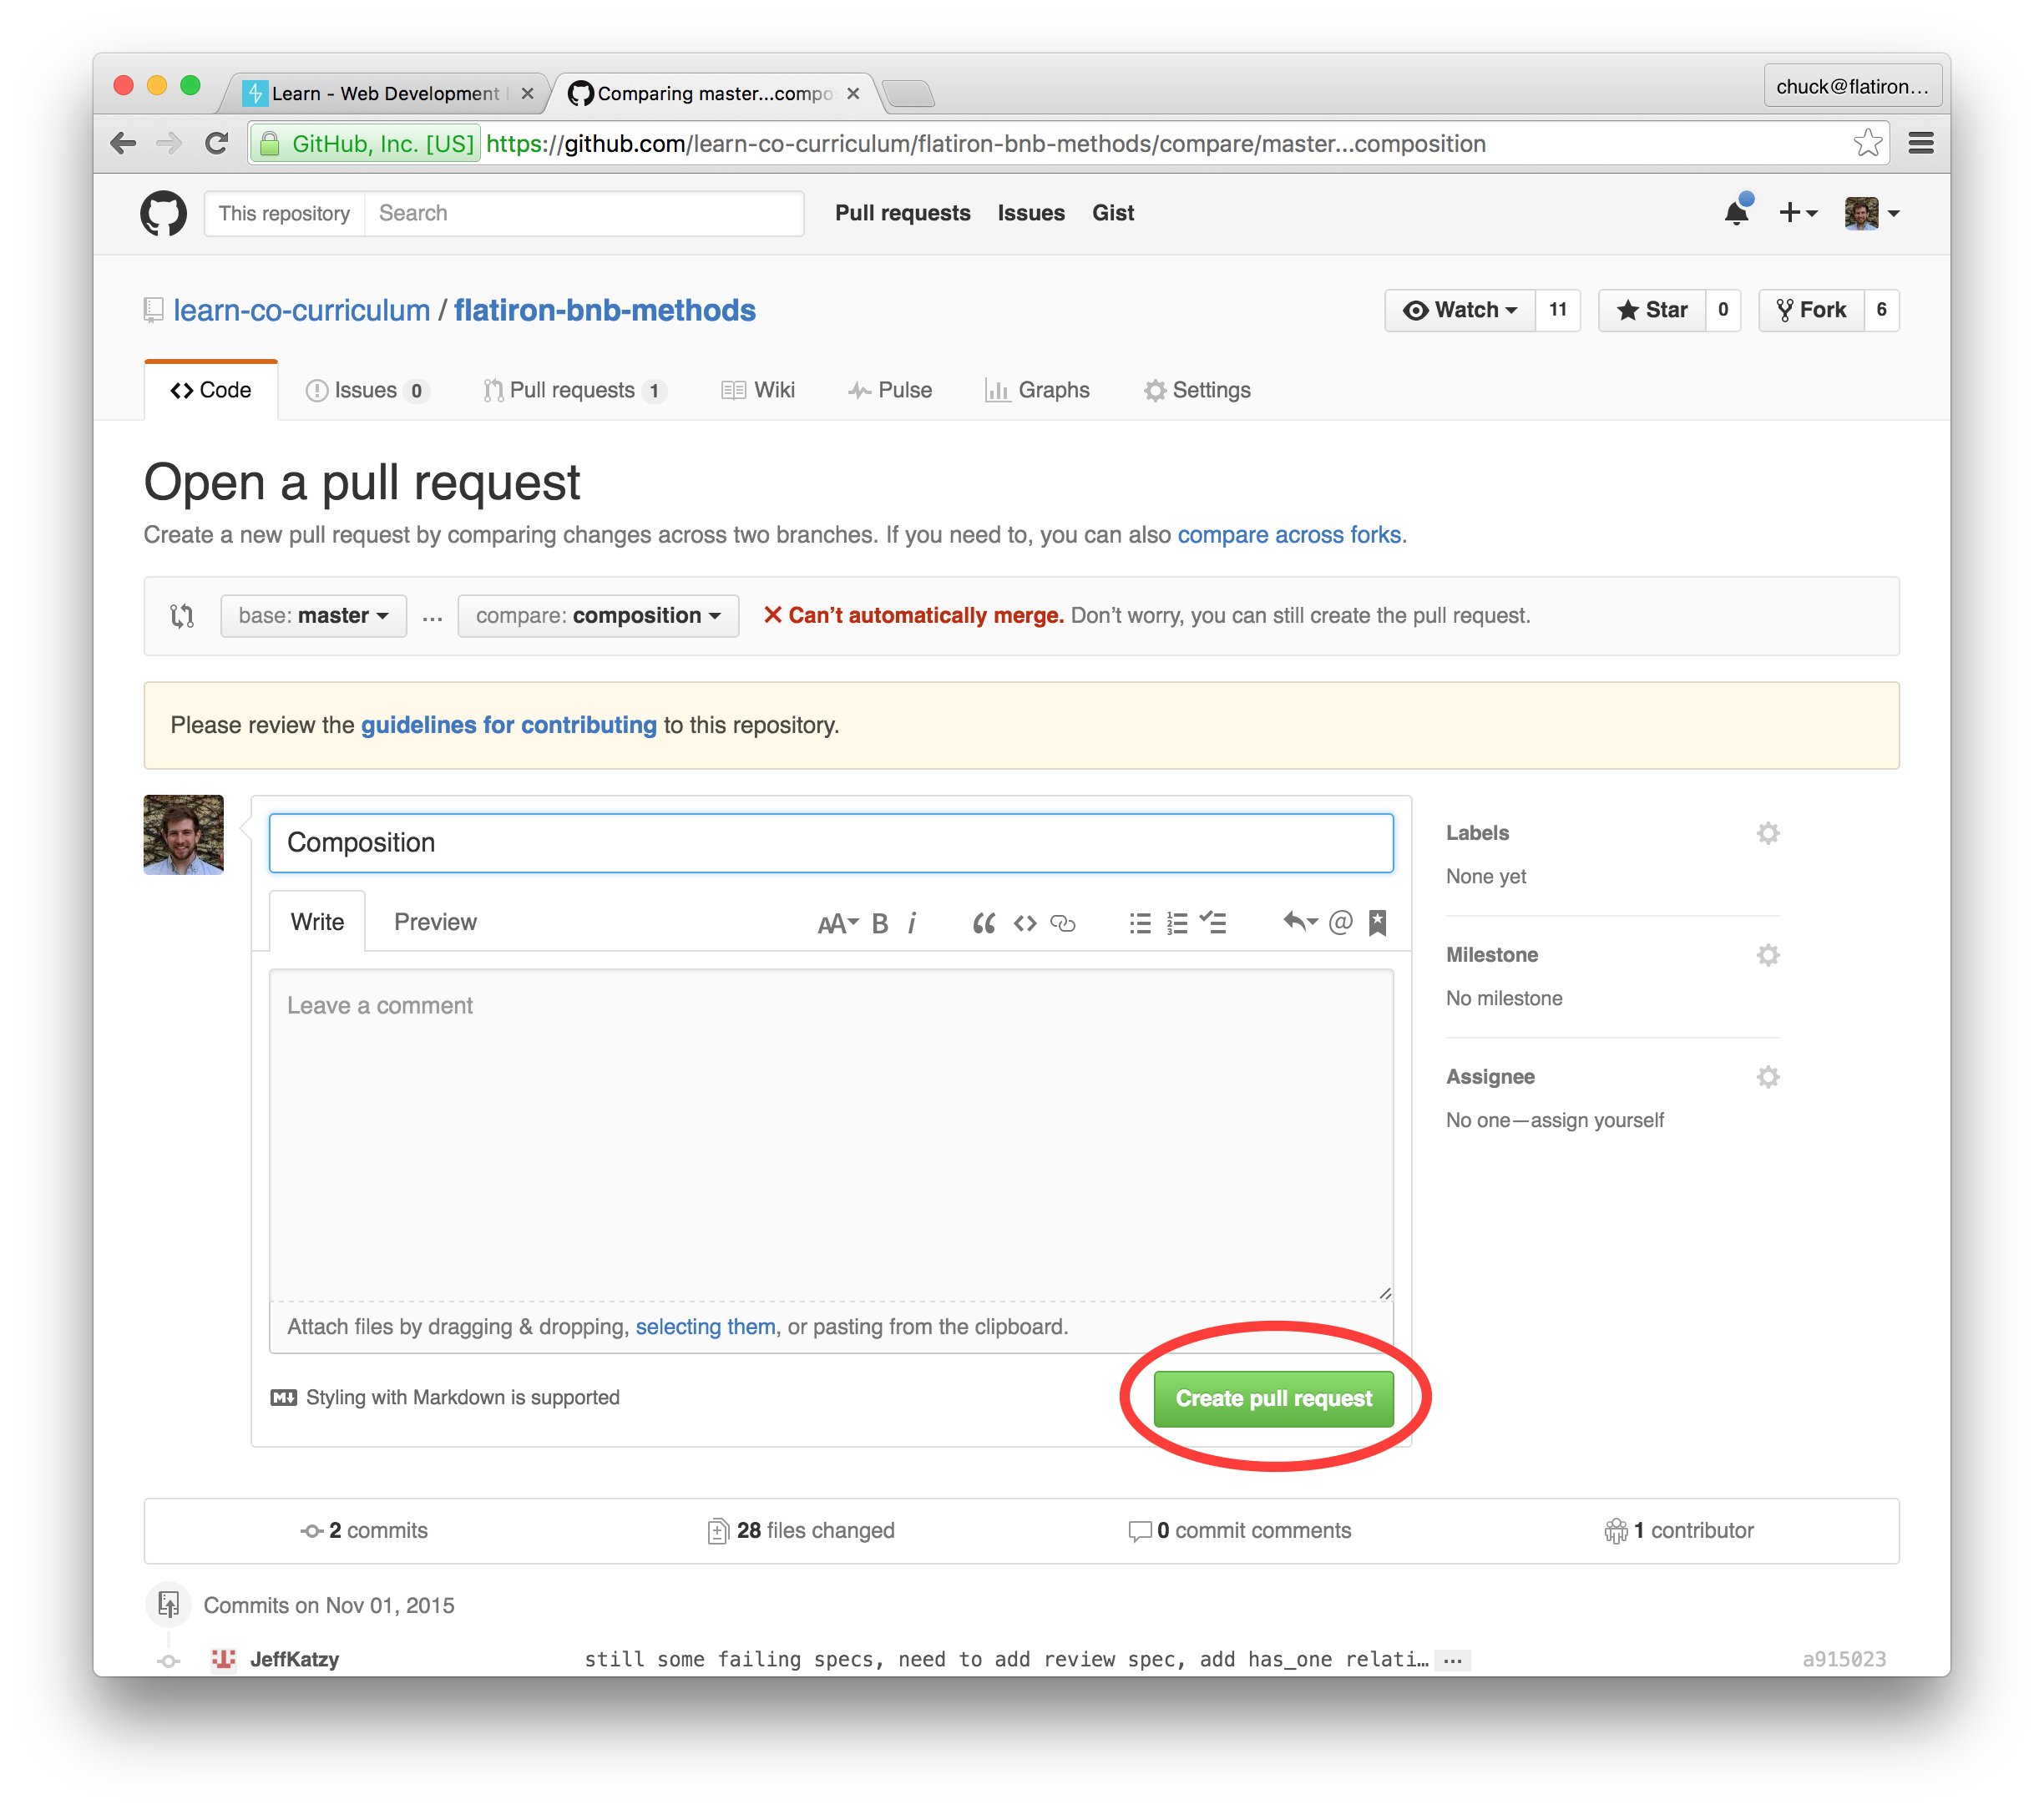
Submitting a pull request is how you submit your lab to be evaluated or graded on Learn.
Creating a pull request is easy. You can do it entirely through the GitHub interface.
A. Click the green Pull Request button.
B. After reviewing the comparison code and making sure it shows your solution, click the Create pull request button.
C. Then click Create pull request button again.
View Enough Git for Learn on Learn.co and start learning to code for free.


