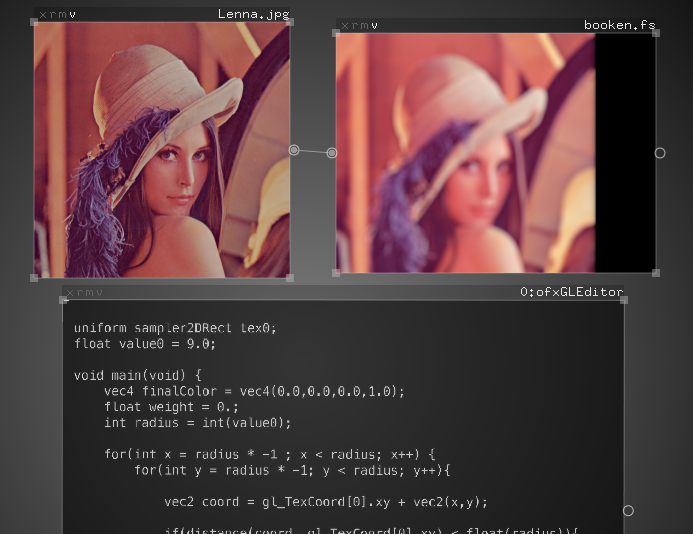
This idea came up with James George at Detroit´s oF DevCon 2012. It consist on a set of connecting boxes that let you load and processes different type of data on the GPU.
It´s designed to be flexible and visualy minimalist for quick editing on life performances. Also it's very handy for graphical debugging, editing GLSL Shaders on the fly, and as a ofxGui complement .
Require:
- last openFrameworks libraries from the develop repository
- ofxXmlSettings
- Akira´s ofxGLEditor addon
Once you download and add this addons to your project you need to include "ofxComposer.h" and add it as an object.
ofxComposer will need a .xml file where to load and save the information of your patches. That xml file have to be placed on /data folder.
You just need to load a config file: composer.load("config.xml");
To update it en each update() method: composer.update();
And render everything on each draw() method_ composer.draw();
Everything on ofxComposer it´s a patch. Each patch have some build-in functions for life performances, basic mappings and graphical debugging.
Some of this functions are very intuitive and photoshop a-like.
You can resize patches draging the corners. Pressing ALT key will re-size centered aligned.
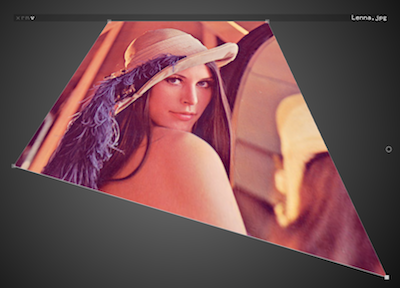
Or you can stretch and deform the patch by right-clicking on the coorners
Also you can rotate the image by draging with 'r' key pressed
More options happen on the titleBar of the patch there you will find some letter-buttons at the left.
The first 'x' button it´s for closing. It will also delete the information from the xml config file.
The second 'r' button it´s for restoring the patch to it original size.
The next button it´s for switching ON/OFF from the MaskMode.
On MaskMode you can:
- Add new masking points pressing over the line.
- Del masking points pressing 'x' key
- Clear the masking path pressing 'r'
The last button it´s a 'v' for making the patch visible or non-visible outside EditMode.
Pressing 'F1' will show a help screen. Wile pressing 'F2' key will switch between EditMode and non-EditMode. So the patches that have the little 'v' on will be visible outside EditMode.
Also you will notice that each patch have some dots at the sides that are for connecting between them (left input´s / right output). For the moment the only patch that are able to receive texture information are the shaders ones.
Each shader could be edited on the fly using ofxGLEditor.
Shaders will count on some native variables as Ricardo Caballero´s webGL Sandbox
So you have:
uniform float time
uniform vec2 mouse // normalized position
uniform vec2 resolution
uniform sampler2DRect backbuffer // previus texture for pingpong dinamic )
uniform sampler2DRect tex0, tex1, tex2, ... // each time you add one of this ones you will get a input conection dot, that you can connect to others patches
Also you can explore ofxGLEditor because it have some other handy shortcut key bindings like copy and paste.
On the example you will see how the xml it´s made. This particular config.xml It´ll load ofxGLEditor, your webcam video and a basic shader. You can try new combination by dragging different files (like videos, images and fragment shaders files) to the app windows.
Also you can see some video tutorials at this link
Enjoy && contribute!


