-
Notifications
You must be signed in to change notification settings - Fork 83
HowToDevelopForTheMist
The MiST board will always be a work in progress as support for new cores and new target platforms is being added. All code and all tools required to work on the MiST board are free.
A full set of tutorials is available in the tutorial branch of the repository.
The only thing you'll unfortunately have to pay for is the board itself which we've tried to keep as cheap as possible. But the board itself is a must. There are no simulators or similar for the board.
See TheBoard for a detailed view of the connectors being used.
Some additional hardware may be handy during development:
- A TTL UART USB converter can be connected to the 4 pin header SV3 right to the SD card slot. This serial port carries debug output of the ARM IO controller at 115200/8N1
- A ARM JTAG cable (tested with Olimex ARM-USB-Tiny-H) can be connected to SV4 to be used to flash the ARM controller directly speeding up turn around times significantly
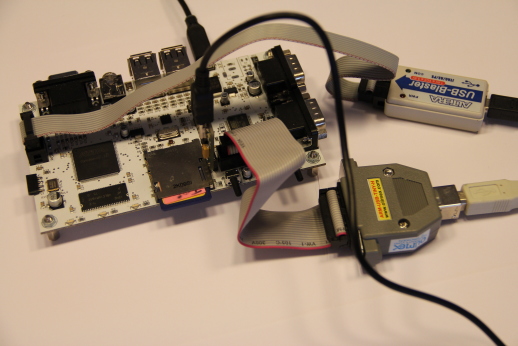
- A Altera Byte Blaster USB cable (tested with various cheap china clones, although some of them only worked under Windows) can be connected to SV1 allowing for fast FPGA upload and advanced FPGA debugging
For more information on using a Byte Blaster see the Using A Byte Blaster.

There are two main devices that drive the MiST board:
- The IO controller is a normal ARM CPU and is running ordinary software. It is mainly used for for IO (hence the name) and e.g. talks to the USB ports as well as the SD card and the joysticks
- The FPGA is doing 90% of the magic and implements the hardware of the targets
As a rule of thumb: Working on IO features mainly happens on the IO controller. Examples are:
- Support for new USB devices (e.g. game pads and memory sticks)
- Support for new SD card types, new file systems etc
- Keyboard mappings
- Mouse settings
- On Screen Display (except the OSD video signal generation itself)
All issues regarding the target core happen on the the FPGA. Examples are:
- Fixing of target bugs (e.g. mis-implemented hardware preventing certain software from running)
- Video display
- Audio output
- Additional target features (e.g. new target chipsets like STE/AGA)
- Speedups (Memory caches, fast RAM interfaces, faster target CPU)
And there are things that affect both components equally. Examples are:
- Floppy and harddisk emulation
- FPGA configuation
The tools required for firmware development are described here.

The tools required for core development are described here.
A lot of examples are available to get you started and to introduce all major functions of the MiST.
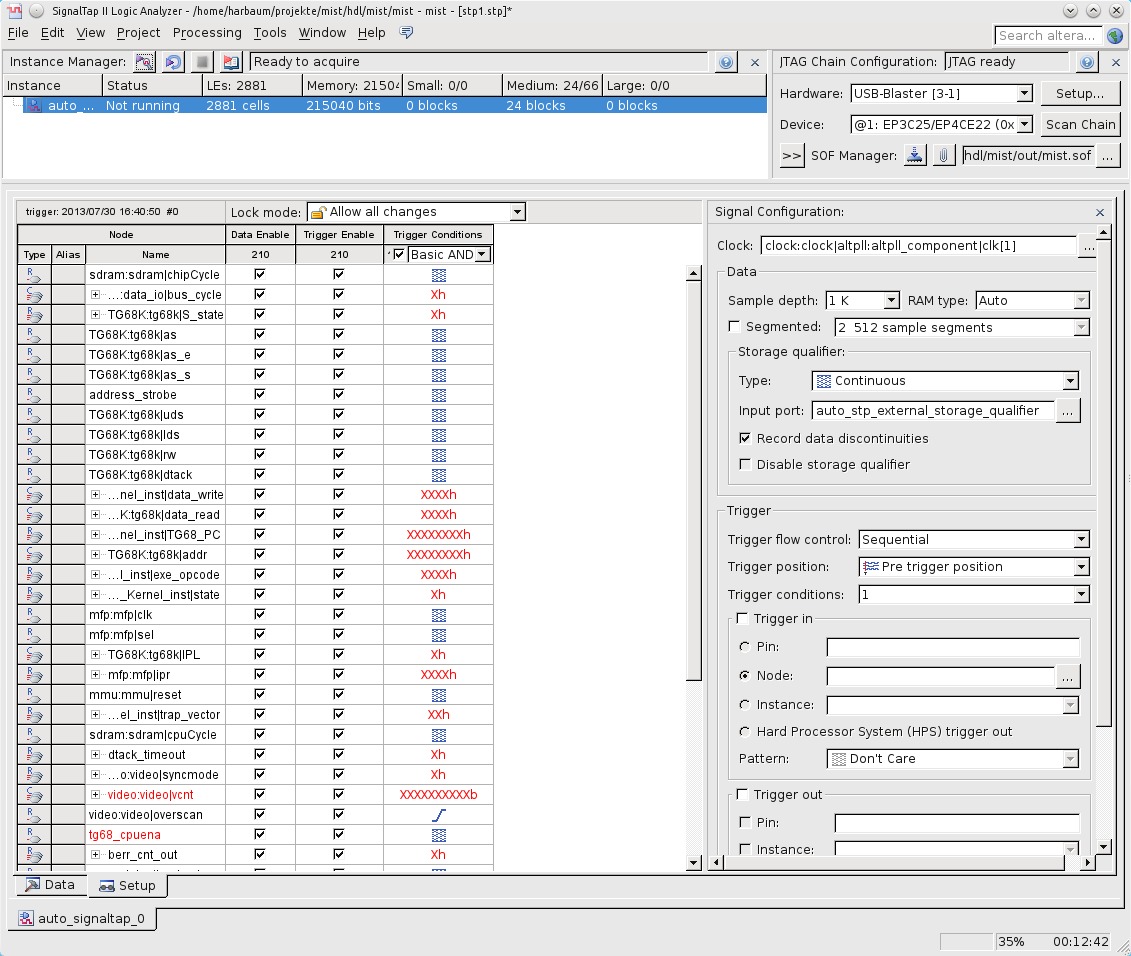
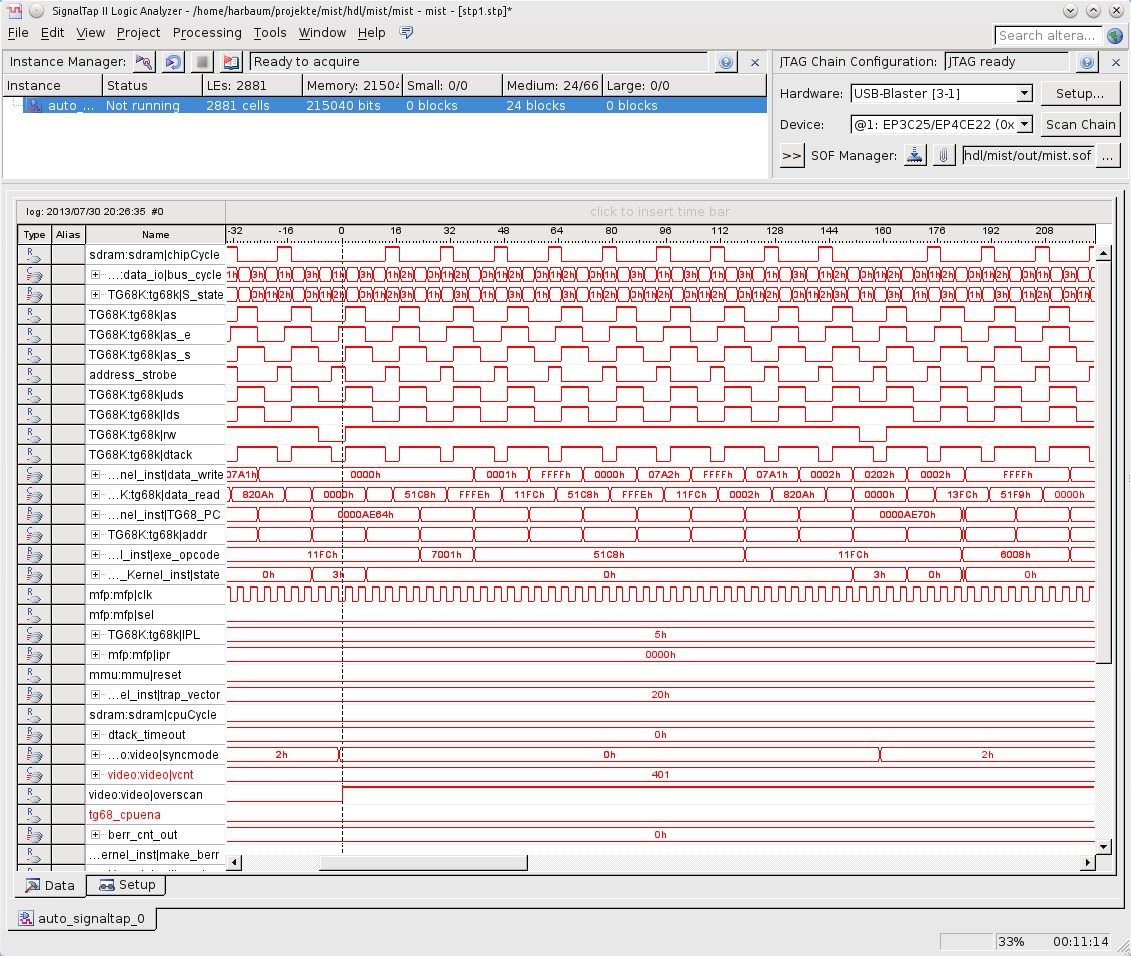
Signaltap:


MiST FPGA - One Chip to Rule Them All
- What is it?
- FAQ
- Board overview
- Installing firmware
- Joystick mapping
- Peripherals
- Projects it is based on
- Rom Management
- Setting up a mist.ini file
- Using a custom font
- Tested Displays/Upscalers
- Troubleshooting
- Videos
- User Videos
- Getting Started
- Current core status
- Joy/Keyboard/On-board Shortcuts
- MIDI support
- SD card setup
- Startup menu
- Atari ST
- Atari ST/STe (mistery)
- Amiga
- Amstrad
- Amstrad - alternative
- Apogee/Radio86RK
- Apple I
- Apple II+
- Apple //e
- Apple Macintosh
- Acorn Archimedes
- Atari 800
- BBC Micro
- BK0011M
- Commodore PET
- Commodore VIC-20
- Commodore 64
- Commodore 16/Plus4
- Enterprise
- HT1080Z (TRS80 I clone)
- LM80C
- Mattel Aquarius
- Miles Gordon SAM Coupe
- MSX
- Ondra SPO 186
- Oric
- PC (Next186)
- PC (XT)
- Primo
- Sinclair ZX80/ZX81
- Sinclair ZX Spectrum
- Sinclair ZX Spectrum - alternative
- Sinclair ZX Spectrum Next
- Sinclair QL
- Texas Instruments TI-99/4A
- TSConf
- Vector-06C
- Videoton TVC
- Vtech Video Technology Laser 350/500/700
- Atari 2600
- Atari 5200
- Atari 7800
- Bally Astrocade
- Coleco ColecoVision
- GCE Vectrex
- Intellivision
- Nec PC Engine/TurboGrafx-16
- Nintendo Gameboy
- Nintendo NES
- Nintendo SNES
- Philips Videopac/Odyssey²
- Philips Videopac/Odyssey² - alternative
- Sega Genesis/Megadrive
- Sega Master System
- SNK Neo Geo MVS/AES