Napari plugin for interactive pixel classification. Designed to be similar to the pixel classification workflow in classic ilastik.
This plugin requires you to use a conda environment. The environment manager conda comes in a few different forms.
If you haven't used conda before, you can find more information in the conda user guide.
You can use whichever variant you prefer, as the resulting environment should be the same, but we recommend the mambaforge variant as it is usually the fastest.
When using mambaforge, the mamba command usually replaces the conda command one would otherwise use.
Once you have installed mambaforge, set up a conda environment with napari and the fastfilters package, and then use pip to install ilastik-napari:
mamba create -y -c ilastik-forge -c conda-forge -n my-napari-env napari fastfilters
mamba activate my-napari-env
pip install ilastik-napari
Finally, run napari:
napariThat's it! You should be able to find the ilastik-napari plugin in the Plugins menu.
If you prefer to install napari using pip instead of conda:
Make sure to install napari[all].
Unless you want to choose a PyQt implementation other than PyQt5, in which case you should leave out the [all] extra.
As a prerequisite, make sure you understand the napari basics.
-
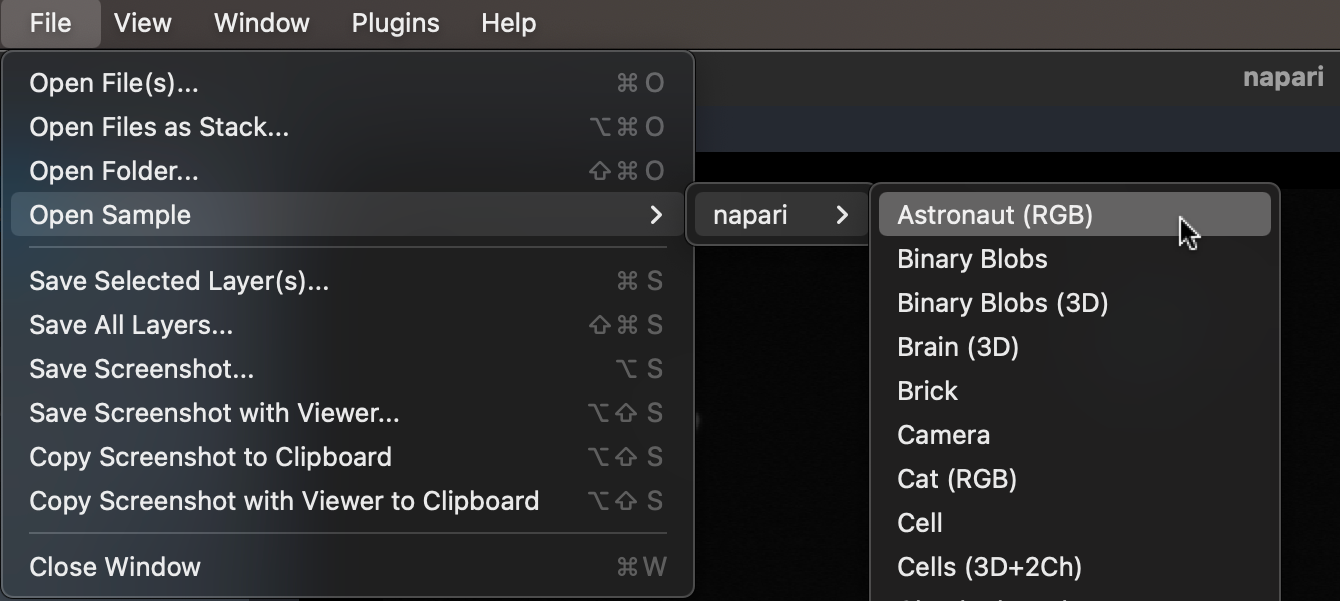
Open your image, or use a sample in File - Open Sample.
-
Activate the plugin in the Plugins menu.
-
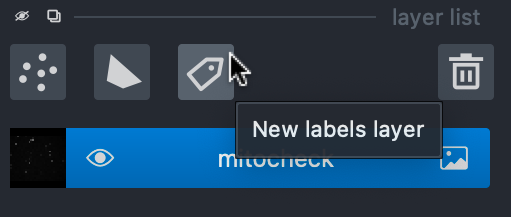
In layer list, create a new Labels layer.
-
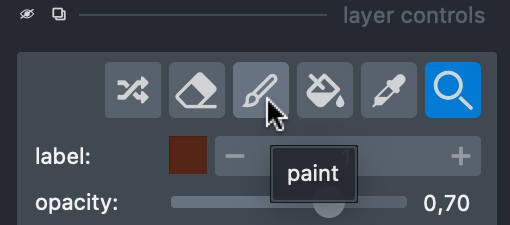
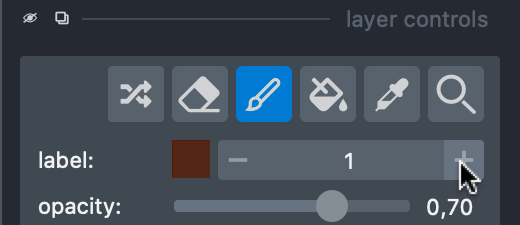
In layers control, switch to the paint action.
-
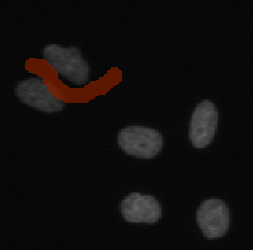
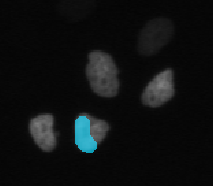
Draw your background labels.
-
Switch to a new label.
-
Draw your foreground labels.
-
Select output types you need, and click Run.
-
The plugin will create one layer for each output type, which you save as normal napari layers.
Create a development environment:
mamba create -y -n ilastik-napari-dev -c ilastik-forge fastfilters setuptools-scm conda-build anaconda-client
conda activate napari-ilastik-dev
pip install -e .
Build conda package:
conda activate napari-ilastik-dev
mamba build -c ilastik-forge conda-recipe
anaconda upload /path/to/the/new/package.tar.bz2
Build wheel and sdist packages:
conda activate napari-ilastik-dev
pip install build twine
python -m build
python -m twine upload --repository testpypi dist/*
