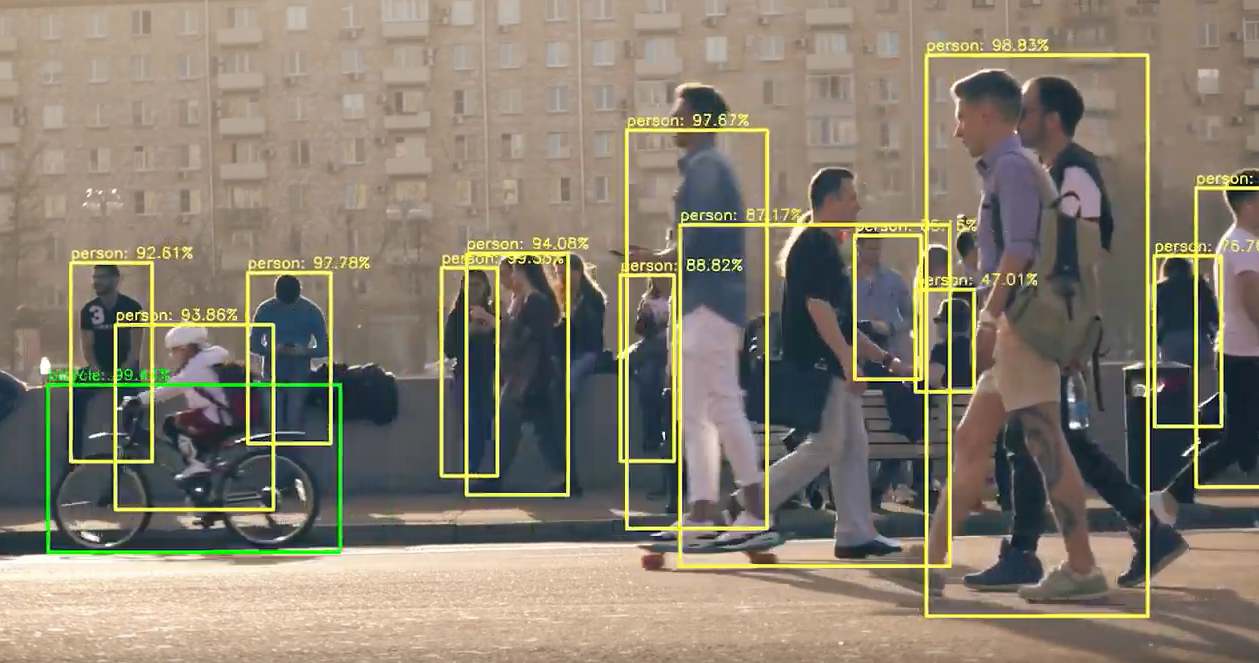
Person-detection model based on YOLOv3 using 3D synthetic images created from Blender.
A Keras implementation of YOLOv3 (Tensorflow backend) inspired by qqwweee/keras-yolo3.
Version: 2.0 (2021)
Following up on Philips’ recent development in Remote Patient Monitoring and synthetic data, this algorithm is a continuation of the existing vision-based patient monitoring framework, aiming to improve the current object detection model using Deep Learning and synthetic data. That is, integrating patient monitoring with the state-of-the-art YOLOv3 object detection model is enormously promising as it provides a comprehensive knowledge base that accelerates the clinical response-ability, effectively allowing us to respond to emerging events or fatal incidents. Additionally, by embedding Domain Adaptation in the pipeline of Deep Learning, the objective is to exploit synthetic data allowing us to address and circumvent the strict privacy constraints and lack of available data in the healthcare industry.
Hence, in the virtue of confidentiality restrictions and ethical claims, there is an increasing incentive to use less privacy-intrusive methods and opt for data that do not directly refer to identifiable persons. Therefore, we constructed a privacy-preserving object detection model using YOLOv3 based on synthetic data. Especially for AI and Machine Learning practices that require enormous amount of data to be effective, innovative solutions to preserve privacy are necessary to alleviate the scarcity of health care data available. The disintermediation of what was previously considered as a long-standing goal for many hospitals, is now slowly becoming more of a realization with the introduction of AI-powered patient monitoring, allowing healthcare providers to continue monitor their patients remotely in real-time without excessively relying on confidential data; all contributing to the paradigm shift of healthcare.
- python 3.8
- tensorflow 2.4
- Keras 2.1.4
- NVIDIA GPU + CUDA CuDNN
- Blender 2.92 (custom-built)
- Enable rendering of viewer nodes in background mode to properly update the pixels within Blender background.
- Open
source/blender/compositor/operations/COM_ViewerOperation.hand change lines:
bool isOutputOperation(bool /*rendering*/) const {
if (G.background) return false; return isActiveViewerOutput();
into:
bool isOutputOperation(bool /*rendering*/) const {return isActiveViewerOutput(); }
- Open
source/blender/compositor/operations/COM_PreviewOperation.hand change line:
bool isOutputOperation(bool /*rendering*/) const { return !G.background; }
into:
bool isOutputOperation(bool /*rendering*/) const { return true; }
- Render 3D person images.
#!./scripts/run_blender.sh
"Blender Custom/blender.exe" --background --python "Data/Blender.py" -- 1
- Annotation files are saved in the respective
.txtfile with the same name and has the following format:
image_file_path min_x,min_y,max_x,max_y,class_id min_x,min_y,max_x,max_y,class_id ...
- Run Trained Blender Synthetic Model.
#!./scripts/run_yolov3.sh
python3 scripts/yolo_video.py --image
python3 scripts/evaluation.py
- The bounding box predictions are saved in folder
output. - Performance scores and evaluation metrics are saved in
Evaluation(Default isoverlap_threshold=0.5).
- Select & combine annotation files into a single
.txtfile as input for YOLOv3 training. EditAnnotations/cfg.txtaccordingly.
!./scripts/run_annotations.sh
python3 Annotations/Annotation_synthetic2.py
- Specify the following three folders in your
Main/Model_<name>folder required to train YOLOv3 model:Model_<name>/Model:synthetic_classes.txt(class_id file) andyolo_anchors.txt(default anchors).Model_<name>/Train:DarkNet53.h5(default .h5 weight) andModel_Annotations.txt(final annotation.txtfile).Model_<name>/linux_logs: Saves atrain.txtlogfile and includes training process and errors if there are any.
- Specify learning parameters and number of epochs in
train.py. Defaults are:- Initial Stage (Freeze first 50 layers):
Adam(lr=1e-2),Batch_size=8,Epochs=10 - Main Process (Unfreeze all layers):
Adam(lr=1e-3),Batch_size=8,Epochs=100
- Initial Stage (Freeze first 50 layers):
- Recompile anchor boxes using
kmeans.pyscript (OPTIONAL) - Configure settings and initialize paths in
Model_<name>/cfg.txt - Train YOLOv3 model.
!./scripts/run_train.sh
python3 train.py >Main/Model_Synth_Lab/linux_logs/train.log
- Obtain Precision-Recall (PR) curve and highest F1-scores by iterating through all
Main/Model_<name>/Evaluationfolders and calculate & combine all performance scores.
!./scripts/run_scores.sh
python3 scores_all.py
python3 Visualizations/create_graphs.py
python3 Results_IMGLabels/scores_IMGLabels.py
- Case-by-case AP-score Evaluation using
Main/scores_IMGLabels.py(OPTIONAL)- Resulting case-by-case evaluation score can be found in
Main/Evaluation_IMGlabels-case.xlsxwith each tab corresponding to a feature kept fixed.
- Resulting case-by-case evaluation score can be found in
Google’s OpenImages Database v6 dataset is used to collect negative non-person samples by extracting pre-annotated images that includes all kinds of objects and environments but without containing instances of persons.
- Non-person images are filtered and downloaded.
!./scripts/run_openimages.sh
python3 OpenImages.py > OpenImages/openimages.log
- Configure settings and initialize paths in
OpenImages/cfg.txt. - Annotation files are saved in the respective
.txtfile with the same name and has the following format:
image_file_path min_x,min_y,max_x,max_y,class_id min_x,min_y,max_x,max_y,class_id ...
Source: https://storage.googleapis.com/openimages/web/download.html
Code is inspired by qqwweee/keras-yolo3.
.


