Create document types
Document types allow you to attribute structured, consistent metadata to your documents. For each document template, you can assign properties of the type:
- text
- numeric
- select (needs thesauri)
- multi-select (needs thesauri)
- date, date range, multi date, multi date range
- rich text
- geolocation
For example, you may want to create a document type called "NGO Reports" which will contain properties such as title, date published, NGO author, etc. You will create one document type for each kind of document that has a distinct set of properties.
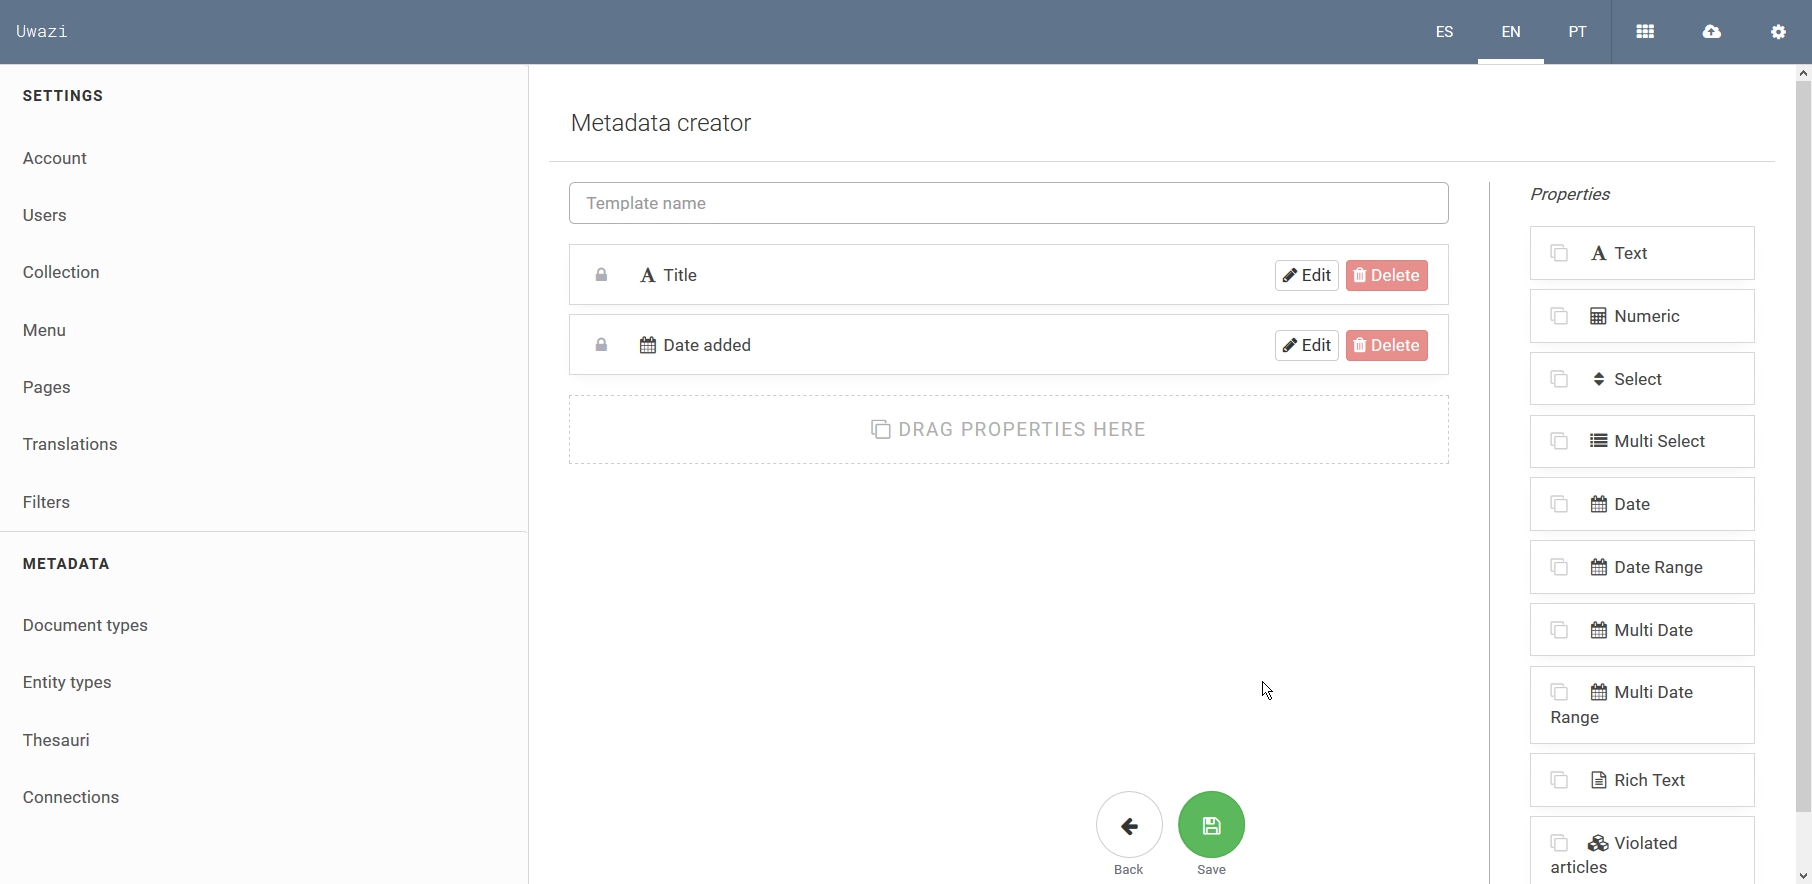
Under Documents, you can view, edit, and delete existing document types.
- Click on the gear icon in the top right corner of the site.
- Go to Document Types.
- Click on Add document type under Document types.
- You will see two default properties: Title, and Date added.
- Add properties by dragging them into the designated box.
- Edit the Name of the property that you are adding.
- Click Save.
When adding a new property to a document or entity type, you can choose whether you want that property to: be required, to be shown in the library cards, and/or to be included in the list of filters to which your users have access.
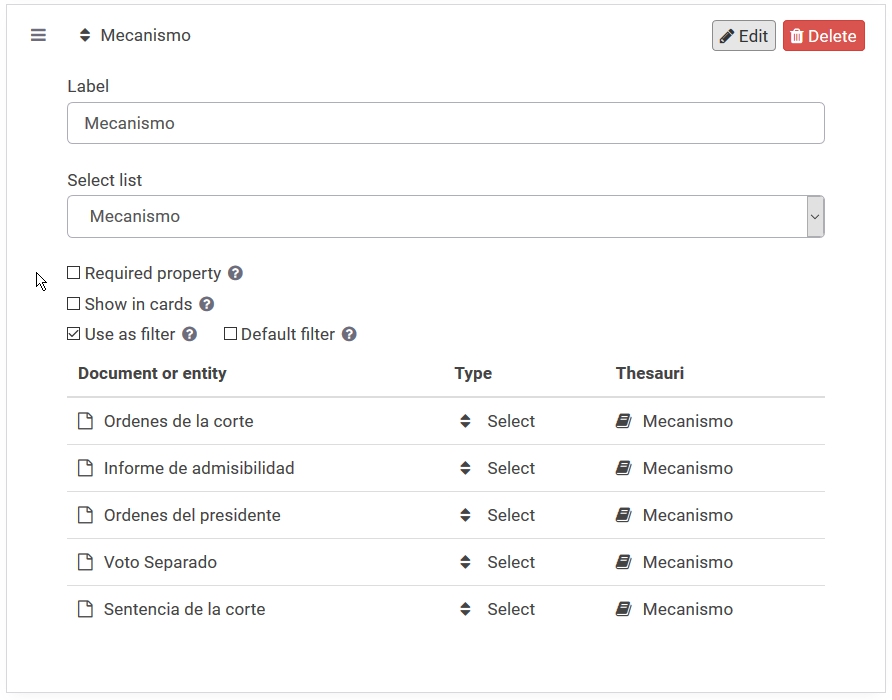
Note: When you add a multi-select property to a type, you will see a field titled Thesauri in which you can select a Dictionary or an Entity type that you have already created. See the section on Create and manage your thesauri for more information on how to work with dictionaries.
In order to display thumbnails in your cards and side panel for document preview, you need to active the "Preview" field for that particular template.

Since it behaves as a regular field, admins can choose where it should be display in the card by dragging the field to the desired position. This field comes with and option "Fill width" that will remove margins with the side of the cards, allowing for better visuals.
It also comes with two rendering options, "Fill" centering the image so that it will take more space in the screen, and "Fit", making sure that the whole image will be displayed.
This is the result activating all options "No label", "Show in cards", "Full-width" and "Fit":
