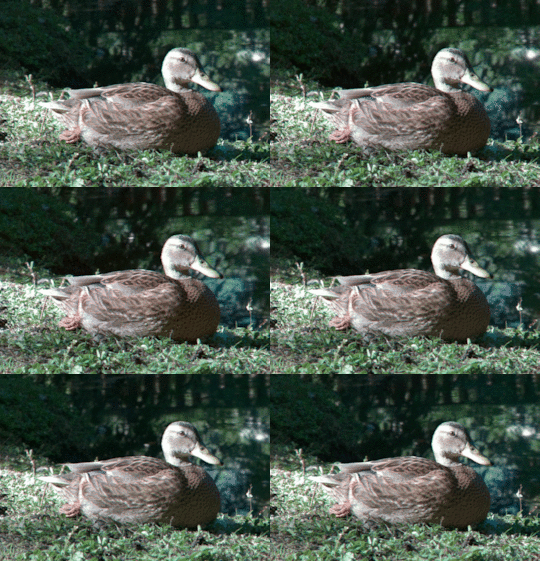
PlenoptiCam comes as a cross-platform, open-source software (see releases page) for scientific light field computation with few dependencies and a lean graphical user interface. Raw exposures from a plenoptic camera require four-dimensional image alignment in order to be decoded as a light field. Provided software addresses this by its ability to calibrate an image taken by a plenoptic camera and extract sub-aperture images or synthetically focused photographs. This application is meant for researchers, developers, beginners and other fiddlers who like to experiment with light field technology. Its scope comprises custom-types of plenoptic cameras and is thus not limited to Lytro's image data.
| OpEx dataset | INRIA dataset |
|---|---|
 |
 |
| Custom-built (png, jpg, bmp files) | Lytro Illum (lfp, lfr, tar files) |
 |
| Before | Target | After |
|---|---|---|
 |
 |
 |
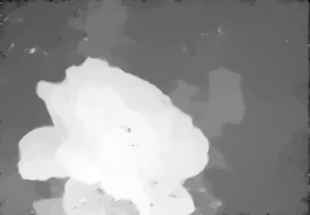
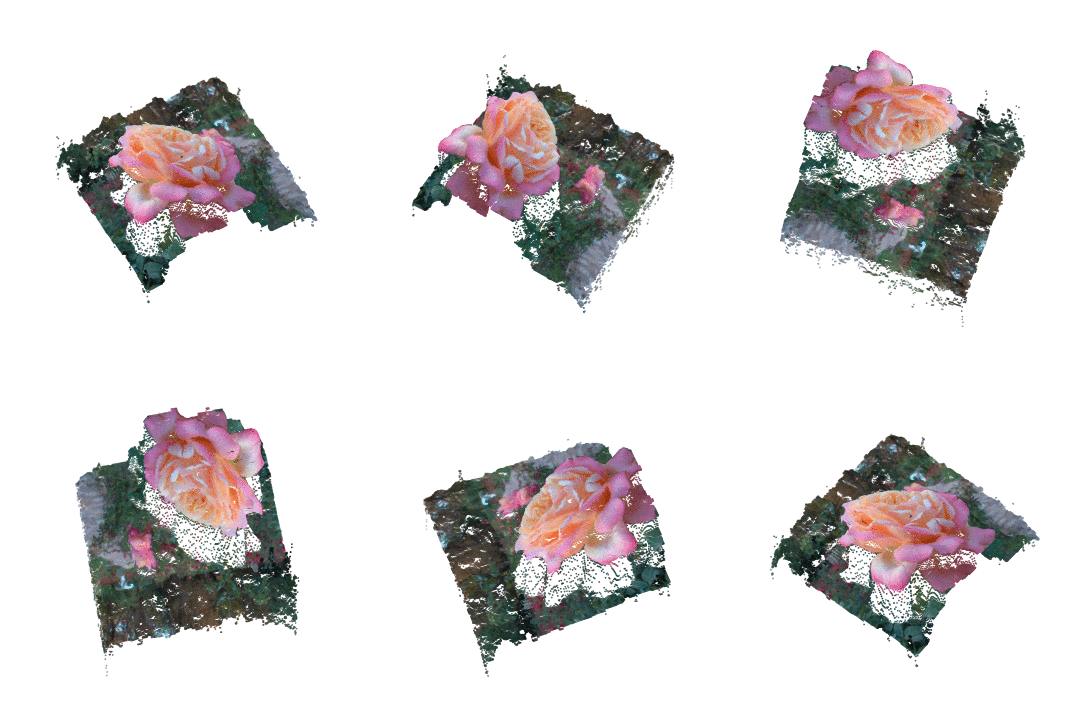
| 2-D depth map | 3-D point cloud |
|---|---|
 |
 |
| pfm file format | ply file format |
- executable:
- download a bundled app found at the releases page
- run installer / extract archive
- work around Windows protection or macOS unidentified developer issue
- macOS Big Sur requires to set
$ xattr -c /Applications/plenopticam.app(see here)
- macOS Big Sur requires to set
- run executable (may take a while on first start-up)
- user interface will show up (see below)
- via pip:
- install with
$ python3 -m pip install plenopticam - type
$ plenopticam -gto the command line once installation finished
- install with
- from source:
- install Python from https://www.python.org/
- download the source using
$ git clone https://github.com/hahnec/plenopticam.git - go to the root directory
$ cd plenopticam - load other packages
$ python3 -m pip install -r requirements.txt - install with
$ sudo python3 setup.py installfrom root directory - if installation ran smoothly, enter
$ sudo plenopticam -gto the command line
Note
"Pick folder" checkbox is useful to point to a directory containing calibration archive files of Lytro Illum cameras. In such case, the white image calibration file corresponding to the Lytro Illum image is found automatically.
- Download a dataset if you don't call a plenoptic camera your own, e.g.:
- Choose your light field photograph using upper Browse button. Supported file types are:
- bmp, jpg or png file from custom-built plenoptic camera
- lfr, lfp and raw files from Lytro Illum
- Choose calibration source data using lower Browse button. Supported file types are:
- bmp, jpg or png file from custom-built plenoptic camera
- caldata-XXX.tar archive or respective raw file from Lytro Illum
- tick "Pick folder" and point to a directory containing all tar files or extracted folders (calibration file will be found automatically)
Note
If you are using your own Lytro Illum camera, you first need to extract camera calibration data as a tar-archive. To do so, please follow the instructions guide.
- Adjust configuration using Settings button:
- Micro image patch size: default is estimated maximum
- Refocusing range: range for shift and sum synthesis
- Force re-calibration: option to re-run calibration
- Automatic white balance: option for white balancing
- Refocus refinement: option for sub-pixel precise refocusing
- Scheimpflug: option to mimic tilted sensor
- Press Process to start the computation.
For computing a stack of light-field images, it may be convenient to iterate through them. This can be done by:
$ sudo plenopticam -f '/Users/../Folder/' -c 'Users/../caldata-B5144000XXX.tar'
with necessary write privileges on Unix Systems. A Windows-equivalent command would be as follows:
plenopticam --file="C:\\..\\Folder\\" --cali="C:\\..\\caldata-B5144000XXX.tar"
More information on optional arguments can be found using the help parameter
plenopticam -h
Results can be found inside a folder named after your light field file which is located in the same directory path. Depending on provided files and settings, your results folder may contain the following data:
- sub-aperture images (see viewpoints_xxx folder) and view animation given as gif
- refocused images (see refo_xxx folder) and refocus animation given as gif
- depth map given as pfm and ply file
- raw image file given as tiff
- aligned light field as pkl (pickle) file
- light field metadata as json file (for Lytro files only)
- scheimpflug focus files
Usage of PlenoptiCam modules is demonstrated in the following Jupyter notebooks:
@ARTICLE{plenopticam,
    author={Hahne, Christopher and Aggoun, Amar},
    journal={IEEE Transactions on Image Processing},
    title={PlenoptiCam v1.0: A Light-Field Imaging Framework},
    year={2021},
    volume={30},
    number={},
    pages={6757-6771},
    doi={10.1109/TIP.2021.3095671}
}- check out PlenoptiCam's partner project PlenoptiSign capable of estimating metric light field geometries
- visit plenoptic.info for technical details, animated figures and theoretical backgrounds


