An easy way to orchestrate your Api's
QConSP 2018 Challenge: complete the challenge and win prizes
This project is an easy way to use an API Orchestrator to your project. A simple way to manipulate request/response and uncouple your business domain, providing more flexibility and personalization to your API.
- Gateway GET; POST; PUT; DELETE; PATH; HEAD
- Dashboards
- Analitycs
- Interceptors
- Mock
- Logging
- Ratting Limit
- Security
- Custom with Java or Groovy
- Middlewares
- Security
- Authentication
- Authorization
Keep in mind that you are going to start 3 Spring Boot applications, 1 Database instance and RabbitMq. Make sure you have 4 Gb RAM available on your machine.
$ git clone --depth=1 https://github.com/getheimdall/heimdall.git heimdall
$ cd heimdall- Docker https://www.docker.com/
- Docker Compose https://docs.docker.com/compose/
If you'd like to build images yourself (with some changes in the code, for example), you have to clone all repository and build artifacts with maven. Then, run:
$ docker-compose -f docker-compose.yml -f docker-compose.dev.yml updocker-compose.dev.yml inherits docker-compose.yml with additional possibility to build images locally and expose all containers ports for convenient development.
Access Heimdal on: http://localhost:3000
- Nodejs https://nodejs.org/
- Maven https://maven.apache.org/
- Java 8 http://www.oracle.com/technetwork/java/javase/downloads/jdk8-downloads-2133151.html
- PostgresSQL https://www.postgresql.org/
- Erlang http://www.erlang.org/downloads
- RabbitMQ https://www.rabbitmq.com/download.html
- Redis https://redis.io/download or https://github.com/MicrosoftArchive/redis/releases
Open your favorite Terminal and run these commands.
First tab to start config:
$ cd /heimdall-config
$ mvn spring-boot:run
Second tab to start gateway (require CONFIG already started):
$ cd /heimdall-gateway
$ mvn spring-boot:run
Third tab to start api (require CONFIG already started):
$ cd /heimdall-api
$ mvn spring-boot:run
(optional) Fourth tab to start front-end (require API already started)
With Yarn
$ cd /heimdall-frontend
$ yarn
$ yarn run
Withou Yarn
$ cd /heimdall-frontend
$ npm install
$ npm run start- http://localhost:8080 - Gateway
- http://localhost:8888 - Config
- http://localhost:9090 - Api
- http://localhost:3000 - frontend
All Spring Boot applications require already running Config Server for startup. But we can start all containers simultaneously because of depends_on docker-compose option.
To create the routing process there is an specific registration process that has to be followed. This documentation will provide all information needed to complete the process throught a step by step.
The first verification from Heimdall is the environment that is linked in the request, to an Api be registered it must have a linked environment. You need to understand that the environment is the heart of the routing, Heimdall will indentify the origin route and destiny route to send. Just to be clear, one Api can be linked to more than one environment, it's your choice!
The first step before registering an API is define some environment. To do that use the menu, under Menu -> Environment -> Add to start a environment register.
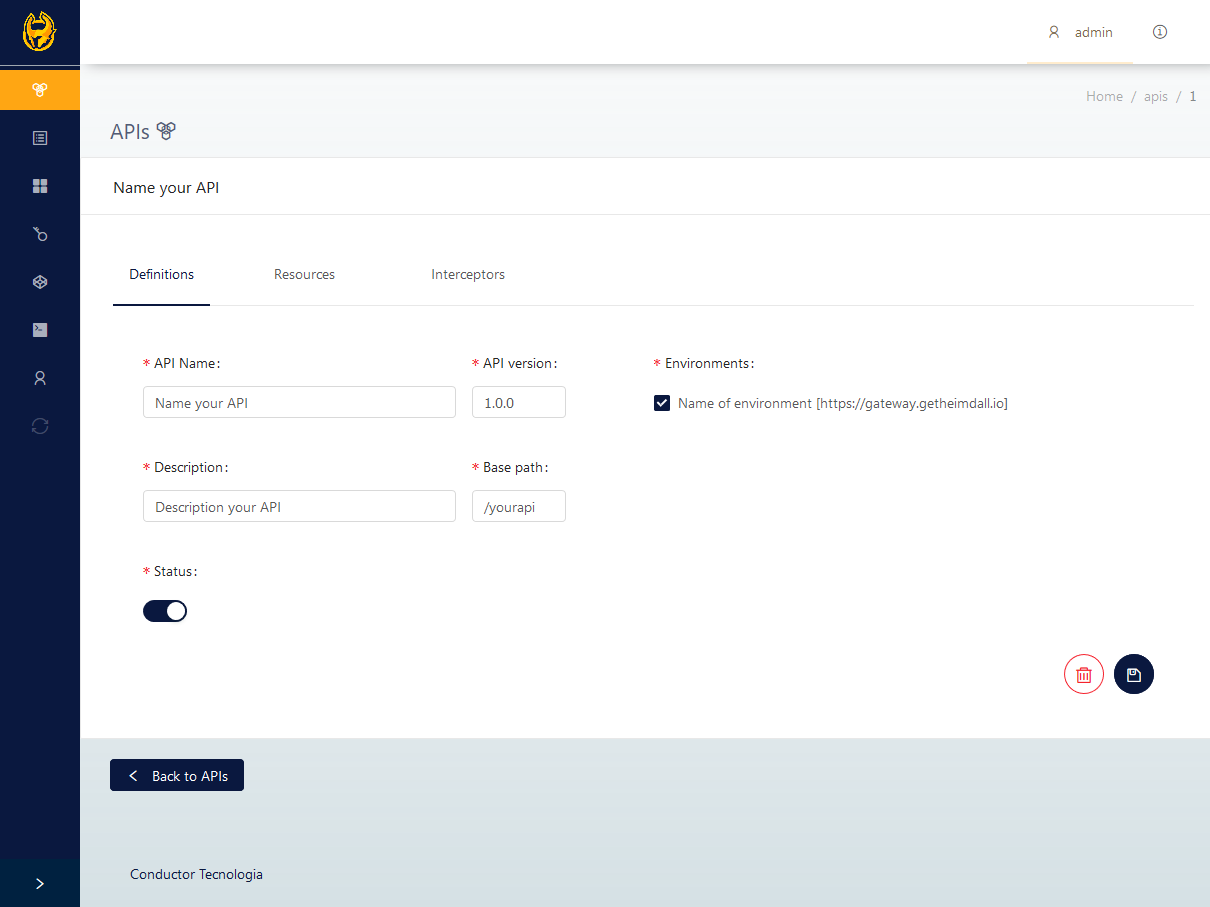
Once there is a registered Environment it is possible to register an Api, to do that use the Api menu. A Environment is required to register an Api. During the registration process of the Api its identification will be the "basepath". An Api is a resource group, this resources can be added after the Api registration is finished.
The resource is nothing more than one operation group, we use the resource to organize the operations (that will be explained in the next topic). The resource registration can be initialized after an Api is added. The resource was created to organize the operations and make it easier to link the interceptors to a group.
Ex: User domain, the resource name will be "users"
- POST - /basePath/users
- GET - /basePath/users/{id}
- PUT - /basePath/users/{id}
- DELETE - /basePath/users/{id}
Just to be clear, a resource can have any name, but to make this example simpler we will use the names that make sense about the operations used in this documentation.
To complete the basic lifecycle to use the Api is necessary add some operation. The operation is a real service that the gateway will route, a group of operations make an Api. They are responsable to map the backend services that will be called. As an example we used the same paths as in the resources topic.
Ex: User domain, the resource name will be "users"
- POST - /basePath/users
- GET - /basePath/users/{id}
- PUT - /basePath/users/{id}
- DELETE - /basePath/users/{id}
Every line in bold above is an operation. An operation needs a http verb to be unique.
The plan is just a tag to a Api. It's principal function is to link some resources that Heimdall have without impact the Api directly, making possible multiple Api consumers to have their respective configurations without one affecting the other, such as two clients consuming the same Api but one want to log the requisition logs and the other does not. This way some client will have a "Plan A" and the other will have a "Plan B", where "Plan A" will be linked with a "Interceptor Log" and "Plan B" will not, and both will consume the same service without one impacting the other.
With Heimdall you can manipulate the requests througth the interceptors, you can intercept requests in lots of situations like block access to some services or just save the request logs. By default Heimdall already has some interceptors to use in an easy way.
To create an interceptor an Api needs to exist, when you select an Api you can see a Interceptor Tab to manipulate or add a new interceptor. Using Drag N' Drop it's possible to add or remove an interceptor where you wish. Drag an interceptor to request or response area and a dialog will be shown to submit an interceptor with it's details.
It's important to say, you can't add an interceptor directly to an Api, you can attach to a Plan, Resource or Operation that are registered to the api.
As we said, Heimdall is an Orchestrator, so you have lots of managers and one of their responsibilities is to manage the developers that use the Api's. A developer can use registered Apps to consume the Api's services. To manage the developers you just need to navigate to developers menu, there you can add a new developer or manipulate the registered developers.
The developer is able to own multiple Apps inside Heimdall, an App represents an external application that the develper wants to register in Heimdall. The App can consume any Api registered by the Heimdall. Every App created has it's own 'Client ID', this 'Client ID' in most cases is used to identify the App in the request.
'Access tokens' are tokens used to provide basic access througth Heimdall. They are linked to an App, and to turn on the validation its necessary you add a Access Token Interceptor.
It's very important you know that Access Token Interceptor require a Client ID Interceptor
Heimdall was decomposed into six modules where three of they are principal (Config, Api, Gateway), built around certain business domains.
Spring Cloud Config is a horizontally scalable centralized configuration service for distributed systems. It uses a pluggable repository layer that currently supports local storage, Git, and Subversion.
In this project we use native profile which simply loads config files from the local classpath. You can look into shared directory in Config service resources. Now, when Heimdall-api requests it's configuration, Config service responds with shared/application-api.yml.
In this project we built our algorithm over the Netflix Zuul. We put some steroids on the Zuul Filters, added some criterias to make the routes matching more rigid (like the HTTP Verb on the match). And to manage the request/response and Zuul Filters flow we put a message broker (RabbitMQ) to communicate with the API.
To provide a easy way to manage the gateway we put an Api to make it easier to add new routes, interceptors, rate limit and others things to manipulate the gateway at runtime.
Heimdall app can easily be deployed to Heroku clicking on button:
or executing the commands:
$ heroku login
$ heroku create
$ git push heroku master
$ heroku openHeimdall is open source, and we appreciate your help. Feel free to contribute.
When contributing to this repository, please first discuss the change you wish to make via issue, email, or any other method with the owners of this repository before making a change.
Please note we have a code of conduct, please follow it in all your interactions with the project.
- Ensure any install or build dependencies are removed before the end of the layer when doing a build.
- Update the README.md with details of changes to the interface, this includes new environment variables, exposed ports, useful file locations and container parameters.
- Increase the version numbers in any examples files and the README.md to the new version that this Pull Request would represent. The versioning scheme we use is SemVer.
- You may merge the Pull Request in once you have the sign-off of two other developers, or if you do not have permission to do that, you may request the second reviewer to merge it for you.
Only Heimdall subteam members should create new issues in this repo. If you believe a project should be added within the tracker, please leave a comment on the appropriate "parent" issue, i.e. one of the issues linked below. And in general, feel free to use comments to ask questions, pitch ideas, or mention updates that need to be made!
There are issues for each of the vision statements:


