Control your EuroAir/DomoAir ventilation system via ESP32.
Inspired by Raomin and his ESPAltherma, I built this solution for home ventilation systems from the manufacturer Swentibold. This includes the brands EuroAir and DomoAir (Austria). ESPLyfterl works with all models that can be controlled via a 3 or 4 position switch (modes: low, medium, high, off).
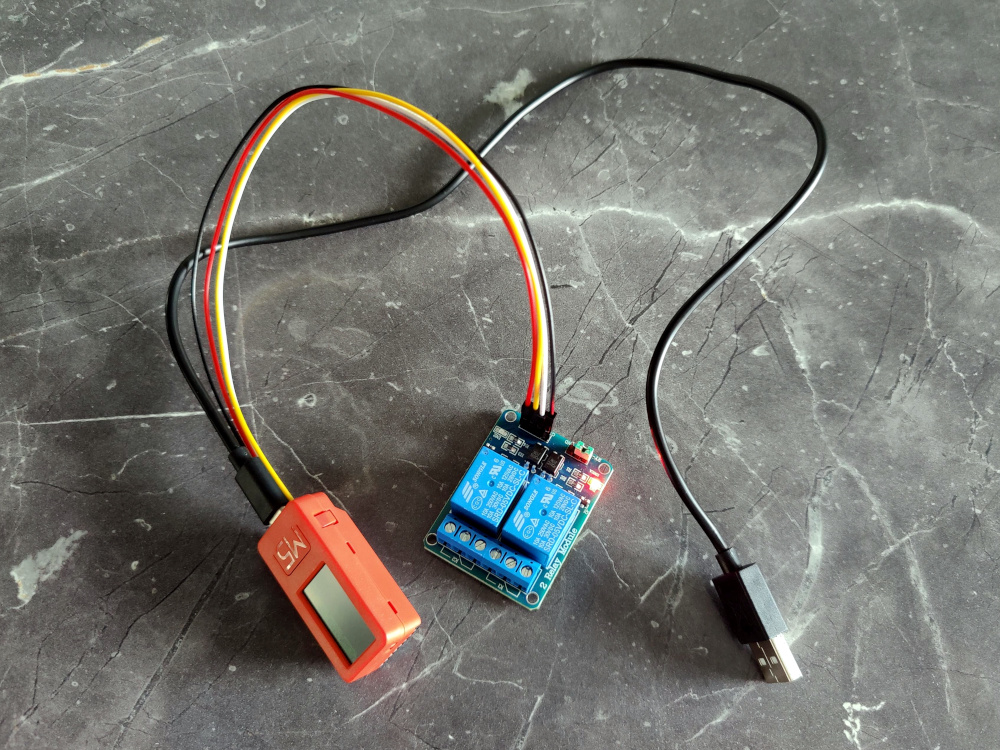
- No need for extra hardware, just ESP32, two relays and some wires
- Control via MQTT and therefore all common home automation systems
- Supports update OverTheAir
- A Swentibold compatible home ventilation system
- An ESP32, my recommendation is the M5StickC Plus
- A 2 channel relay or 2 1 channel relays (low or high triggered)
- A 4 pin Grove interface to JST (for M5StickC) or any other 4 pin connection to 2 relays
- A 5V power supply for ESP32 (USB-C for M5StickC)
- Download the repository.
- Copy
src/setup.tpl.htosrc/setup.hand edit as follows:- Enter WiFi and MQTT settings.
- Select the GPIO pins to control the relays. For M5StickC and M5StickC Plus the pins of the Grove interface are predefined (32 and 33) where 32 is to control relay 1 and 33 to control relay 2.
- Uncomment whether your relays are low or high triggered.
- Ready, connect the ESP32 to your computer and run the following command in your console (where
<your environment>is e.g.m5stickcplus).pio run --environment <your environment> --target upload
-
Turn OFF your home ventilation system at the circuit breaker.
-
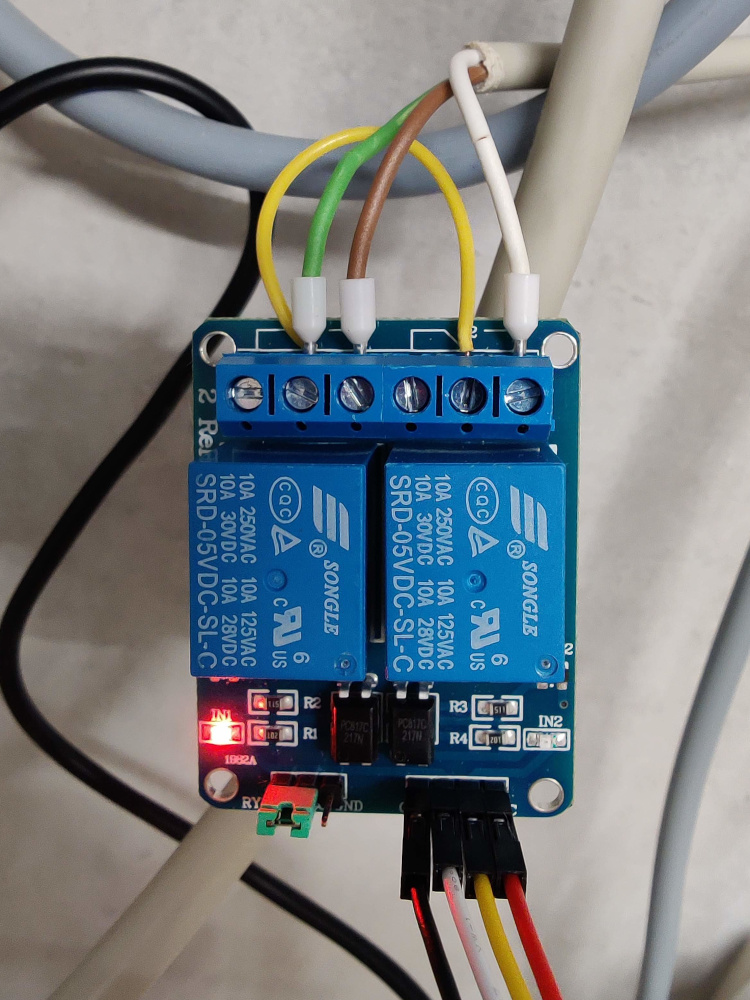
Find the appropriate connection on the board: SK6
-
Connect your relays (normally open) as follows (usually you have to bridge GND):
Almost there! To control the ESP32 via MQTT use the home automation of your choice.
esplyfterl/level/state
esplyfterl/level/set
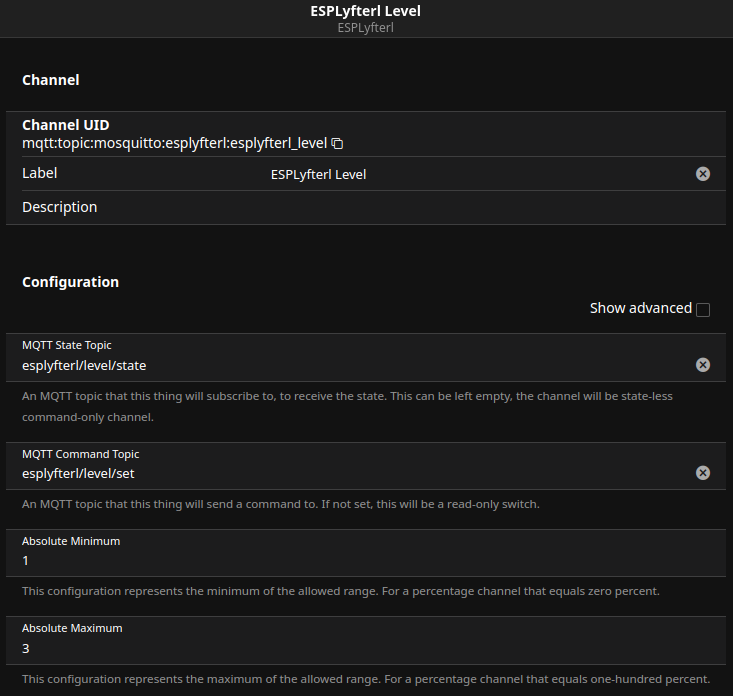
I am using openHAB, so here's an example Thing configuration.
UID: mqtt:topic:XXXXXXXXXX:esplyfterl
label: ESPLyfterl
thingTypeUID: mqtt:topic
configuration: {}
bridgeUID: mqtt:broker:XXXXXXXXXX
channels:
  - id: esplyfterl_level
    channelTypeUID: mqtt:number
    label: ESPLyfterl Level
    configuration:
      commandTopic: esplyfterl/level/set
      stateTopic: esplyfterl/level/state
      min: 1
      max: 3
When using sitemaps in openHAB, here's a config.
Setpoint icon="fan" label="Ventilation Level" item=esplyfterl_level minValue=1 maxValue=3 step=1I am always happy to receive criticism, suggestions for improvement and participation. Feel free to send me bug reports or pull requests.
You can also buy me a beer via PayPal. Thanks! :-)
ESPLyfterl is licensed under MIT License.


