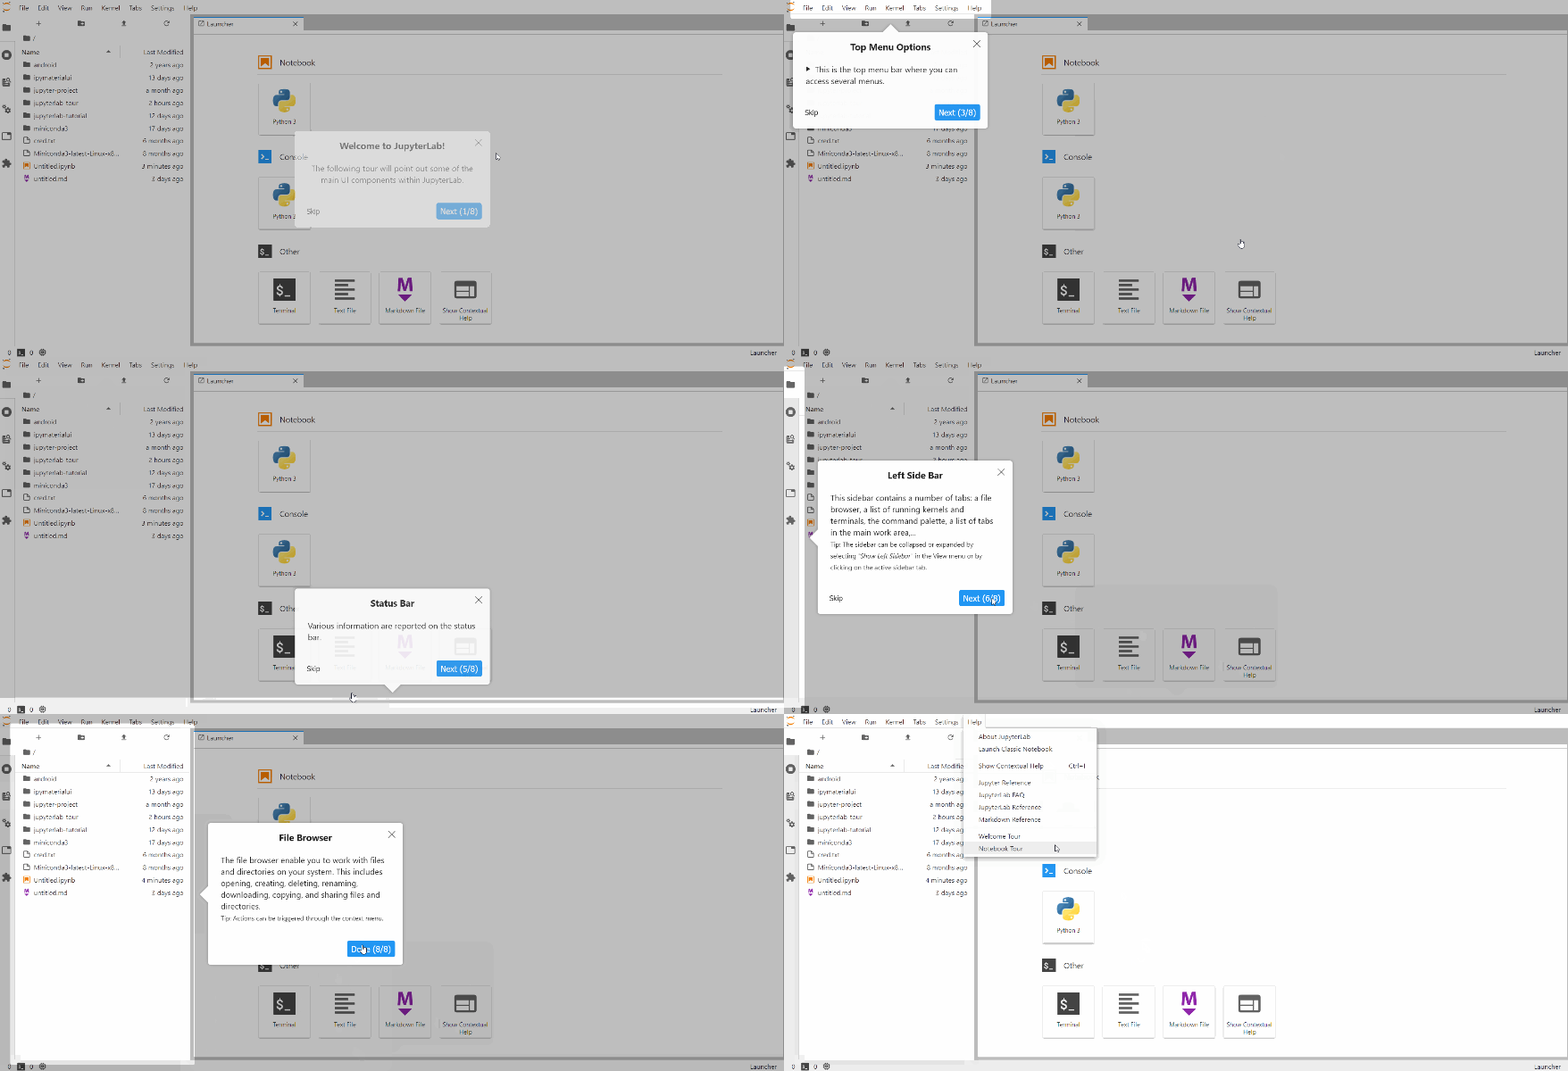
A JupyterLab UI Tour based on react-joyride.
This extension has the following features:
- Default tours:
- Welcome tour
- Notebook tour
- Toast proposing to start a tour - to experienced users the need to exit each time the tour.
- If a tour has already be seen by the user, this is saved in the state database. So you can start tour on event only if the user have not seen it; e.g. the welcome tour is launched at JupyterLab start except if the user have seen it.
The state is cleaned if this extension is updated
- Tooltip are styled using JupyterLab theming system
- Commands to add and launch tours
- Through the tour manager (
ITourManagerextension token), add, modify or delete a tour - Connect to tour events through signals
- Override the default style (and options) for the tour separately
This extension is inspired by @cdat/jupyterlab-tutorial licensed under BSD 3-Clause License with Copyright (c) 2020, Lawrence Livermore National Security, LLC.
- JupyterLab >= 3.0
For JupyterLab 2.x, have look there.
For developers, the API has changed between v3 (for JupyterLab 3) and v2 (for JupyterLab 2).
There are two methods to add a tour: the easiest is to use JupyterLab commands and the advanced version is to request this
extension token ITourManager.
const { commands } = app;
// Add a tour - returns the tour or null if something went wrong
const tour = (await app.commands.execute('jupyterlab-tour:add', {
  tour: { // Tour must be of type ITour - see src/tokens.ts
    id: 'test-jupyterlab-tour:welcome',
    label: 'Welcome Tour',
    hasHelpEntry: true,
    steps: [  // Step must be of type IStep - see src/tokens.ts
      {
        content:
          'The following tutorial will point out some of the main UI components within JupyterLab.',
        placement: 'center',
        target: '#jp-main-dock-panel',
        title: 'Welcome to Jupyter Lab!'
      },
      {
        content:
          'This is the main content area where notebooks and other content can be viewed and edited.',
        placement: 'left-end',
        target: '#jp-main-dock-panel',
        title: 'Main Content'
      }
    ]
  }
})) as ITour;
if ( tour ) {
  app.commands.execute('jupyterlab-tour:launch', {
    id: 'test-jupyterlab-tour:welcome',
    force: false  // Optional, if false the tour will start only if the user have not seen or skipped it
  })
}
One example is available on Mamba navigator. Test it on binder.
pip install jupyterlab-touror
conda install -c conda-forge jupyterlab-tourpip uninstall jupyterlab-touror
conda remove -c conda-forge jupyterlab-tourNote: You will need NodeJS to build the extension package.
The jlpm command is JupyterLab's pinned version of
yarn that is installed with JupyterLab. You may use
yarn or npm in lieu of jlpm below.
# Clone the repo to your local environment
# Change directory to the jupyterlab-tour directory
# Install package in development mode
pip install -e .
# Link your development version of the extension with JupyterLab
jupyter labextension develop . --overwrite
# Rebuild extension Typescript source after making changes
jlpm run build
You can watch the source directory and run JupyterLab at the same time in different terminals to watch for changes in the extension's source and automatically rebuild the extension.
# Watch the source directory in one terminal, automatically rebuilding when needed
jlpm run watch
# Run JupyterLab in another terminal
jupyter lab
With the watch command running, every saved change will immediately be built locally and available in your running JupyterLab. Refresh JupyterLab to load the change in your browser (you may need to wait several seconds for the extension to be rebuilt).
By default, the jlpm run build command generates the source maps for this extension to make it easier to debug using the browser dev tools. To also generate source maps for the JupyterLab core extensions, you can run the following command:
jupyter lab build --minimize=False


