Django Ledger is a powerful financial management system built on the Django Web Framework. It offers a simplified API for handling complex accounting tasks in financially driven applications.
Join our Discord | Documentation | QuickStart Notebook
- High-level API
- Double entry accounting
- Hierarchical Chart of Accounts
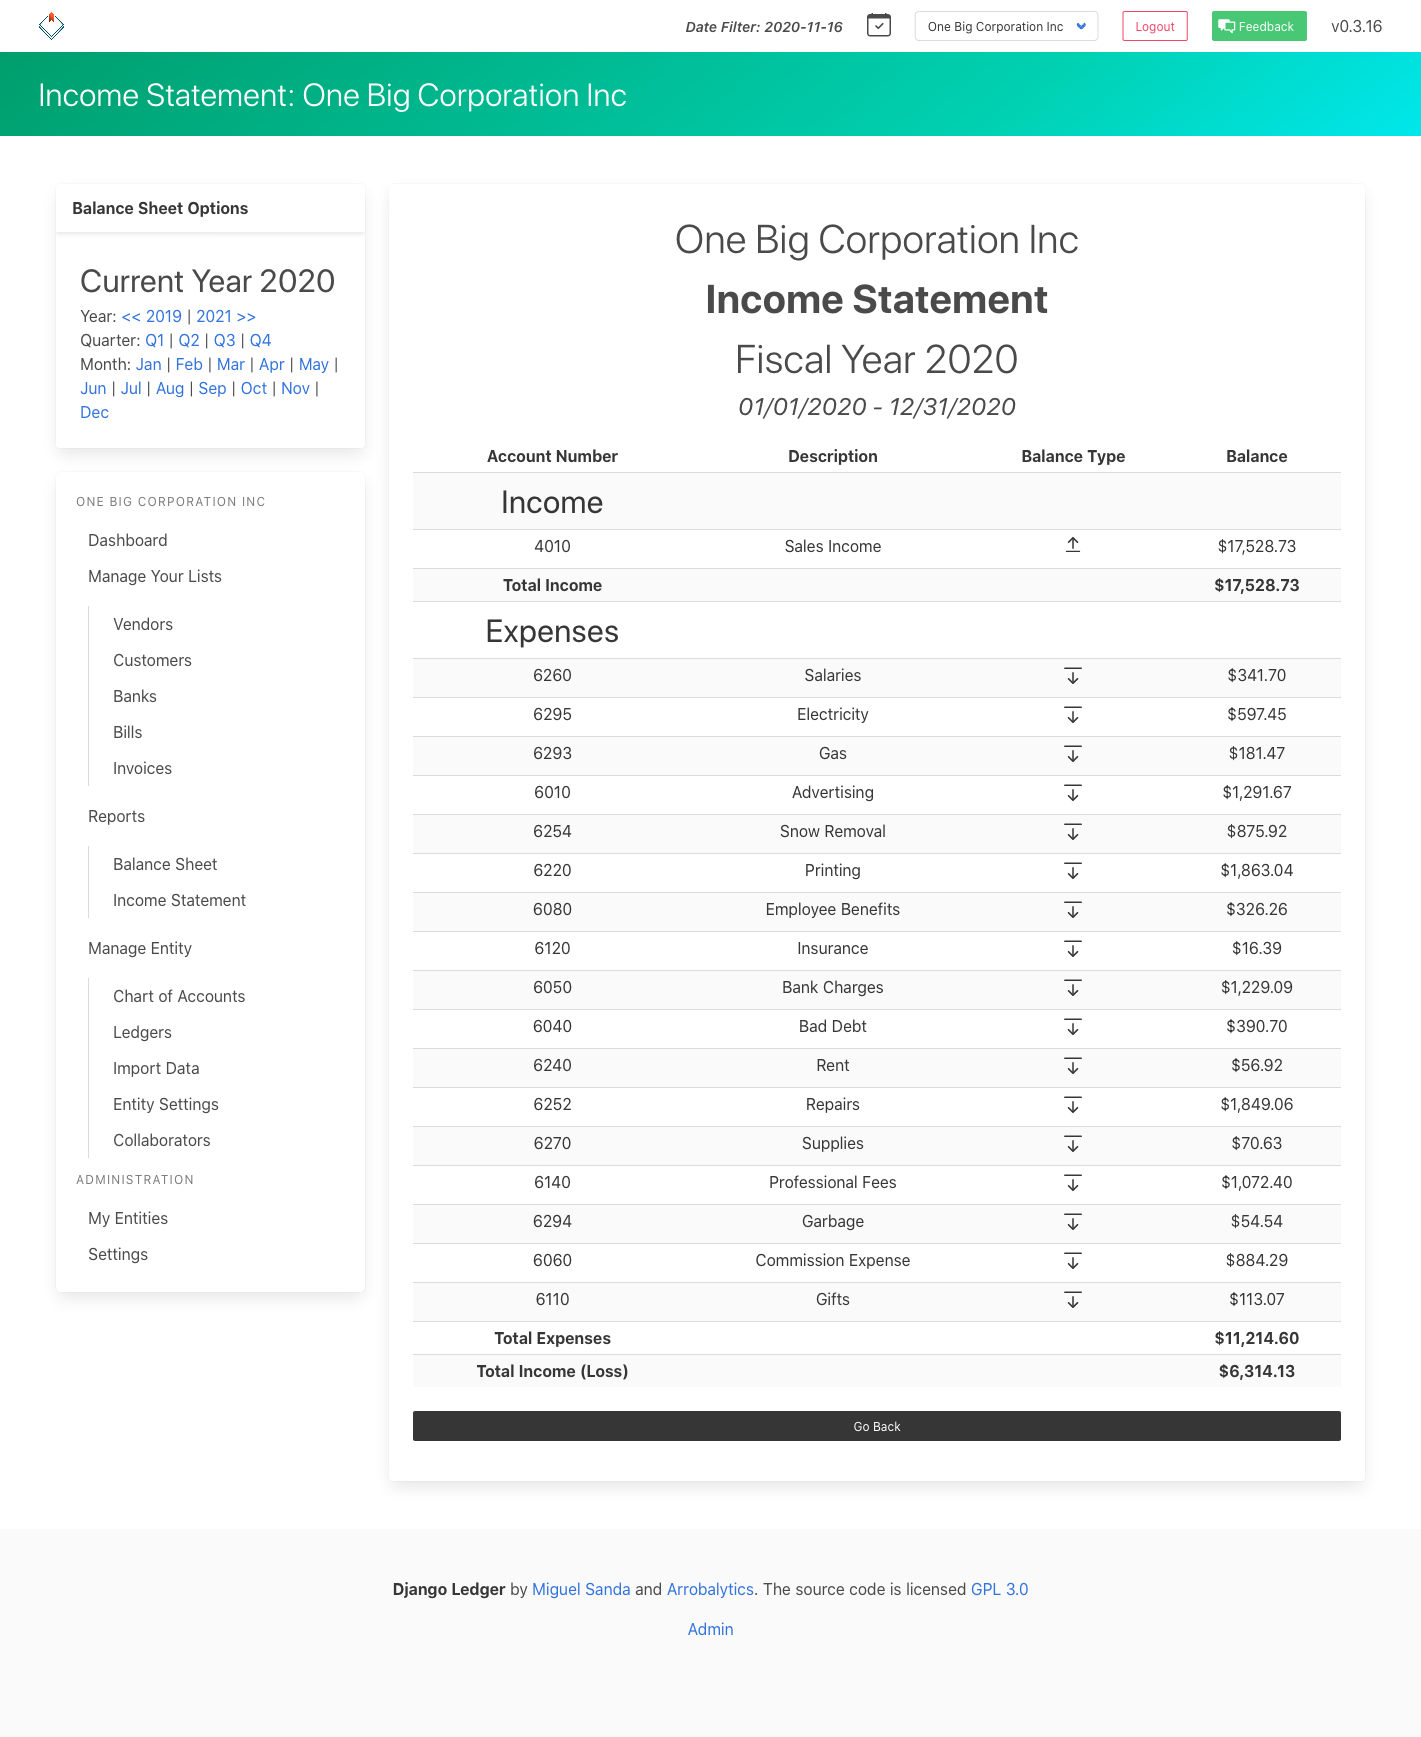
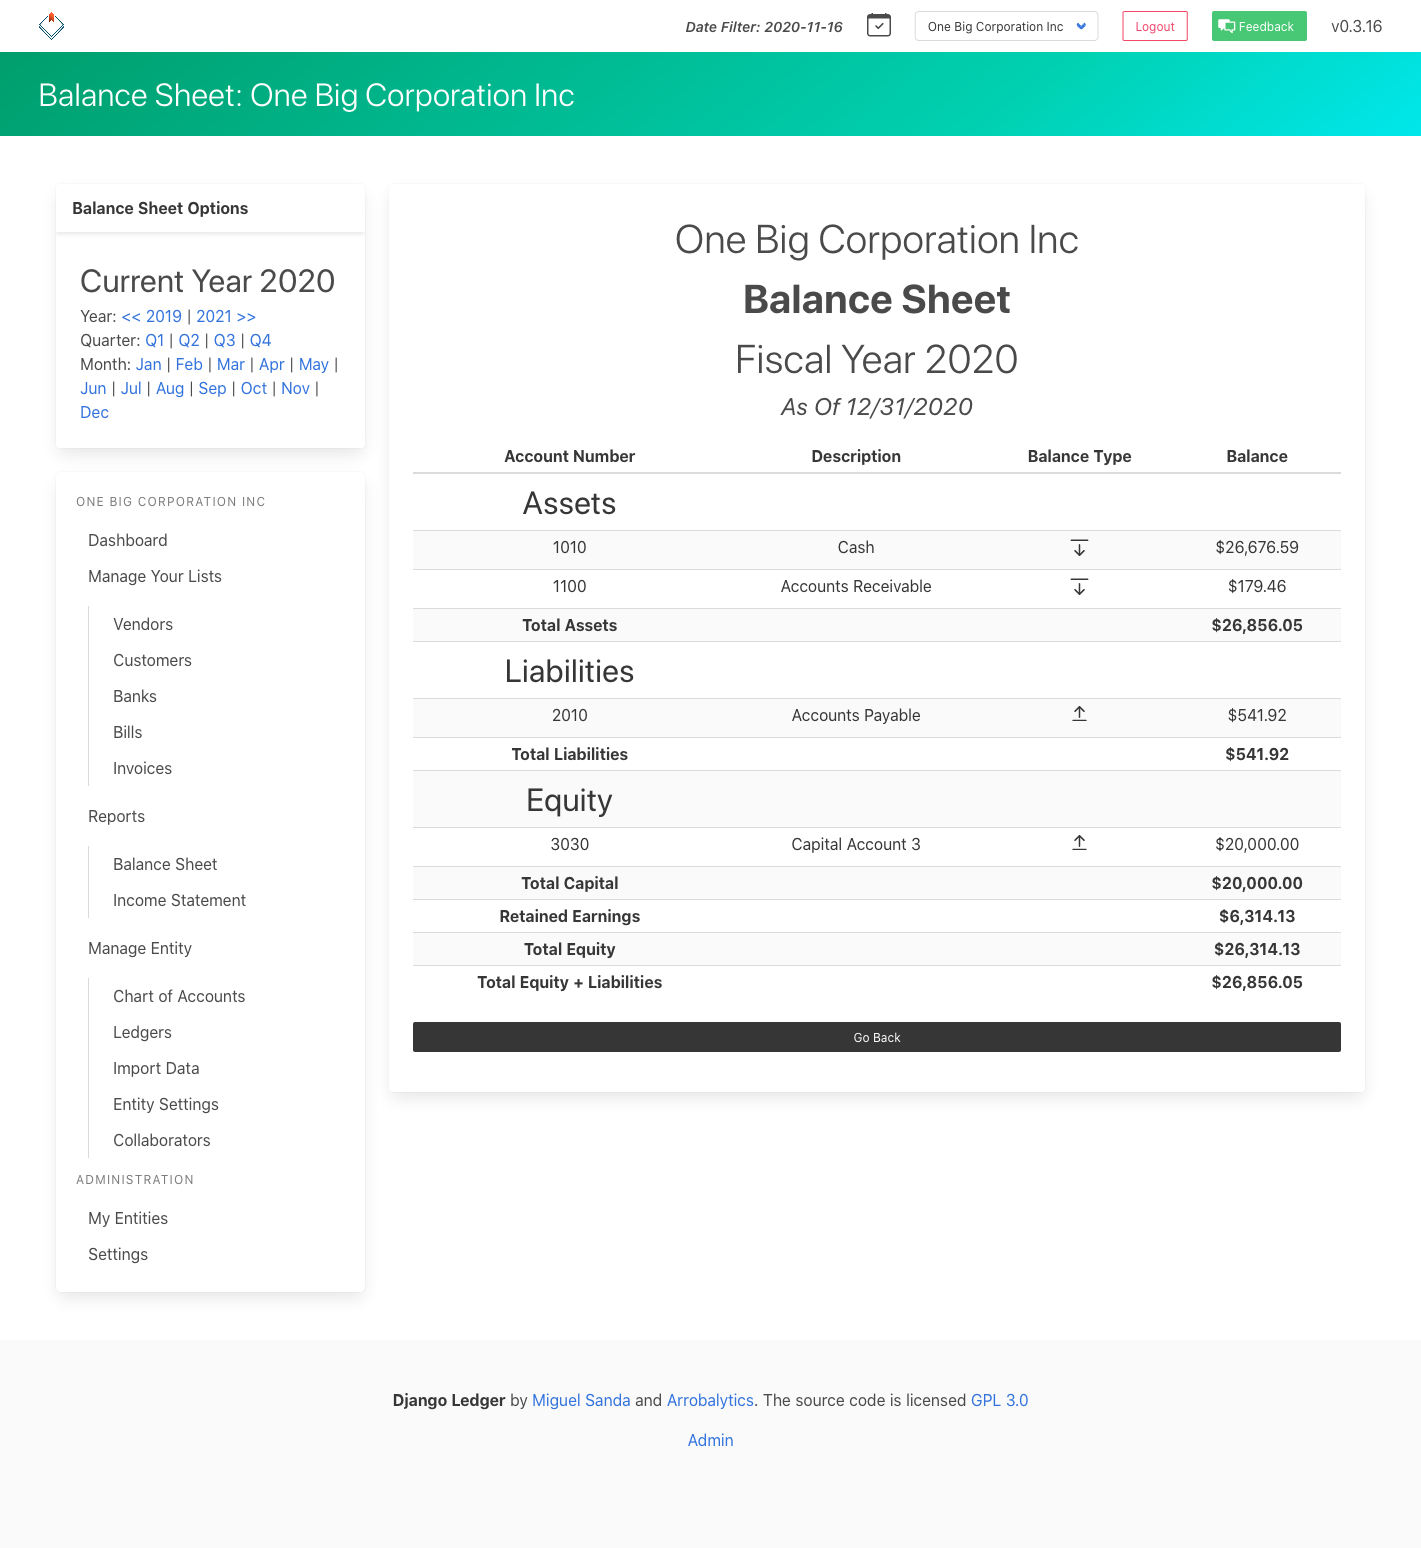
- Financial statements (Income Statement, Balance Sheet, Cash Flow)
- Purchase Orders, Sales Orders, Bills, and Invoices
- Financial ratio calculations
- Multi-tenancy support
- Ledgers, Journal Entries & Transactions
- OFX & QFX file import
- Closing Entries
- Inventory management
- Unit of Measures
- Bank account information
- Django Admin integration
- Built-in Entity Management UI
- Feature Requests/Bug Reports: Open an issue in the repository
- For software customization, advanced features and consulting services: Contact us or email [email protected]
- Contribute: See our contribution guidelines
We're looking for contributors with:
- Python and Django programming skills
- Finance and accounting expertise
- Interest in developing a robust accounting engine API
If you have relevant experience, especially in accounting, we welcome your pull requests or direct contact.
Django Ledger is a Django application. If you haven't, you need working knowledge of Django and a working Django project before you can use Django Ledger. A good place to start is here.
Make sure you refer to the django version you are using.
The easiest way to start is to use the zero-config Django Ledger starter template. See details here. Otherwise, you may create your project from scratch.
To create a new Django Ledger project:
-
Make sure you have the latest version of python here (recommended).
-
Install Django:
pip install django- Install Python Pipenv (python package manager):
pip install pipenv- Go to your desired development folder and create a new django project:
django-admin startproject django_ledger_project && cd django_ledger_project- Install Django on you virtual environment.
pipenv install django- Install Django Ledger
pipenv install django-ledger[graphql,pdf]- Activate your new virtual environment:
pipenv shell- Add django_ledger to INSTALLED_APPS in you new Django Project.
INSTALLED_APPS = [
    ...,
    'django_ledger',
    ...,
]- Perform database migrations:
python manage.py migrate- Add Django SuperUser and follow the prompts.
python manage.py createsuperuser- Add URLs to your project's urls.py:
from django.urls import include, path

urlpatterns = [
    ...,
    path('ledger/', include('django_ledger.urls', namespace='django_ledger')),
    ...,
]- Run your project:
python manage.py runserver- Navigate to Django Ledger root view assigned in your project urlpatterns setting ( typically http://127.0.0.1:8000/ledger if you followed this installation guide).
- Use your superuser credentials to login.
Django Ledger comes with a basic development environment already configured under dev_env/ folder not to be used for production environments. If you want to contribute to the project perform the following steps:
- Navigate to your projects directory.
- Clone the repo from github and CD into project.
git clone https://github.com/arrobalytics/django-ledger.git && cd django-ledger- Install PipEnv, if not already installed:
pip install -U pipenv- Create virtual environment.
pipenv installIf using a specific version of Python you may specify the path.
pipenv install --python PATH_TO_INTERPRETER- Activate environment.
pipenv shell- Apply migrations.
python manage.py migrate- Create a Development Django user.
python manage.py createsuperuser- Run development server.
python manage.py runserver-
Navigate to your projects directory.
-
Give executable permissions to entrypoint.sh
sudo chmod +x entrypoint.sh-
Add host '0.0.0.0' into ALLOWED_HOSTS in settings.py.
-
Build the image and run the container.
docker compose up --build- Add Django Superuser by running command in seprate terminal
docker psSelect container id of running container and execute following command
docker exec -it containerId /bin/shpython manage.py createsuperuser- Navigate to http://0.0.0.0:8000/ on browser.
After setting up your development environment you may run tests.
python manage.py test django_ledger


