This tool is for batch converting .wav audio files to/from .adx/.hca formats, for games that use CriWare audio such as the Persona series.
This may be useful for automatically making dual-language mods, encrypting audio, unpacking/repacking .afs/.acb archives, or quickly renaming audio files.
- Install .NET Framework 4.8 Runtime
- File: Save/load the current state of form controls to/from
.json. - Toggle Theme: Swap the appearance of the program between dark/light mode.
- Encryption Preset: Load pre-existing settings based on specific games/platforms with known encryption keys and audio/archive formats.
- Archive Format: Choose between
.acband.afsfor repacking a folder of audio files in the "Archives" tab. - Sound Format: Choose between
.adx,.hcaand.wavfor converting audio files in the "Encoding" tab.
- Drag Files To Encode: Selected files or a folder containing them will be converted to the target sound format using
VGAudio.exe. Output will appear in a folder namedEncodednext to the source files. - Drag Files To Decode: Same as above, but ignores the selected sound format and outputs files as
.wav. - Use Loop Points: Uses the specified custom start/end sample numbers to infinitely loop the audio track.
- Use Existing Loop Points: If input file is an ADX, we will attempt to use the existing start/end points (useful for decrypting/changing volume). Overrides custom set loop points.
- Loop Entire Track: Ignores the start/end sample numbers and infinitely loops the track between the very first and very last sample. Overrides all other loop options.
- Decrypt if Encrypted: Uses the provided keycode to decrypt an already-encrypted
.adxwhen re-encoding.
- Ordered Filenames From Txt File: See below.
- Source Sound Files Path: The folder containing sound files used in the
.txtlist. - Renamed Files Output Path: The folder where copied and renamed files from the source folder will be created.
- Txt File With Filenames In Order Path: The .txt file containing a list of filenames from the Source Sound Files folder in the order you would like them renamed and copied to the Renamed Files Output folder.
- Suffix: A string that follows the ID in the filename. i.e.
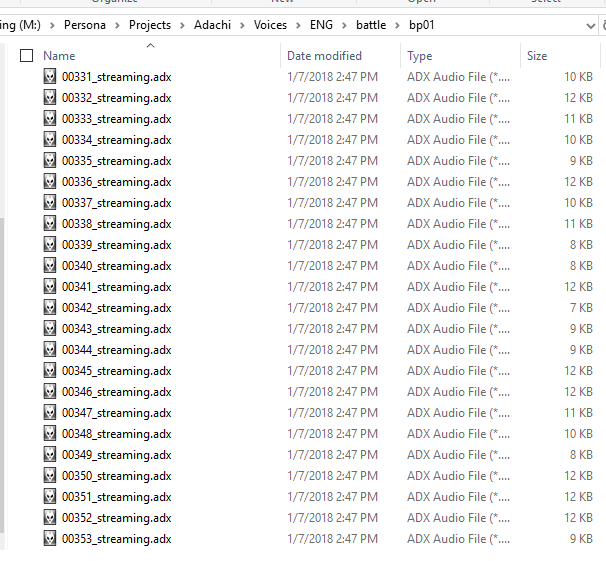
00005.adxwould become00005_streaming.adxwith "_streaming" as the suffix. - Append OG Name: Appends the name of the source audio file to the end of the renamed file, after the suffix. Useful for identifying tracks when using Reloaded II's FEmulator, which allows this.
i.e.00005_streaming.adxwould become00005_streaming_originalfilename.adxif the source file wasoriginalfilename.adx. - Left Padding: The number of digits that comprise the ID. Un-filled digits will be zero. For instance, an ID of
234with a Left Padding of5becomes00234. - Start ID: Which ID to start counting up from. Useful when you're replacing a sequence of some, but not all audio files in the middle of an archive.
i.e. with start ID30, the first file to be generated will be named00030_streaming.adx - Copy and Rename Files: Using the above settings, files from the source folder will be copied and renamed to the output folder in the order they appear in the list, with the ID counting up by 1 each time.
Learn more about Ryo Framework and why you would want to use these settings here.
The following settings do not use the "Suffix," "Append OG Name," or "Left Padding" options.
- Ryo Output Mode: Set this to anything other than "Don't Output For Ryo" to enable the following settings.
- Streaming: Check this box if you're replacing "streaming" cues (i.e. embedded in
.AWBrather than.ACB. - Player Volume: Check this to override the volume for the sound player rather than the sound itself. Fixes some volume issues.
- Volume: The volume percentage applied to all the output sound clips. Uncheck Override Volume to use the sound category's default volume.
- Category: The ID of the Sound Category applied to all the output sound clips. Varies by game. (i.e. in P5R, se: 0, bgm: 1, voice: 2, system: 3, syste_stream: 12 ... )
- Folder Suffix: The suffix applied to each Cue folder's name. Only works when Cue Names is checked. (i.e. btl_support becomes btl_support_Joker if the suffix is "Joker")
- Cue Names: Whether to use cue names for output folders. If not, folders will be named
<CUEID>.cue. This also applies to eacch sound's.yamlconfig file.
Because the Ryo output mode relies on an external file matching wave IDs to cue names/IDs, it only works out of the box with the provided P5R system.acb and voice_singleword.acb modes.
To add more archives to the dropdown, follow these steps:
- Get a
.tsv(tab separated values) file for the.acbyou're editing by dragging the original.acbarchive into CriAtomViewer. (extension must be lowercase!) - Click inside the table and press CTRL + A to highlight everything. Then right click and copy as tabs delineated text. Paste into a text file and save it as a
.tsvto this program'sDependencies/RyoTextfolder.
- Drag Archive to Extract: Select an
.acb/.afsarchive to extract to a folder. The folder will appear next to the original archive. - Drag Folder to Repack: Choose a folder containing audio files to repack into the selected archive format. For
.acb, it must be next to the original.acb/.awbpair which will be overwritten. The original .AFS may be overwritten as well if the folder being repacked is in the same directory, but you can move it somewhere else first (it doesn't need to be next to the original).
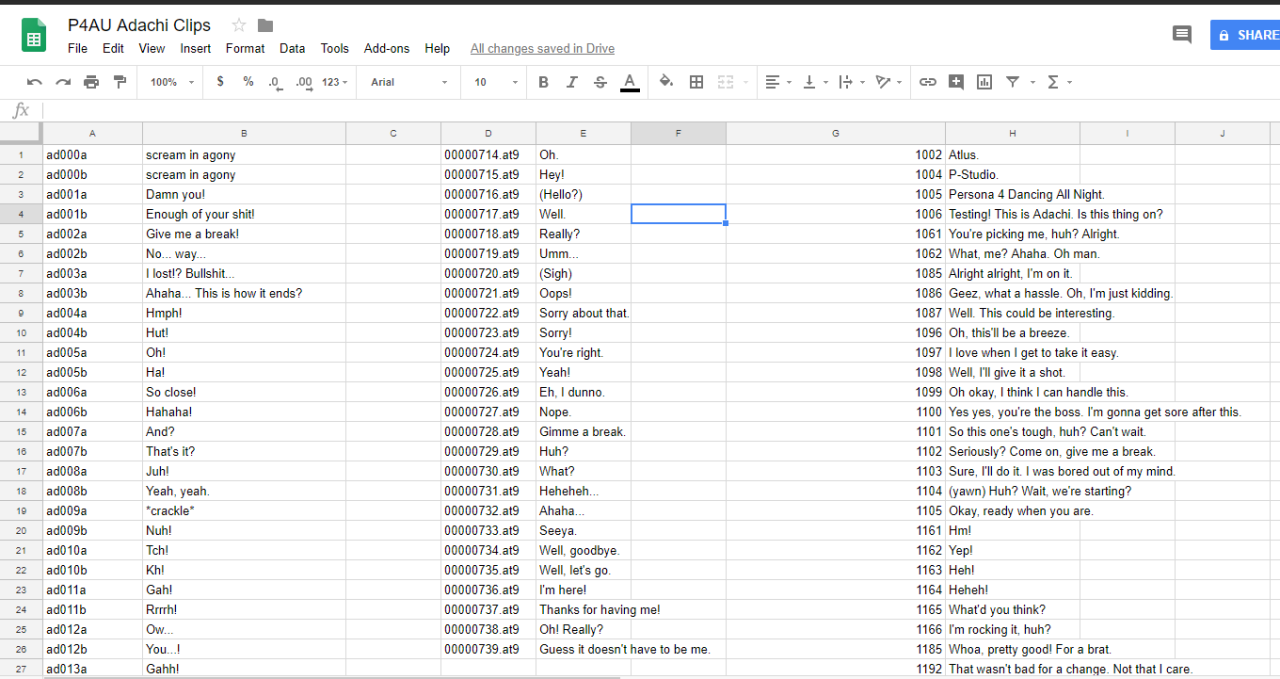
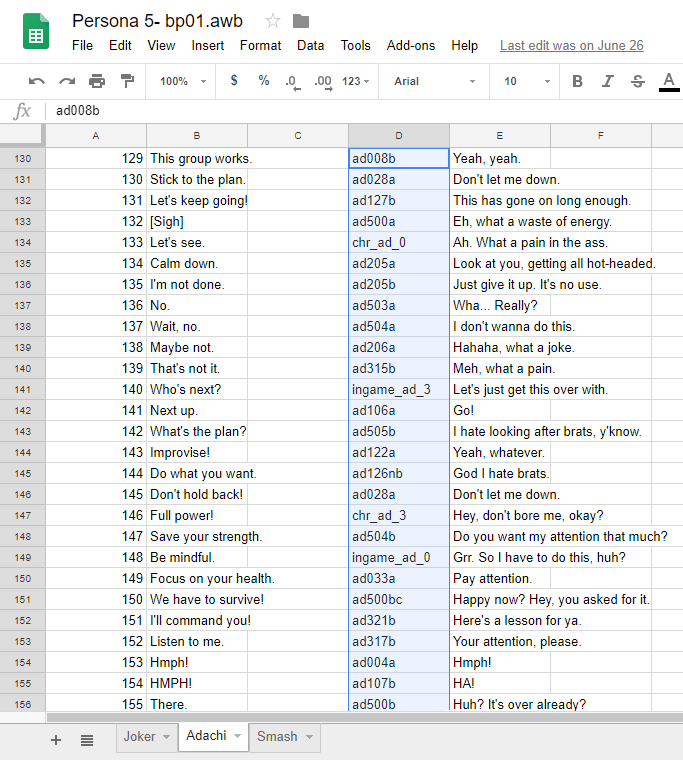
- Make a spreadsheet with all the filenames of your English wavs in the order of the files extracted from an AWB (P5) or AFS (P3/P4). Line up the filenames of the replacement clips in another column. Leave cells blank where no replacement is needed.
- Copy the column with the replacement filenames to a .txt document, and specify the path in the program.
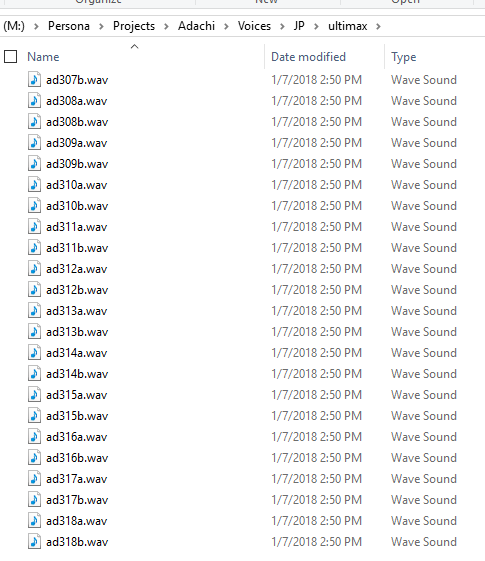
- Specify the path to your WAV directory.
- Specify the path to the existing ADX directory. The filenames and order of clips here will be matched to your WAV list for reference.
Please note these files will be overwritten so back them up before proceeding if needed. - Specify the path to your WAV list .txt.
- Click Replace, wait for it to finish and repeat for each language you have WAVs for.
AFSLib - .AFS Extract/Repack
VGAudio - .adx/.hca/.wav encode/decode
ACBEditor - .ACB/.AWB Unpacking/Repacking
MetroSet-UI - Dark/Light Themes for WinForms Controls
ShrineFox.IO - Shared Code Library for my projects
NAudio - WAV Volume editing


