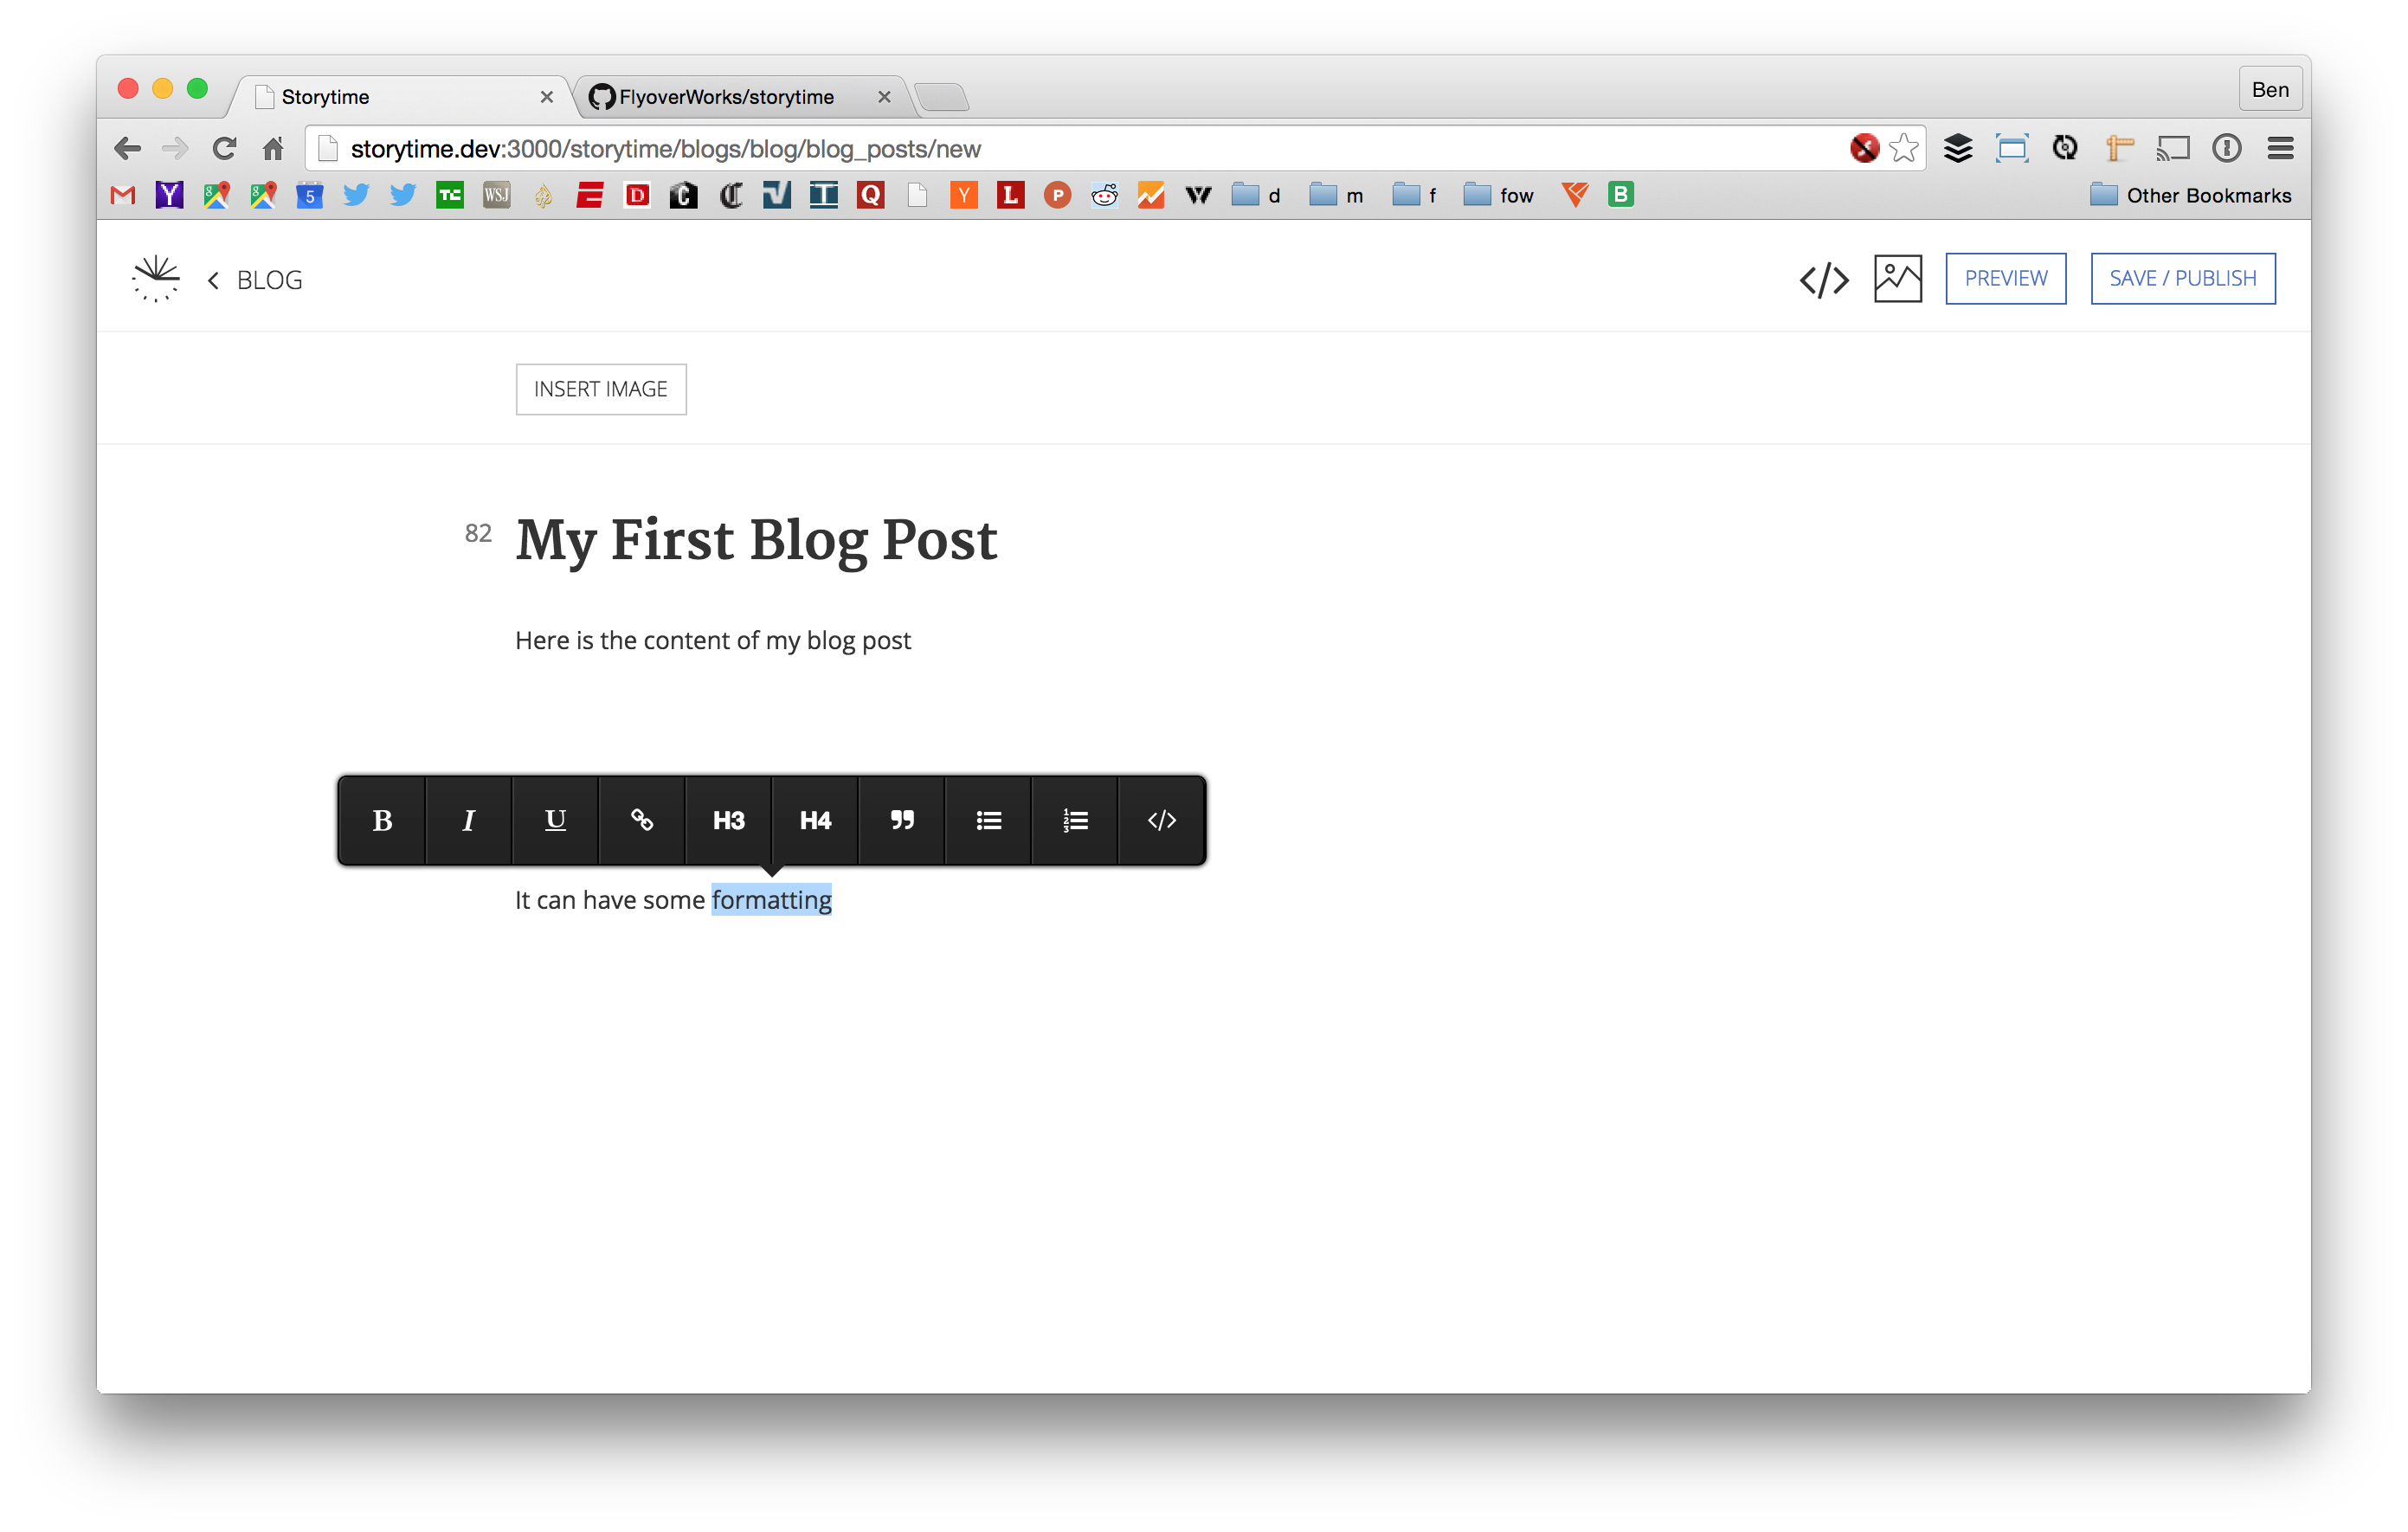
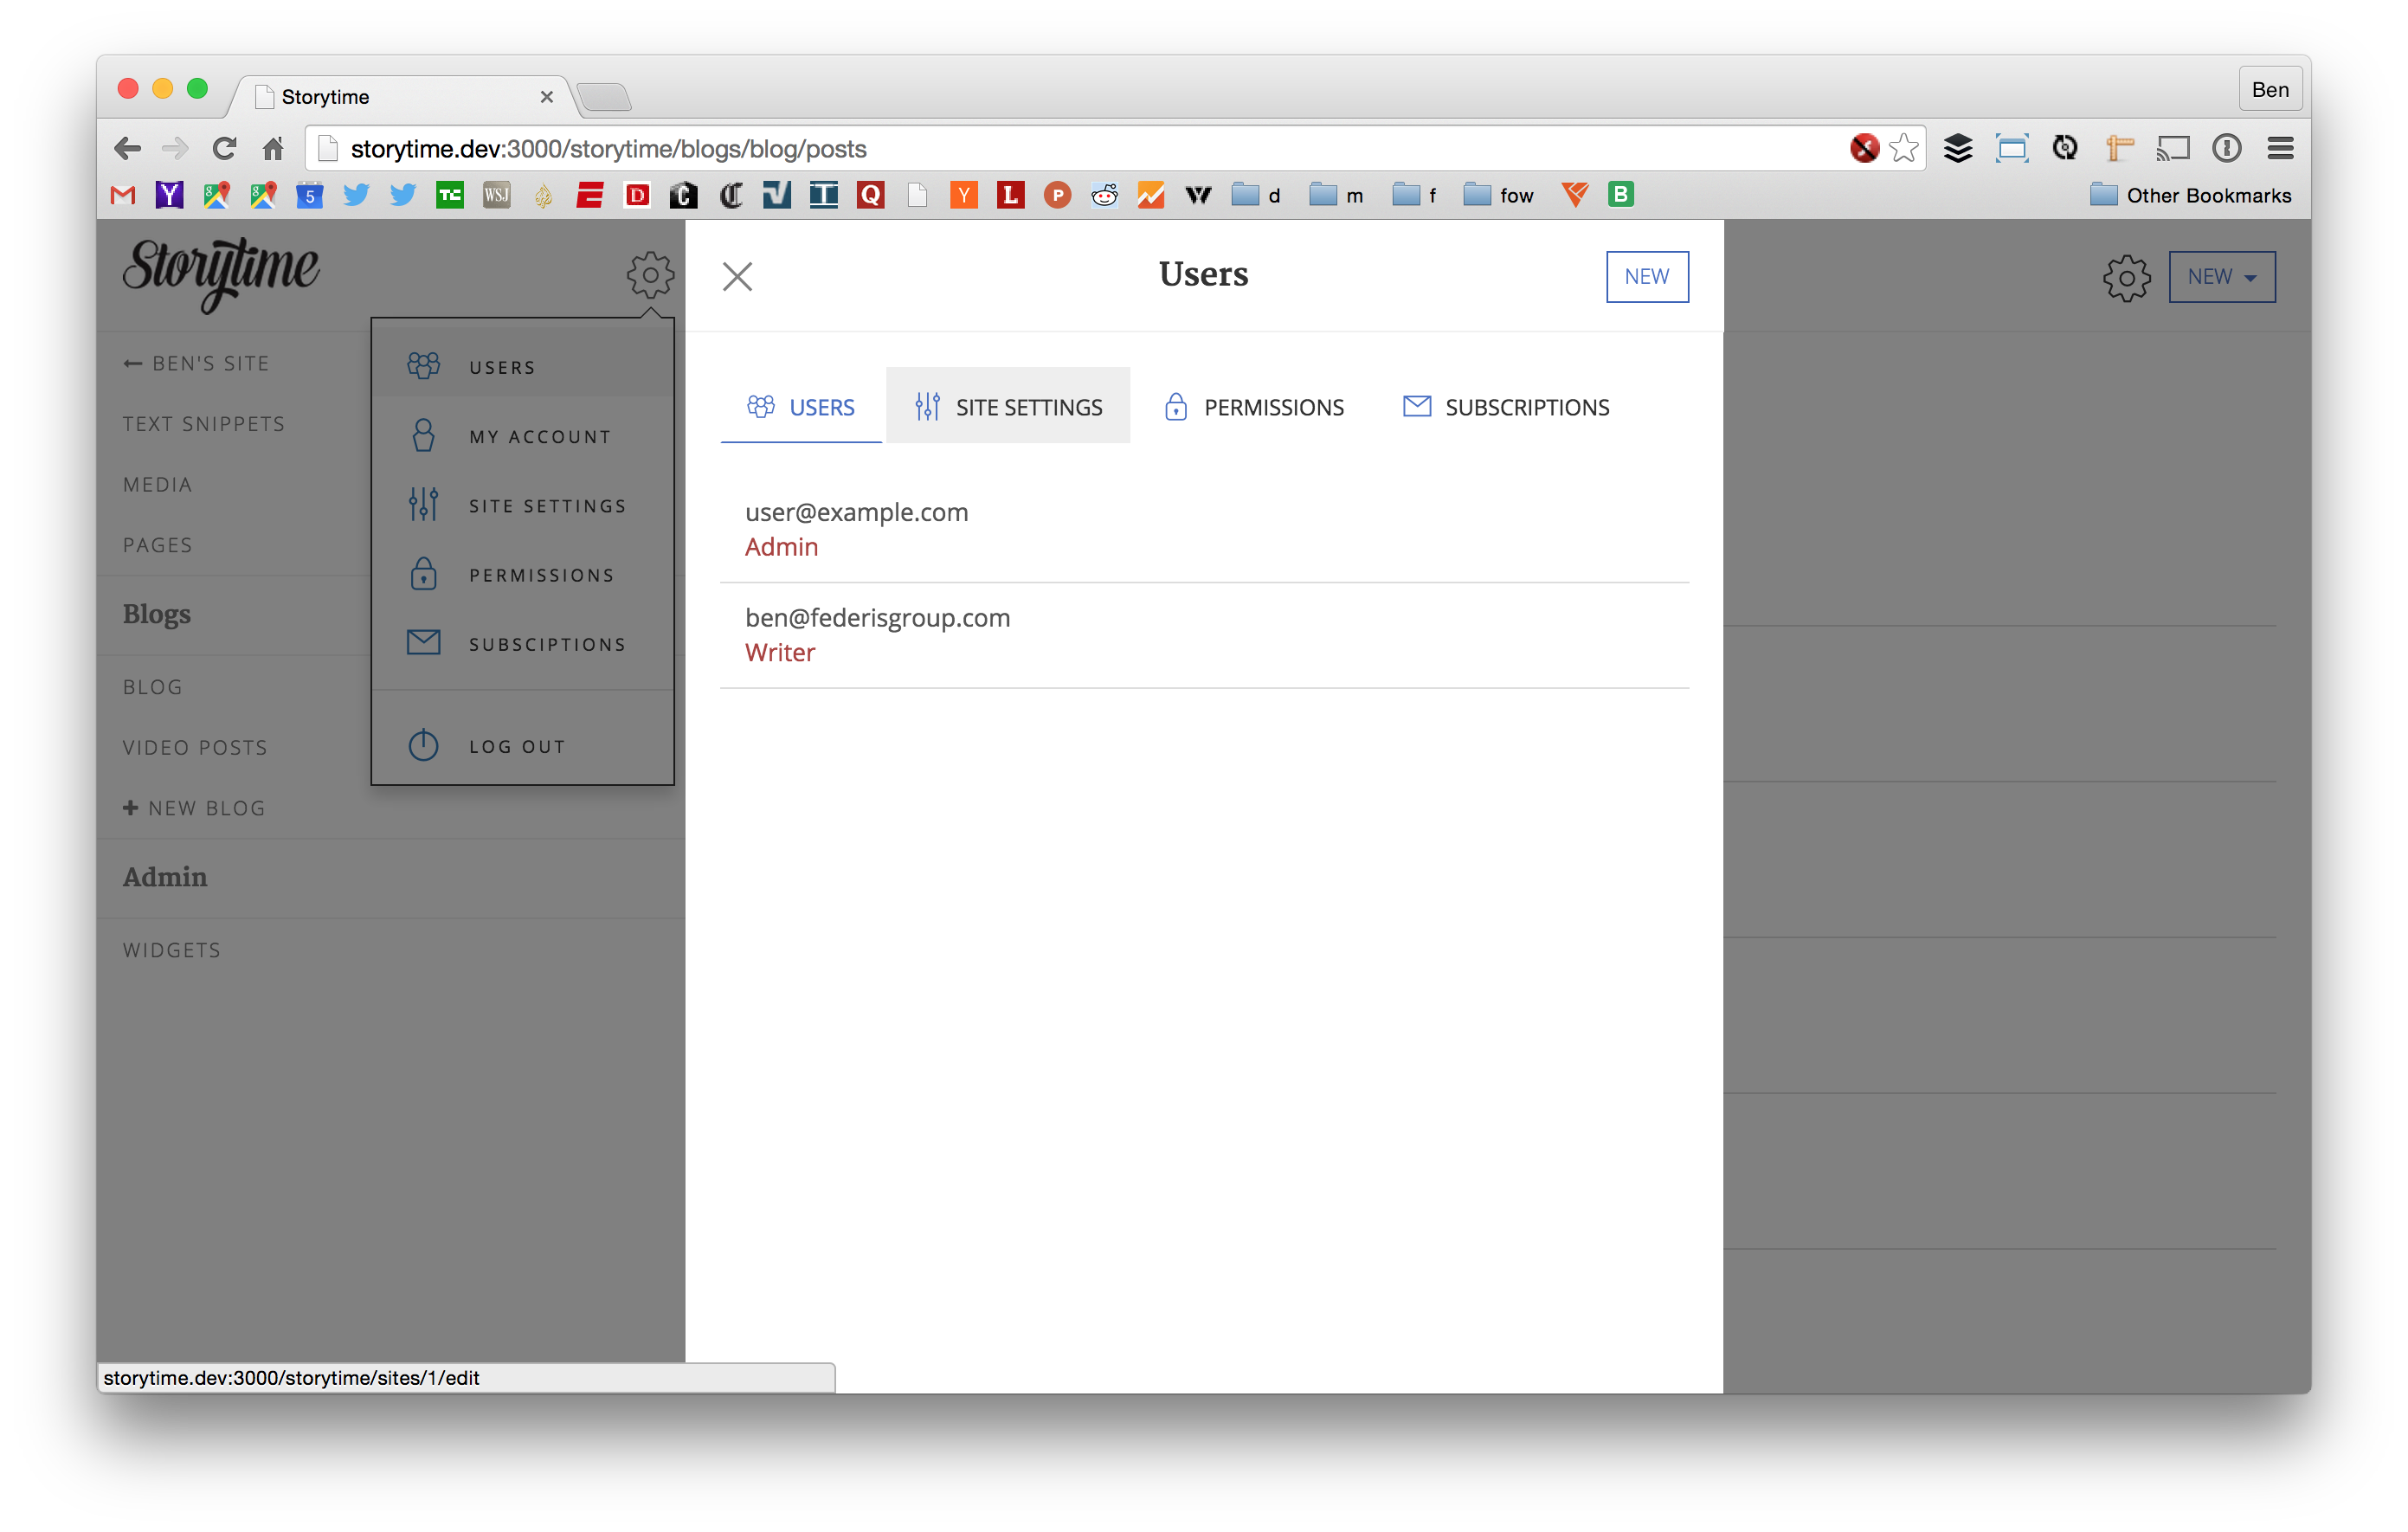
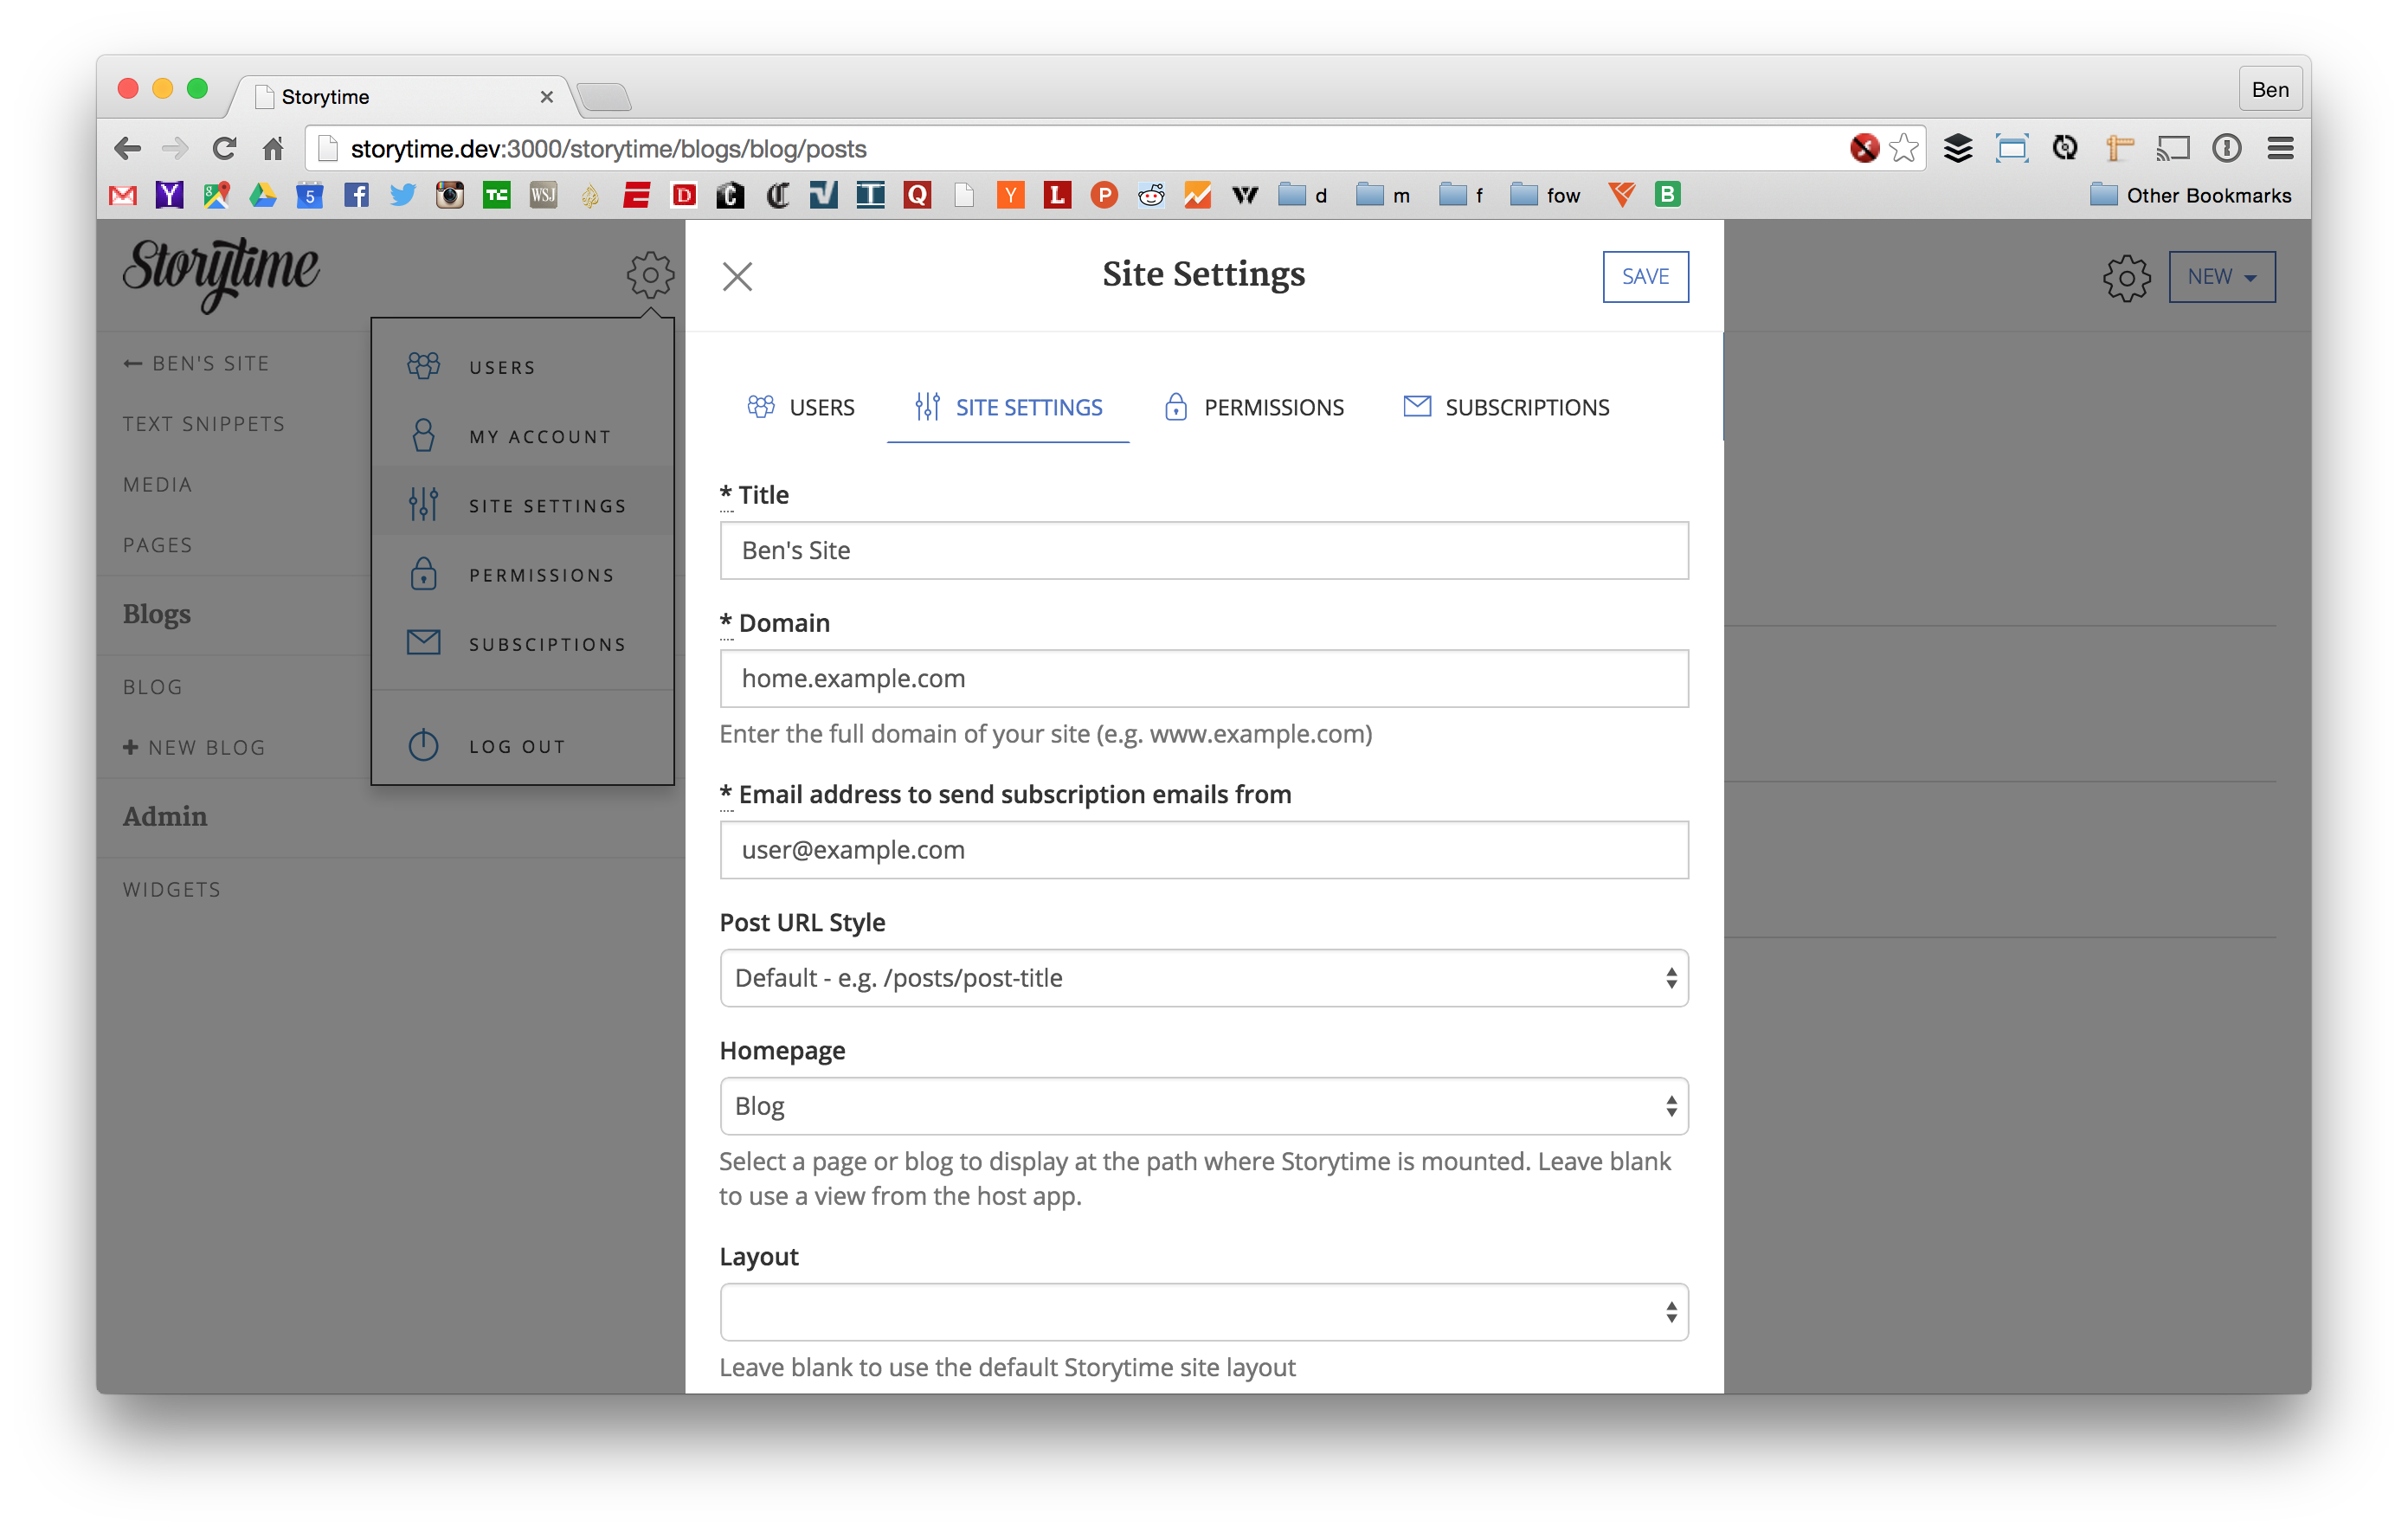
Storytime is Rails 4+ CMS and bloging engine, with a core focus on content. It is built and maintained by FlyoverWorks / @flyoverworks
With Storytime, we have a few guiding principles:
- Content, copy, and very basic formatting belongs in the CMS
- Complex page structure (html), styling (css), and interactions (javascript) belong in the host app
- Customization & extension should be supported by Storytime, but the app specific details belong in the host app, not the CMS/database
Based on these principles, it can be useful to think of the host app as the "theme" for the CMS/blog instance. Storytime provides the CMS/blog plumbing, but the host app handles presentation details that are specific to the particular site/app.
Storytime assumes that your host app has an authentication system like Devise already installed. This is a pre-requisite for Storytime. Once you have that set up, add storytime to your Gemfile:
gem "storytime"Run the bundle command to install it.
After you install Storytime and add it to your Gemfile, you should run the generator:
$ rails generate storytime:install
The generator will install a Storytime initializer containing various configuration options. After running the generator be sure to review and update the generated initializer file as necessary.
The install generator will also add a line to your routes file responsible for mounting the Storytime engine.
By default, Storytime is mounted at /. If you want to keep that mount point make sure that this is the last entry in your routes file:
mount Storytime::Engine => "/"Install migrations:
rake storytime:install:migrations
rake db:migrate
Add storytime to your user class:
class User < ActiveRecord::Base
  devise :database_authenticatable, :registerable,
         :recoverable, :rememberable, :trackable, :validatable

  storytime_user
end
After doing so, fire up your Rails server and access the Storytime dashboard, by default located at http://localhost:3000/storytime.
Storytime also requires you to have Imagemagick installed.
Optional: While not necessary, you may want to copy over the non-dashboard Storytime views to your app for customization:
$ rails generate storytime:viewsStorytime takes the position that complex page structure should not live in the database. If you need a complex page that requires heavy HTML/CSS, but still want to have the actual content be editable in the CMS, you should use a text snippet.
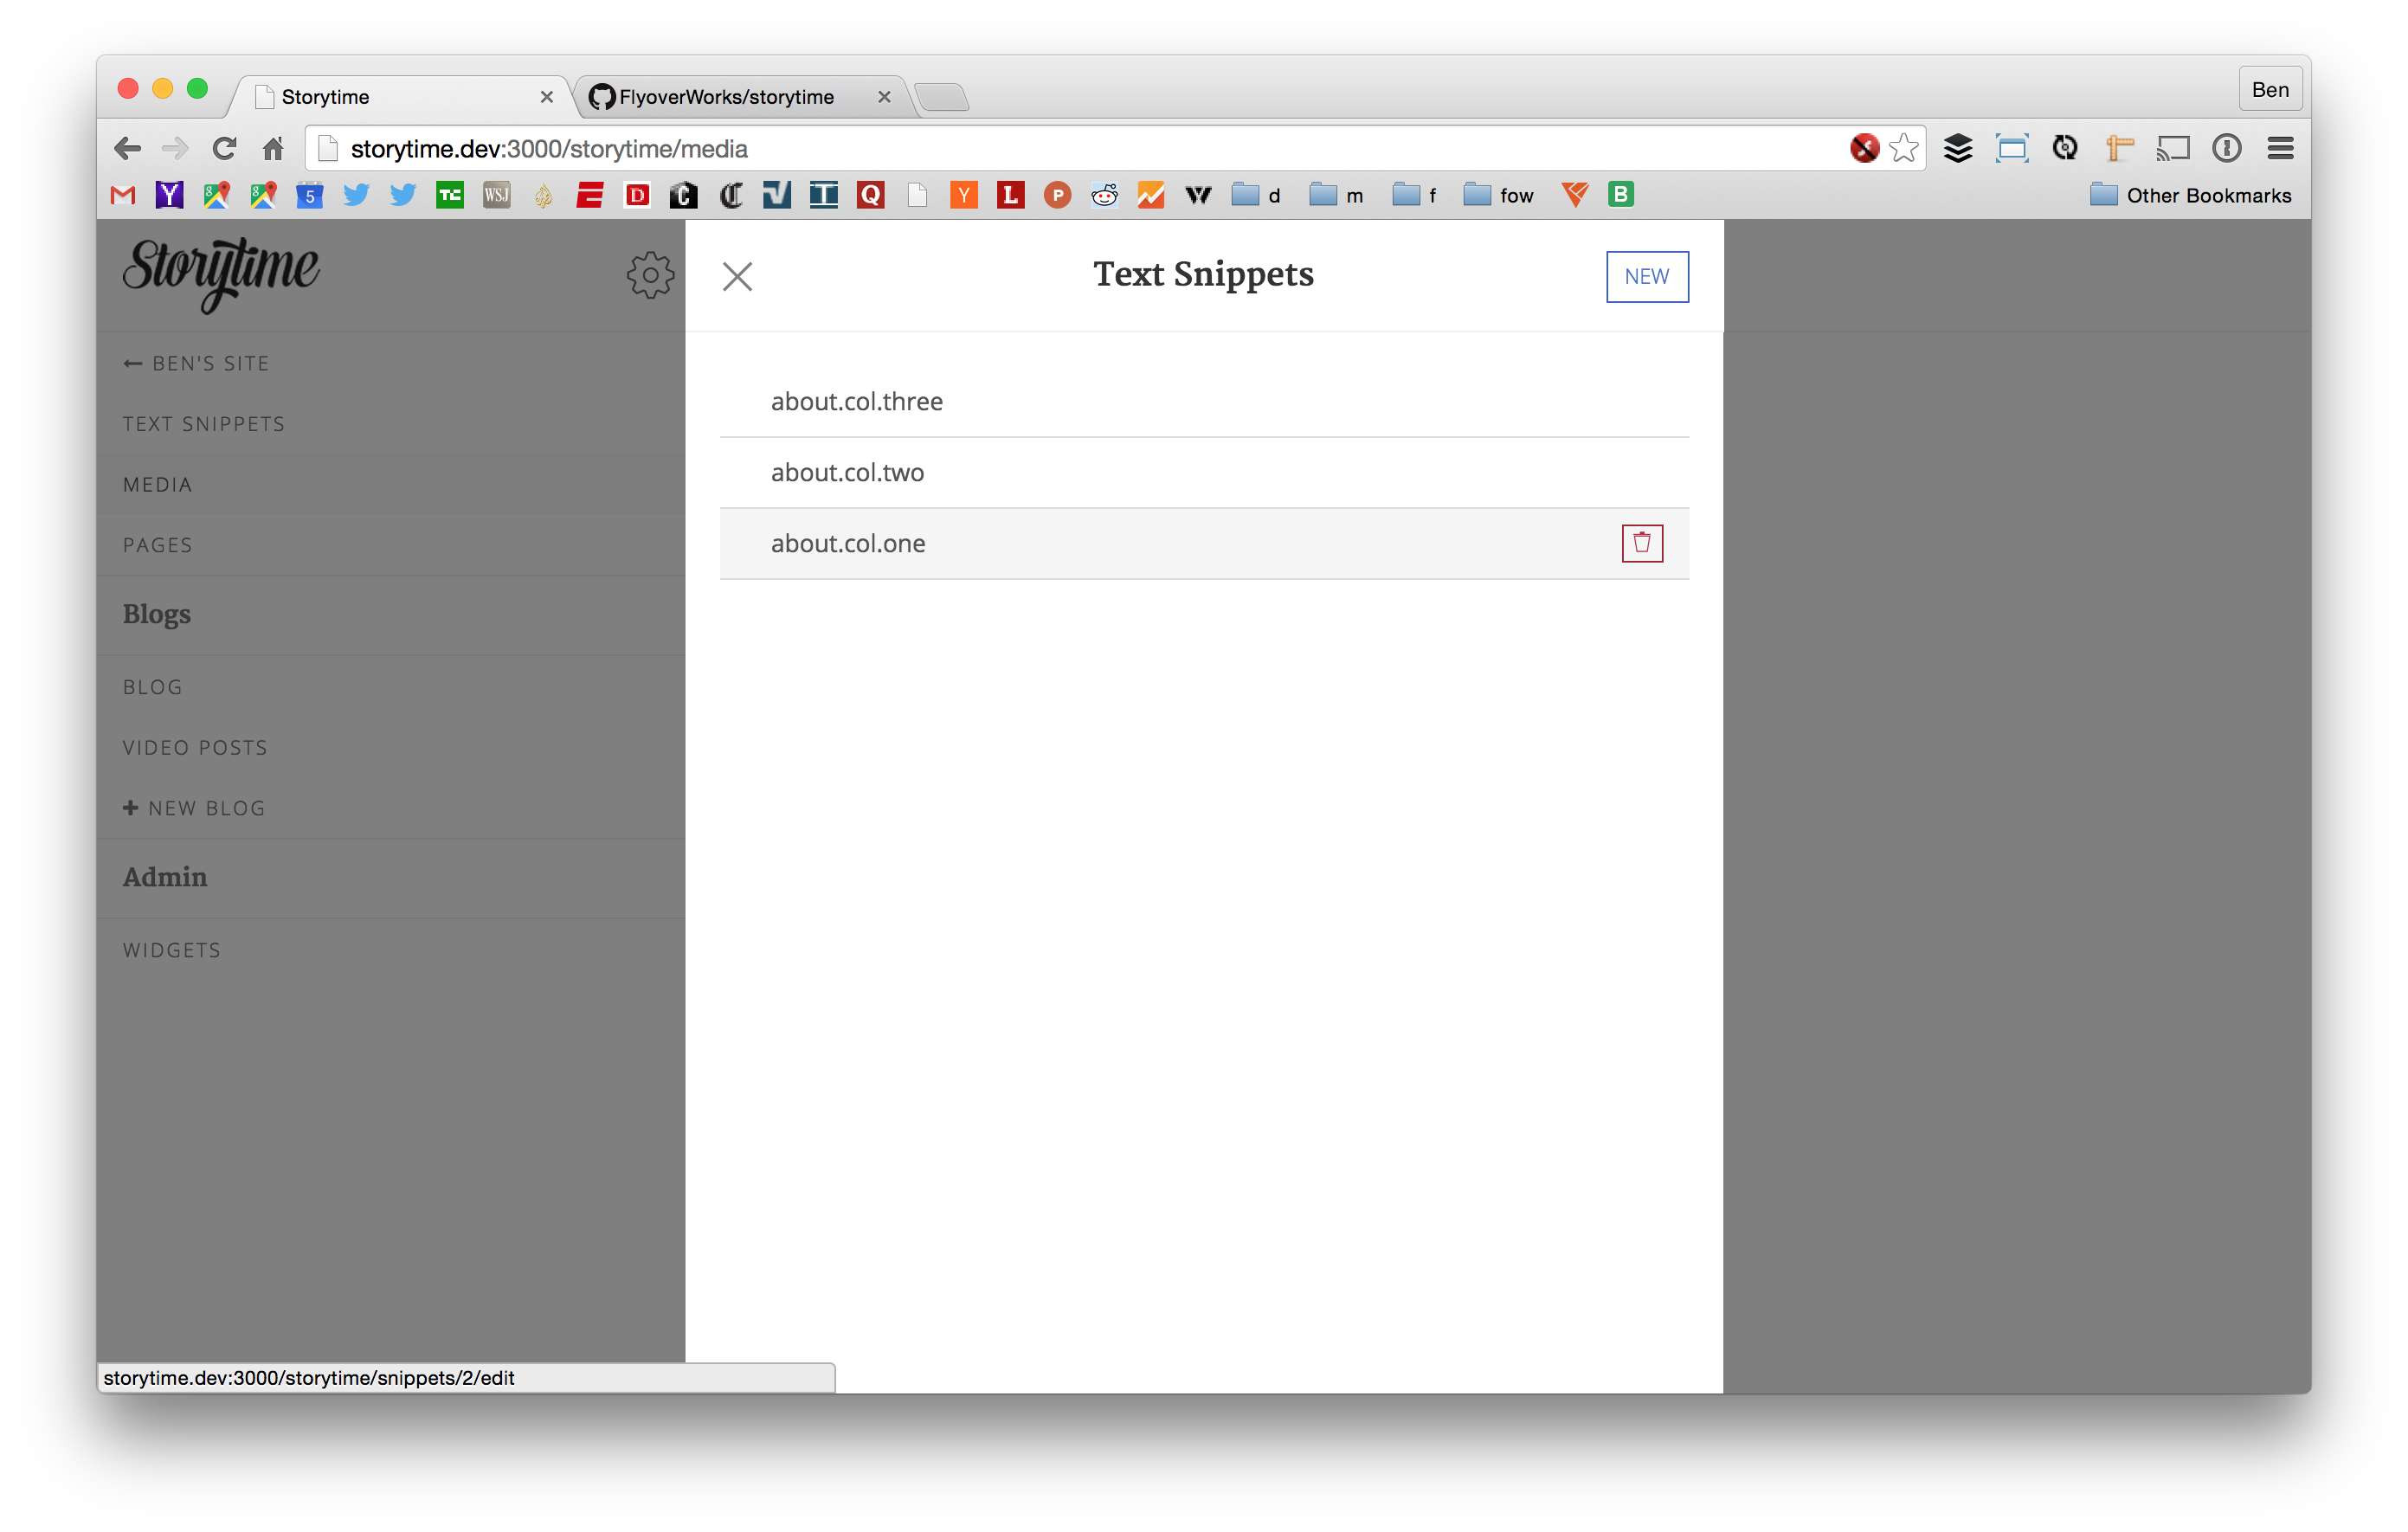
Text snippets are small chunks of user-editable content that can be re-used in various places in your host app. Snippets can be accessed through the Storytime.snippet method. Content returned from that method is marked HTML-safe, so you can even include simple html content in your text snippets.
The following example shows two snippets named "first-column-text" and "second-column-text" being accessed through the Storytime.snippet method:
<h1>My Home Page</h1>
<div class="row">
  <div class="col-md-6"><%= Storytime.snippet("first-column-text") %></div>
  <div class="col-md-6"><%= Storytime.snippet("second-column-text") %></div>
</div>
Storytime supports custom post types and takes the opinion that these are a concern of the host app. To add a custom post type, define a new model in your host app that inherits from Storytime's post class.
class VideoPost < Storytime::Post
  def show_comments?
    true
  end

  def self.included_in_primary_feed?
    true
  end
end
You then need to register the post type in your Storytime initializer:
Storytime.configure do |config|
  config.layout = "application"
  config.user_class = 'User'
  config.post_types += ["VideoPost"]
endIn your subclass, you can override some options for your post type:
show_comments? determines whether comments will be shown on the post.
included_in_primary_feed? defines whether the post type should show up in the primary post feed. If your definition of this method returns false, a new link will be shown in the Storytime dashboard header. If it returns true, Storytime will show it as an option in the new post button on the dashboard.
You can also add fields to the post form for your custom type. In the host app, add a partial for your fields: app/views/storytime/dashboard/posts/_your_post_type_fields.html.erb, where your_post_type is the underscored version of your custom post type class (the example class above would be _video_post_fields.html.erb). This partial will be included in the form and passed a form builder variable named f.
For example, if we had created a migration in the host app to add featured_media_caption and featured_media_ids fields to the VideoPost model, we could do the following:
# app/views/storytime/dashboard/posts/_video_post_fields.html.erb
<%= f.input :featured_media_caption %>
<%= f.input :featured_media_ids %>
Any custom field that you want to edit through the post form must also passed to Storytime for whitelisting through the storytime_post_params_additions method in your ApplicationController.
def storytime_post_param_additions
  attrs = [:featured_media_caption, {:featured_media_ids => []}]
  attrs
endTo create a custom #show view for your custom type, we could add one to app/views/storytime/your_post_type/show.html.erb, where your_post_type is the underscored version of your custom post type class (the example class above would be video_post).
In your initializer, change the media storage to s3 and define an s3 bucket:
Storytime.configure do |config|
  # File upload options.
  config.enable_file_upload = true

  config.media_storage = :s3
  config.s3_bucket = "my-s3-bucket"
end
Then, you need to set STORYTIME_AWS_ACCESS_KEY_ID and STORYTIME_AWS_SECRET_KEY as environment variables on your server.
While many people and companies focus on growing their social media followings, there's a wealth of evidence that a robust email list is significantly more valuable. We wanted to make it easy for Storytime bloggers to collect email addresses from their readers, so we added the following features for email collection and management:
- Email collection & storage support
- Basic email list management
- Optional notification of list members when new blog posts are published
- 1-click unsubscribe support
To enable subscription sign-up within a custom view, simply use the storytime_email_subscription_form helper wherever you'd like to collect email addresses. For example:
# a simple post#show template
<div class="post"><%= @post.content %></div>
<div>Enjoy this post? Sign up and we'll notify you of future posts!</div>
<%= storytime_email_subscription_form %>
In the future, we plan to also add support for automatically adding colelcted emails to dedicated email marketing platforms, such as Mailkimp.
You can search Storytime post types through search adapters available to Storytime. By default, Storytime.search_adapter will use the Postgres search adapter. If you are using a database other than Postgres be sure to change the search_adapter type in your Storytime initializer. Available search adapters include support for Postgres, MySql, MySql Fulltext (MySql v5.6.4+), and Sqlite3, and are as follows:
Storytime::PostgresSearchAdapter, Storytime::MysqlSearchAdapter, Storytime::MysqlFulltextSearchAdapter, Storytime::Sqlite3SearchAdapter
To search all Storytime post types pass the search string to the adapter's search function:
Storytime.search_adapter.search("search terms")
To search a specific Storytime post type pass the search string along with the post type to the adapter's search function:
Storytime.search_adapter.search("search terms", Storytime::BlogPost)
The ability to search through post types is also available in Storytime::Posts#Index.
http://localhost:3000/posts?search=search_terms
To limit the search results to a particular post type, pass the specific post type as the parameter type.
http://localhost:3000/posts?search=search_terms&type=blog_post


