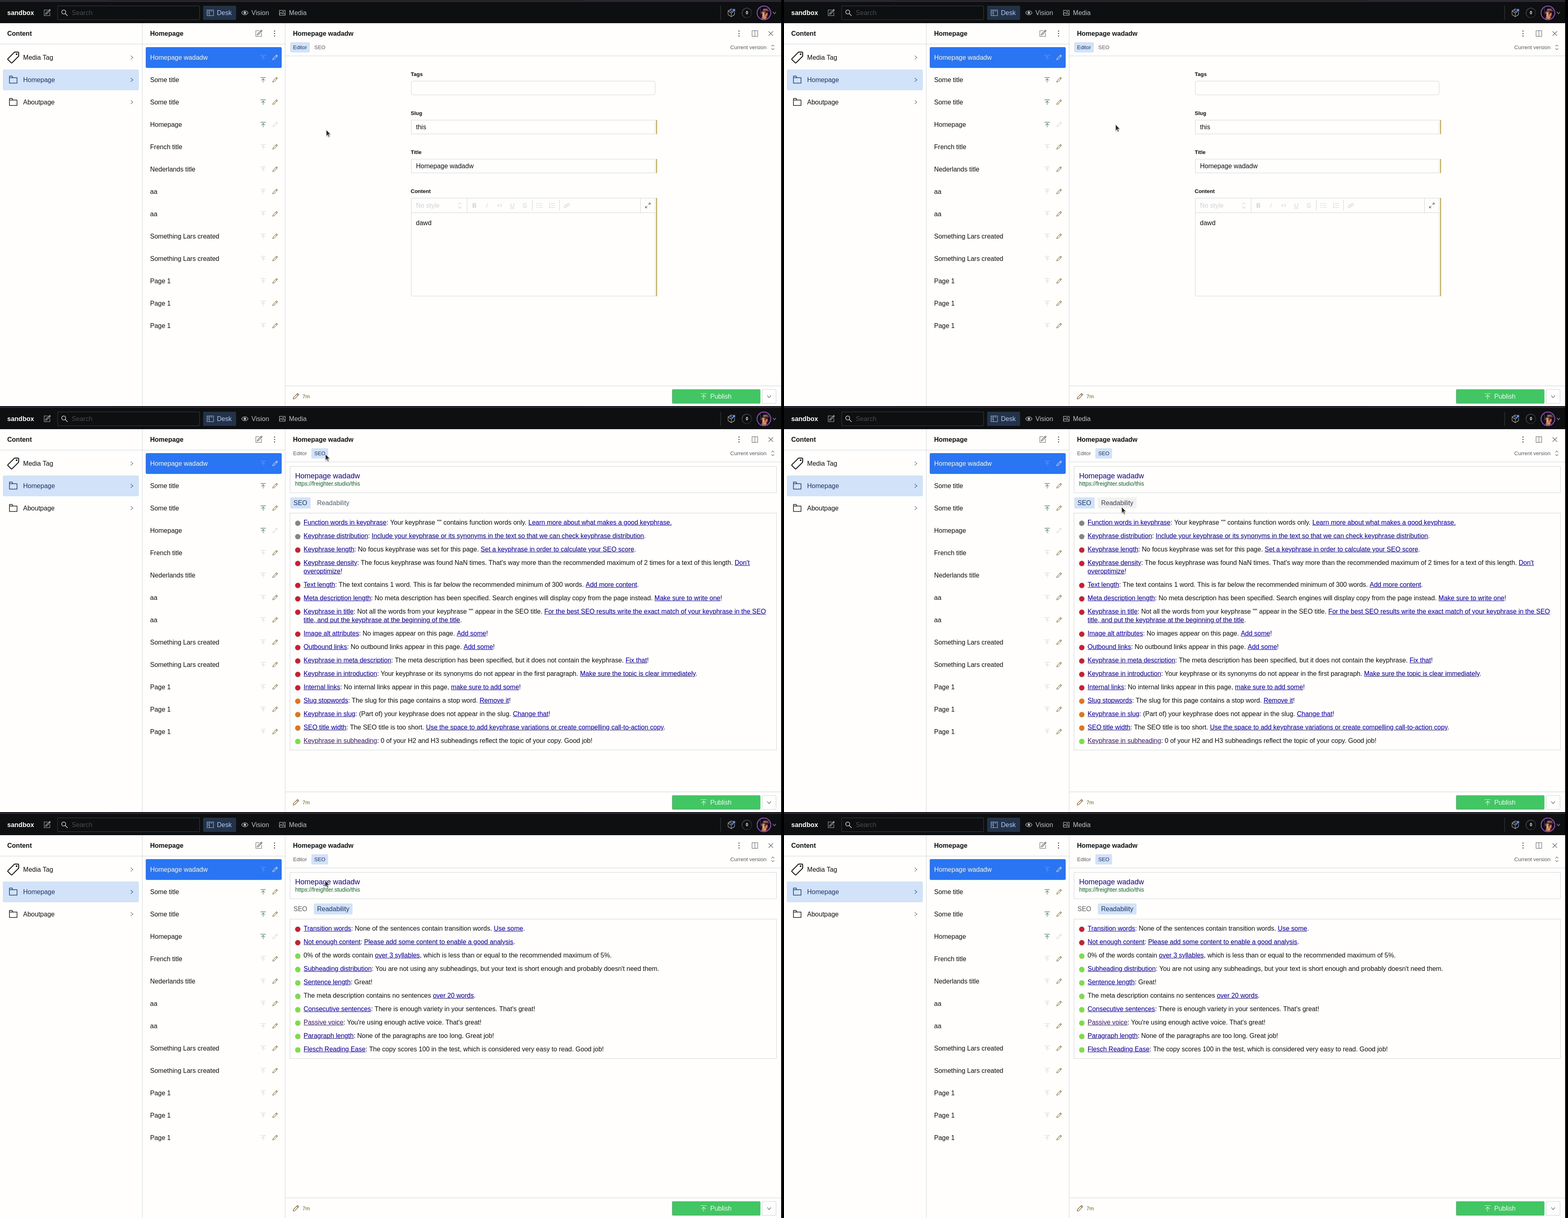
Upgrading from V2 to V3 is a breaking change. The
seo-toolsinput has been replaced by a SEO pane which needs to be set-up using a custom desk structure as per the installation guide. Secondly, the previously automatically provided fields (focus keyword, seo title, ...) are no longer provided and should be manually defined in your schema and provided using theselectproperty.
When proposing backend solutions for a client website many will request something like WordPress as this is a system they are familiar with. One of the tools that is available for WordPress is Yoast to give the user feedback on the SEO of the current page. This plugin can bring those insights into Sanity for your clients so you can finally start developing those projects with Sanity. (it is powered by YoastSEO.js)
This is the documentation for v3
This is simply done by running sanity install seo-tools or if you want to do it manually, you can also run yarn add sanity-plugin-seo-tools and add the seo-tools entry to sanity.json.
This plugin makes use of a custom studio pane. If you are unsure about how to add custom panes, please refer to the official Sanity documentation. Your desk structure will look something like this:
import React from 'react'
import S from '@sanity/desk-tool/structure-builder'
import { SeoToolsPane } from 'sanity-plugin-seo-tools'

export const getDefaultDocumentNode = () => {
  return S.document().views([
    S.view.form(),
    S.view.component(SeoToolsPane).options({
      fetch: true,
      resolveProductionUrl: (doc) => (
        new URL(`https://sanity.io/${doc?.slug?.current}`)
      ),
      select: (doc) => ({
        focus_keyword: doc.focus_keyword ?? '',
        seo_title: doc.seo_title ?? '',
        meta_description: doc.meta_description ?? '',
        focus_synonyms: doc.focus_synonyms ?? [],
      }),
    }).title('SEO')
  ])
}

export default S.defaults()In the default config, as seen above, you will see fetch, resolveProductionUrl and select. This is the most basic configuration you can utilize.
Using this config, the plugin will try to fetch the page and run the Yoast analysis on the resulting HTML using the SEO input parameters defined in the select property.
However, keep in mind this requires setting up CORS rules and a server side rendered preview mode which pulls in draft content.
It is often easier to add additional configuration to make the analysis work regardless of the live website. This can be achieved as follows:
S.view.component(SeoToolsPane).options({
  fetch: false,
  resolveProductionUrl: (doc) => (
    new URL(`https://sanity.io/${doc?.slug?.current}`)
  ),
  select: (doc) => ({
    focus_keyword: doc.focus_keyword ?? '',
    seo_title: doc.seo_title ?? '',
    meta_description: doc.meta_description ?? '',
    focus_synonyms: doc.focus_synonyms ?? [],
  }),
  prepare: (doc) => ({
    title: doc.seo_title ?? '', // when using `fetch` this is extracted from the <title> tag
    description: doc.meta_description ?? '', // when using `fetch` this is extracted from the <meta name="description" /> tag
    locale: doc.__i18n_lang ?? 'en-US', // when using `fetch` this is extracted from the `lang` attribute of the root tag
    content: ReactDOMServer.renderToStaticMarkup(<PortableText document={doc.content} />), // when using `fetch` this is extracted from `body`. This does not need to be an exact copy of your live website, but should match the semantic structure for proper analysis
  })
}).title('SEO')Lastly, it is also possible to customize the SERP preview by providing the render option:
S.view.component(SeoToolsPane).options({
  fetch: true,
  resolveProductionUrl: (doc) => (
    new URL(`https://sanity.io/${doc?.slug?.current}`)
  ),
  select: (doc) => ({
    focus_keyword: doc.focus_keyword ?? '',
    seo_title: doc.seo_title ?? '',
    meta_description: doc.meta_description ?? '',
    focus_synonyms: doc.focus_synonyms ?? [],
  }),
  render: (resultFromSelect, resultFromPrepare, defaultSerpPreviewChildren) => (
    <div>
      {defaultSerpPreviewChildren}
    </div>
  )
}).title('SEO')