If by reading the title of this article you're thinking that we're going to build just a chatting app then you're thinking wrong, no we're not😅. Hey-Hey.!!! We all have built some kind of chat app in our free time then why to built one more again. So before you leave, let me explain why We're not going to create just a chatting app and why it is different from what you have built in the past as it does not use any REST API, not even a well-known WebSocket. we're going to build something much better faster, which is End-To-End encrypted, don't need any server And its code is short to write(Size matters, and sometimes it should be small).
So when I start searching about how to create any Real-time communication between two peers I didn't get many results. Everything was just hard to understand and not much help for a beginner. While searching one word was coming, again and again, it was WebRTC. So I want to understand what it is and how it works.
The first thing I found out about it is that it is really hard to find good content over WebRTC and second misconception. I'm just focusing on the second one in this article. Most of us when start learning WebRTC think it is just related to Video/Audio streaming and it is only restricted to client-client connection because it is only present in the browser. But WebRTC is much more than Video/Audio it is something much greater and much dynamic. It is built over some great legendary protocols.
Just for a quick note I'm not going in depth how WebRTC work. If you're interested you can read WebRTC For The Curious book.
WebRTC, short for Web Real-Time Communication, is both an API and a Protocol. The WebRTC API allows developers to use the WebRTC protocol. With WebRTC, you can add real-time communication capabilities to your application. The WebRTC API has been specified only for JavaScript defined by W3C and Protocol defined By IETF. It is just a bundle of different protocols. It is not just limited to Video/Audio it is much greater than that, you can also send text, binary or generic data. To increase your curiosity Cloud gaming is going to be build around WebRTC
- By default Feature E2EE.
- Connect two users with no public IP (NAT traversal, ICE).
- Stay connected on Move(Auto-negotiation by ICE Restart).
- Connect without knowing IP(mDNS).
- No more headline blocking(By SCTP).
You can understand WebRTC Lingo by clicking here
-
Signaling Offer/Answer :- So let's understand this by an eg. I don't know you & you don't know me. We have no idea about each other than how we're going to communicate with and what they are going to communicate about. So by Signaling we explain to each other, Hey man this is my address(NAT mapping) and this is the language(codec) I support, We can talk about Media(MediaStream) or some generic data(DataChannel), the man just chill and talk whatever you want I'm here for you. This is all done by sharing SDP with each other.
-
Connecting:- Now we know enough about each other. But the problem arises that we only know each other at a higher level in a networking term at the application layer, we should know each other's limitations and find a better way to communicate at the network layer that's why we share ICE candidates.Why we need ICE more here.
ICE candidate in layman's terms would be like hey this is my phone number, this is my email, my house address these all can be an ICE candidate. In simple terms, ICE candidate is just "These are some paths by which you can access me" it can be HostName(local Ip Addr), Server reflexive(NAT mapping), Relay(Proxy server/TURN server), etc.
Because of ICE candidates, we can be stay connected on the move:- New ICE candidate as you move(Wifi/LTE). Switch to between better connection when present(Auto-negotiation by ICE Restart)
-
Securing:-DTLS(TLS over UDP)+SRTP, Encryption over RTP. That mean now you have End to End Encryption(E2EE). No more man-in-middle.
-
Communication:- Now lets communicate, MediaCommunication or DataChannel whatever you want.
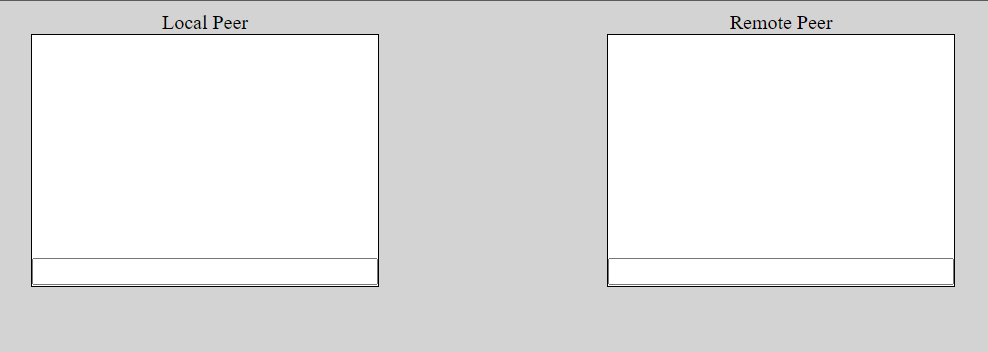
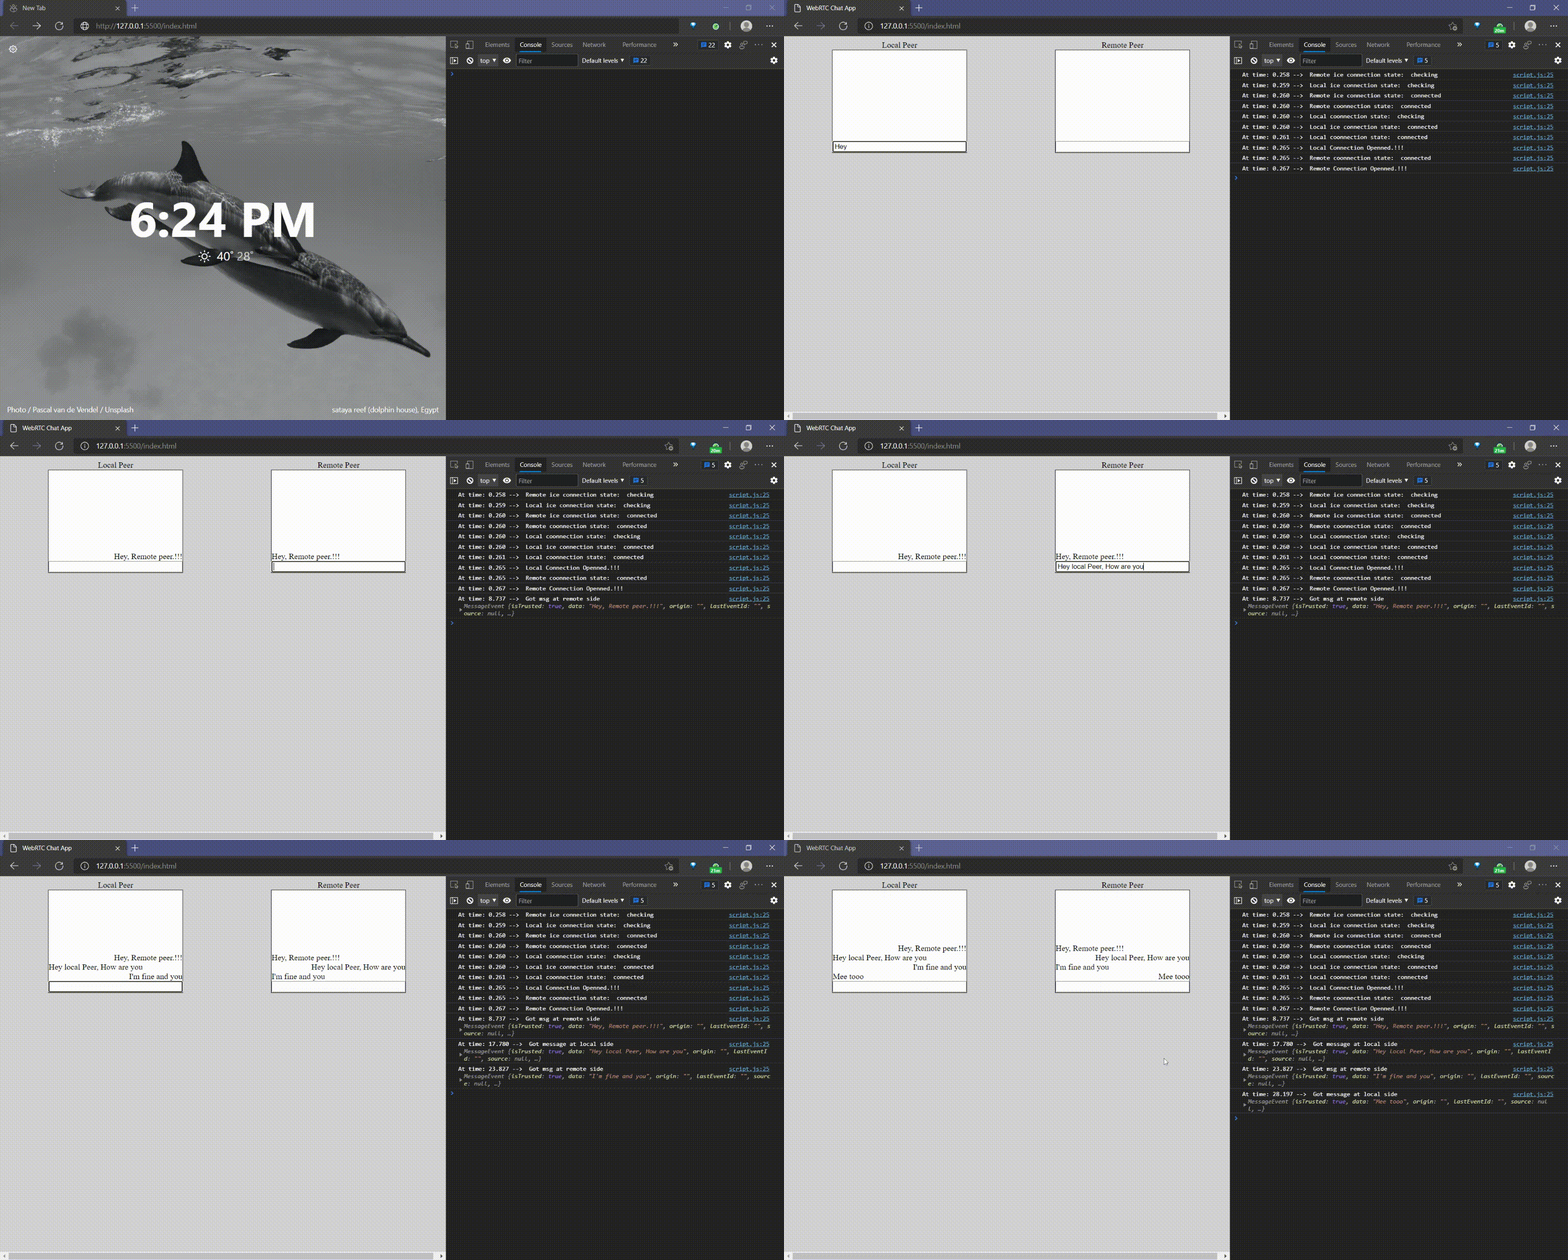
In the chat app there will be two peer Local and Remote. We're going to use WebRTC API in browser.

let localmessageInput = document.getElementById("local");
let localMessageArea = document.getElementById("localmsg");

localmessageInput.addEventListener("keyup", (event) => {
  if (event.key === "Enter") {
    addChildMessage(localMessageArea, event.target.value, "right");
    localChannel.send(event.target.value);
    event.target.value = "";
  }
});-
Get reference to Input element and message are.
-
Add an event on input element whenever
ENTERis pressed.- Add message to text area, with
rightalign. - Call some
localChannel.sendfunction and pass our input value. - clear the input value.
- Add message to text area, with
Everything is same for remote peer part of code.
let config = null;
// config = {
//   iceServers: [
//     {
//       urls: ["stun:stun1.l.google.com:19302", "stun:stun2.l.google.com:19302"],
//     },
//   ],
//   iceCandidatePoolSize: 10,
// };

let localPeer = new RTCPeerConnection(config);
let remotePeer = new RTCPeerConnection(config);
We create RTCPeerConnection object which provides methods to connect to a remote peer, maintain and monitor the connection. In our setting config is null as our project is running in local enironment if you are connecting two peer over internet then you can use the commented config.
Step define here are not proper way of signalling so please refer The WebRTC perfect negotiation pattern
async function init() {
  localPeer
    .createOffer()
    .then((localOffer) => localPeer.setLocalDescription(localOffer))
    .then(() => remotePeer.setRemoteDescription(localPeer.localDescription))
    .then(() => remotePeer.createAnswer())
    .then((remoteSDP) => remotePeer.setLocalDescription(remoteSDP))
    .then(() => localPeer.setRemoteDescription(remotePeer.localDescription))
    .catch((err) => window.alert(err));
}- So anyone can start the offering here localPeer start it by calling .
createOffer()this will return SDP of localPeer. - We store
localOfferin thelocalPeerby callingsetRemoteDescription. - Now we can send the LocalDescription by any method like webSocket, or REST API. but As our both the peer are present locally we'll directly set
setRemoteDescriptionfor theremotePeer. - Now localPeer has its own Description and remotePeer has Description of localPeer, Now remotePeer will create its own Description by calling
createAnswer()which will create the Description but also initiate the connection process. - Same as
localOfferwe can also shareremoteSDPby any proccess. Here we're just passing it tolocalPeer.
Now both the peer have Description or knowledge about each other. Now they can start connection.
If you didn't understand the proccess above then you can refer flow diagram from here.
localPeer.onicecandidate = ({ candidate }) => remotePeer.addIceCandidate(candidate);
remotePeer.onicecandidate = ({ candidate }) => localPeer.addIceCandidate(candidate);
onicecandidate Is an event-handler which specifies a function to be called whenever the local ICE agent needs to deliver a message to the other peer through the signaling server. What it does share the Info of ICE candidate it found and share to other peer, other peer just add the candidate. By this WebRTC API will try every ICE candidate and establish the throght the optimal ICE Candidate. After this step complete our connection is established. 🎉🎊.
let localChannel = localPeer.createDataChannel("chat");
let remoteChannel = null;

localChannel.onmessage = (event) => {
  log("Got message at local side", event);
  addChildMessage(localMessageArea, event.data, "left");
};

remotePeer.ondatachannel = (event) => {
  remoteChannel = event.channel;
  remoteChannel.onmessage = (event) => {
    log("Got msg at remote side", event);
    addChildMessage(remoteMessageArea, event.data, "left");
  };
};- After Connection is establish, By calling
createDataChannelon localPeer creates a new channel linked with the remote peer, over which any kind of data may be transmitted. onmessageis an event handler which specifies a function which is called when the a meessage is sent over the DataChannel by other peer.ondatachannelis an event handler which specifies a function which is called when anRTCDataChannelis added to the connection by the remote peer callingRTCPeerConnection.createDataChannel.
We have build the simplest chatting app you can think of. You can find the whole code here.
- Control robot over internet on browser
- LiveShare type application from VScode
- Cloud game, player can be all aroung the world. It'll recreate the experince like you're sitting on the crouch
- Better CDN, download one file in local area network and sharer data P2P
- Stream your Nintendo switch into Oculus
- Secure P2P Wireguard VPN tunnel
- Share browser with friends, watch movie, Shop or do whatever together
- Control drone over browser
- Terminal over Internet without any port-forwording, setting up a proxy-server or it can be behind firewall

