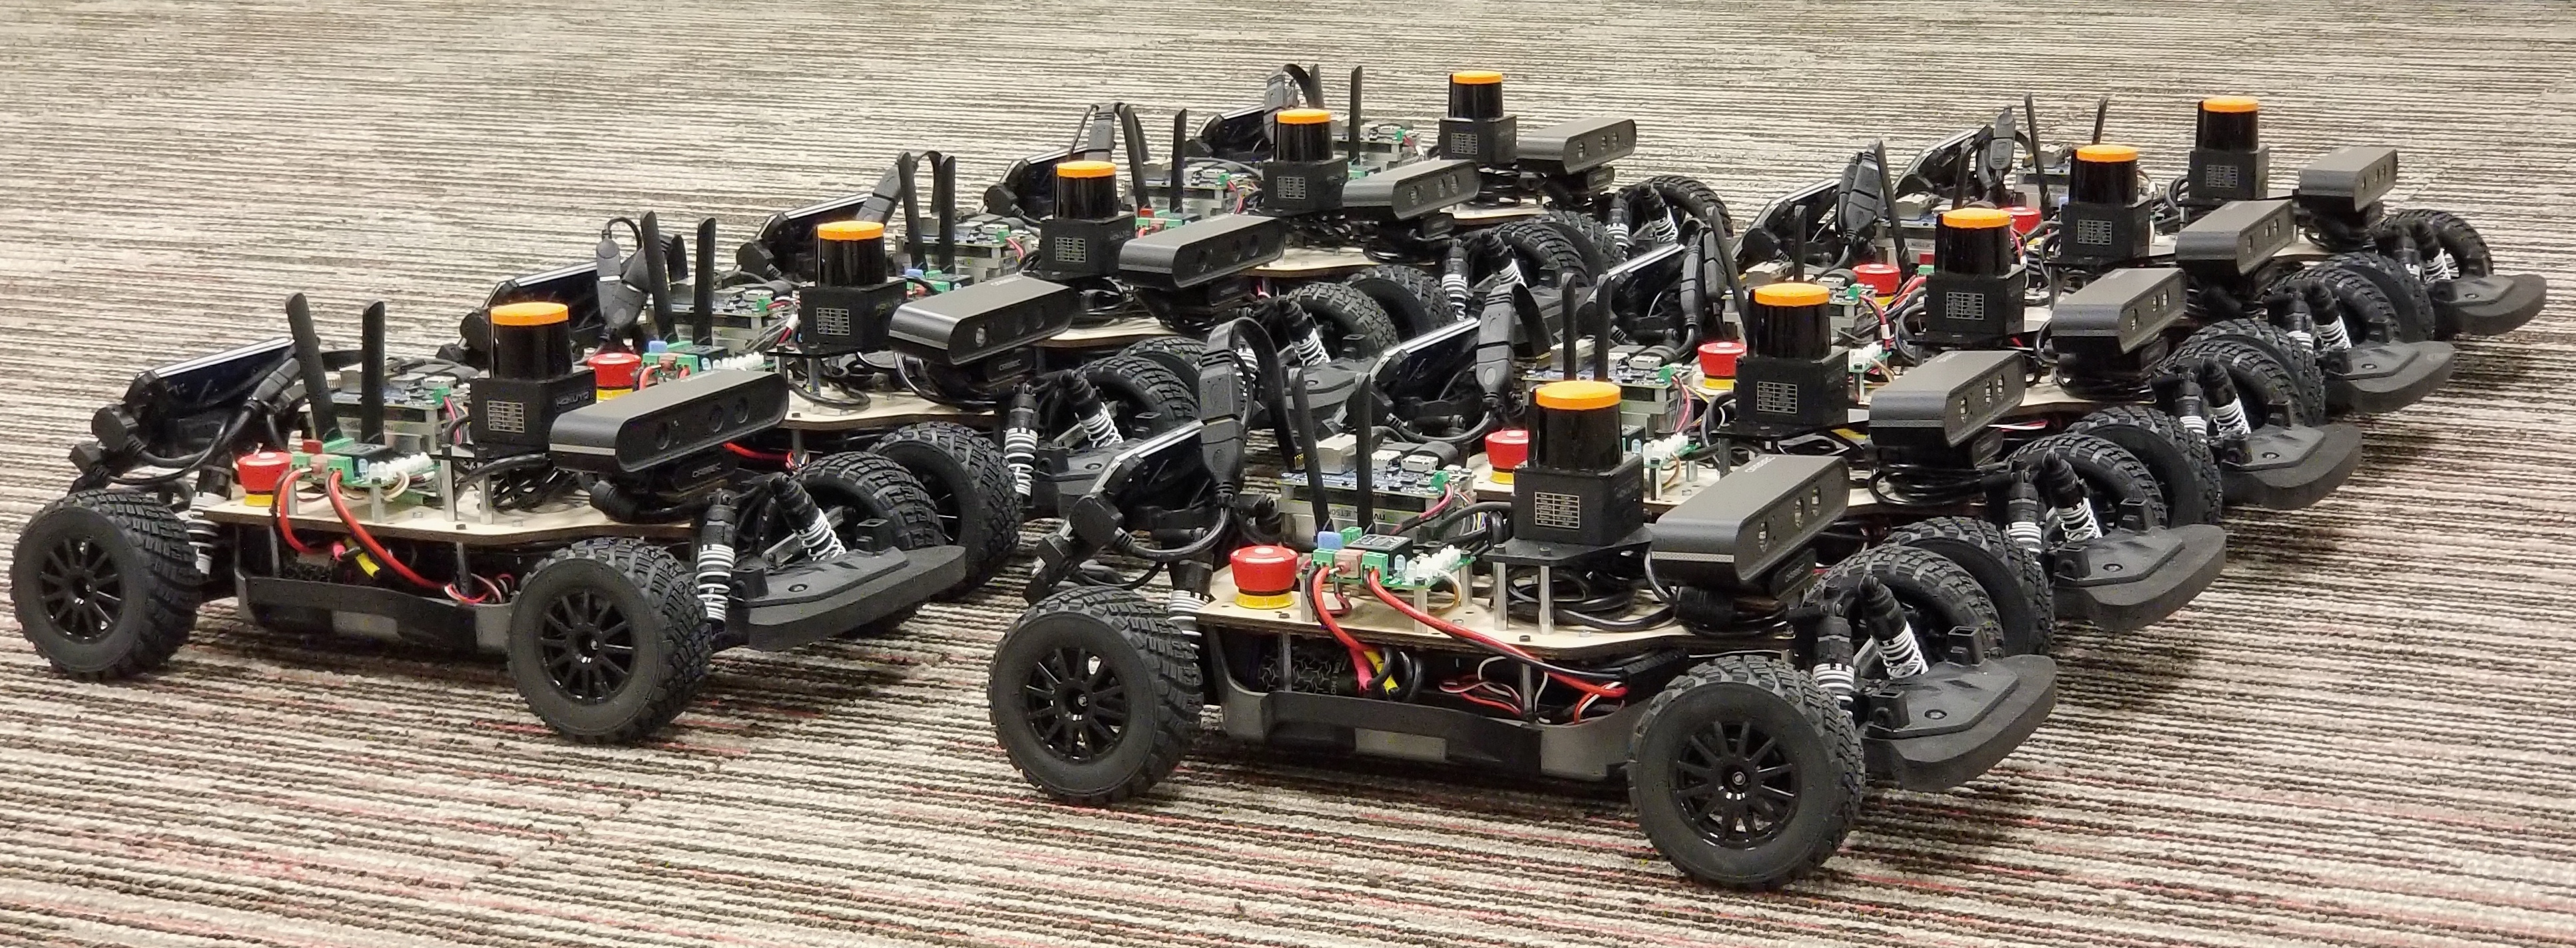
Infrastructure repository for UT AUTOmata
These instructions are tailored to the computer setup in the GDC1.310 lab. If you are setting this up on your own personal computer, you will need to modify the instructions for your own setup, including perhaps saving the setup script entries to .bashrc instead of .profile
- Add the following lines to the bottom of
~/.profile:source /opt/ros/melodic/setup.bash export ROS_PACKAGE_PATH=$ROS_PACKAGE_PATH:~/ut_automata - If you are cloning the starter code (https://github.com/ut-amrl/cs378_starter) as well, make sure to include the path for that as well in
.profile:export ROS_PACKAGE_PATH=$ROS_PACKAGE_PATH:~/projects/cs378_starter
After adding these lines you will need to either relog into the computer or run:
source ~/.profile
- Run
install_dependencies.shto install package dependencies, or manually install them:sudo apt install python-pygame libgoogle-glog-dev libgflags-dev liblua5.1-0-dev libqt5websockets5-dev libqt5opengl5-dev - Clone and build amrl_msgs.
- Clone amrl_maps.
- Clone the repository, including the submodules:
If you forgot to include the
git clone https://github.com/ut-amrl/ut_automata.git --recurse-submodule--recurse-submoduleflag when cloning the repo, you can clone the submodules later using:git submodule init git submodule update - Build the repo:
cd ut_automata
make -j
To set up the infrastructure on the real car:
- Install L4T including Ubuntu 18.04 on the car's Jetson TX2 computer. The latest supported version is L4T 32.4.4, included as part of Nvidia JetPack 4.4.1. For detailed instructions see JetsonSetup.md
- Install ROS Melodic
- Follow the same instructions above to clone the code, install dependencies,
and finally compile the infrastructure including hardware drivers using:
make hardware -j4
- Start the simulator
By default, the simulator does not provide localization information, to enable publishing ground-truth localization add
./bin/simulator--localizeto the command:./bin/simulator --localize - Websocket for remote visualization and control
./bin/websocket - Remote visualization and control
- Clone this repository on your the computer you wish to use for visualization and control, e.g. your laptop. (the OS does not matter)
- Open the
webviz.htmlfile in your browser - Enter the IP address of the computer running the simulator, and clock on
Connect
The cars have the GUI app installed with a desktop icon on the launcher bar. When clicked, it will launch the gui along with all other on-car nodes mentioned below.
- Joystick
./bin/joystick - VESC driver (motor driver)
./bin/vesc_driver - LiDAR
roslaunch ut_automata hokuyo_10lx.launch - Websocket for remote visualization and control
./bin/websocket - GUI to display and control the status of the software components
DISPLAY=:0 ./bin/gui - Remote visualization and control
- Clone this repository on your the computer you wish to use for visualization and control, e.g. your laptop. (the OS does not matter)
- Open the
webviz.htmlfile in your browser - Enter the IP address of the computer running the simulator, and clock on
Connect
- Camera (Optional)
roslaunch astra_camera astrapro.launch
To start the car driver nodes automatically when the Jetson boots up:
- Install a symlink to the
ut_automata.serviceunder systemd:sudo ln -s (PATH_TO_REPO)/scripts/ut_automata.service /etc/systemd/system/ut_automata.service - Enable the service:
sudo service enable ut_automata - Reboot the computer
- When the computer reboots, it should start all driver nodes, and show the UT AUTOmata GUI.
- You can check the status of the
ut_automataservice using:Sample output:service ut_automata statusamrl_user@car0:~$ service ut_automata status ● ut_automata.service - UT AUTOmata Loaded: loaded (/home/amrl_user/ut_automata/ut_automata.service; enabled; vendor preset: enabled) Active: active (running) since Fri 2021-01-15 22:15:42 CST; 2min 0s ago Main PID: 5264 (bash) Tasks: 55 (limit: 4915) CGroup: /system.slice/ut_automata.service ├─5264 /bin/bash /home/amrl_user/ut_automata/start_car.sh ├─6147 /usr/bin/python /opt/ros/melodic/bin/roslaunch ut_automata start_car.launch ├─6740 /usr/bin/python /opt/ros/melodic/bin/rosmaster --core -p 11311 -w 3 __log:=/home/amrl_user/.ros/log/811fd94e-57b1-11eb-b3d2-521039dc703d/master.log ├─6843 /opt/ros/melodic/lib/rosout/rosout __name:=rosout __log:=/home/amrl_user/.ros/log/811fd94e-57b1-11eb-b3d2-521039dc703d/rosout-1.log ├─6846 /opt/ros/melodic/lib/urg_node/urg_node __name:=urg_node __log:=/home/amrl_user/.ros/log/811fd94e-57b1-11eb-b3d2-521039dc703d/urg_node-2.log ├─6863 /home/amrl_user/ut_automata/bin/websocket __name:=websocket __log:=/home/amrl_user/.ros/log/811fd94e-57b1-11eb-b3d2-521039dc703d/websocket-4.log ├─6867 /home/amrl_user/ut_automata/bin/joystick --idx 1 __name:=joystick __log:=/home/amrl_user/.ros/log/811fd94e-57b1-11eb-b3d2-521039dc703d/joystick-5.log ├─6885 /home/amrl_user/ut_automata/bin/gui __name:=gui __log:=/home/amrl_user/.ros/log/811fd94e-57b1-11eb-b3d2-521039dc703d/gui-6.log ├─6906 dbus-launch --autolaunch 1597152a6da84b2892637e4a75f64179 --binary-syntax --close-stderr ├─6907 /usr/bin/dbus-daemon --syslog-only --fork --print-pid 5 --print-address 7 --session └─7632 /home/amrl_user/ut_automata/bin/vesc_driver --config_dir=/home/amrl_user/ut_automata/config __name:=vesc_driver __log:=/home/amrl_user/.ros/log/811fd - Errors on boot will be logged to
syslog. To inspect for errors:less /var/log/syslog
The car's motion profile is limited by the top speed, the top acceleration and deceleration, and the VESC motor counts/second. The relevant lines in the config/vesc.lua config file are:
erpm_speed_limit = 22000;
max_acceleration = 6.0; -- m/s^2
max_deceleration = 6.0; -- m/s^2
