-
Notifications
You must be signed in to change notification settings - Fork 25
02. Direction Finding Quickstart Guide
This QuickStart guide aims to have you connected to the Android Direction Finding App as quickly as possible with the KrakenSDR running on a Raspberry Pi 4 or Orange Pi 5B (OPI5B) (the model with WiFi). However, please make sure you read the rest of the manual to understand how radio direction finding works.
This guide assumes that you have the following equipment
- KrakenSDR
- Raspberry Pi 4/5 or Orange Pi 5B (any RAM size models will work for both devices)
- Antenna array (five identical whip antennas with five identical coax cables)
- USA-A to USB-C data cable for Pi 4 / OPI5B to KrakenSDR data connection
- USB-C power supplies for Pi 4 / OPI5B and KrakenSDR
It assumes that you will be mounting your antenna array on a vehicle for direction finding.
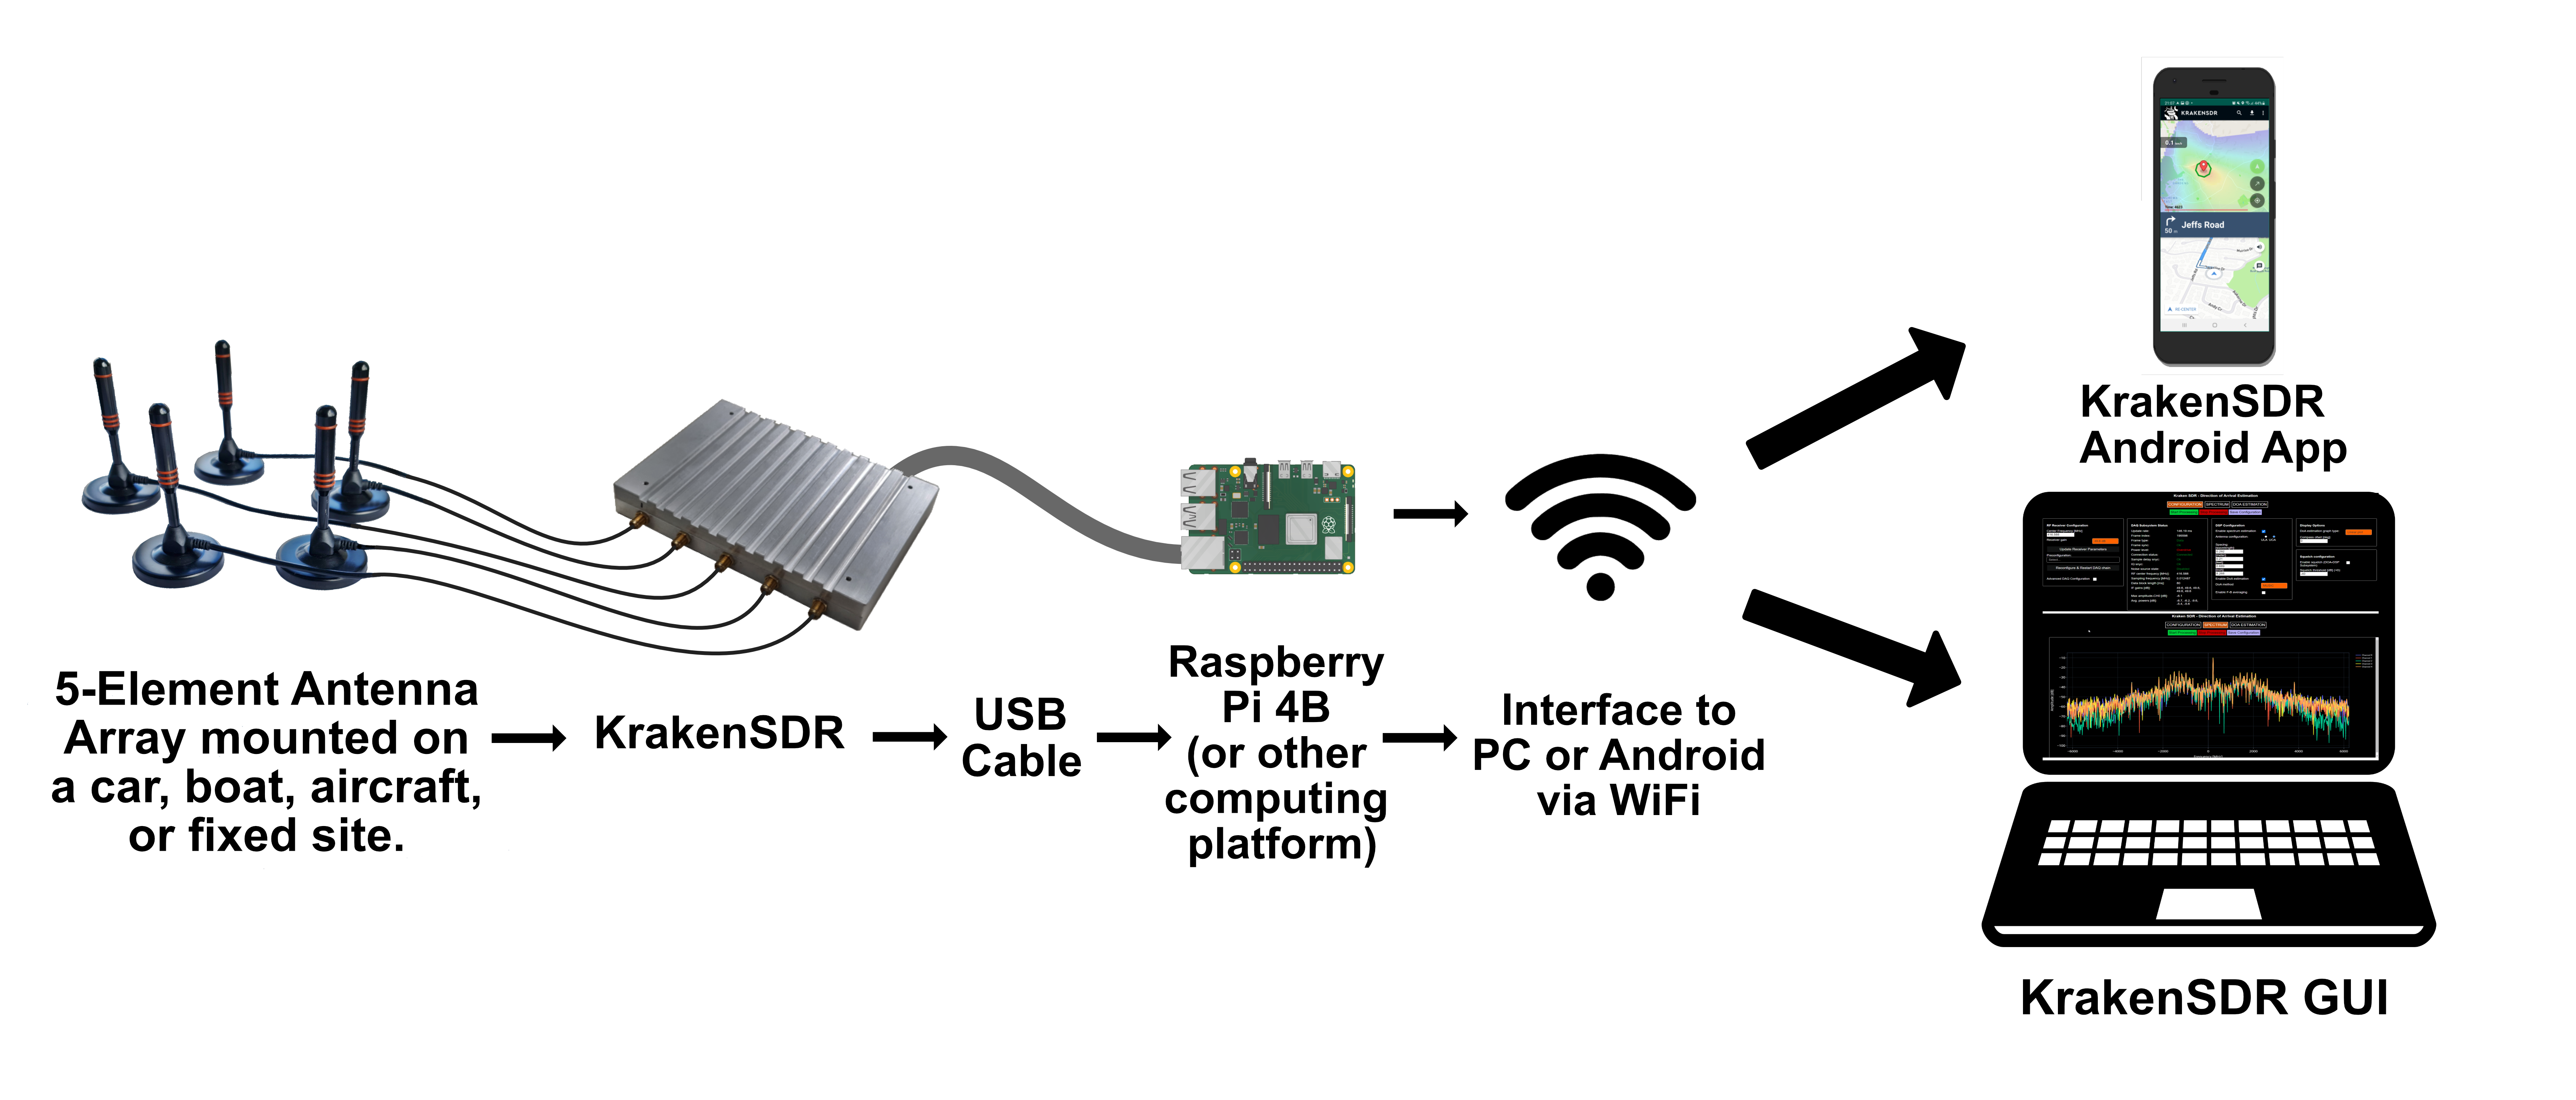
The following graphic is an overview of the entire system.

We recommend only using a Uniform Circular Antenna (UCA) array unless you are more experienced.
Consult our antenna array spacing Excel sheet for info on appropriate array spacing. Please find more detailed information about the use of this Excel sheet on the Antenna Array Setup page on this Wiki.
Quick Antenna Setup Check: Antenna hardware must be identical. Antenna cables must be of identical lengths and construction.
You may wish to use our antenna spacing template which will help with accurate antenna placement. The more accurate your array, the better your results will be.
Files for 3D printing and paper printing can be found in this repo at https://github.com/krakenrf/krakensdr_docs/tree/main/antenna_array
For both templates print the center pentagon and five arms separately, then glue them together. PAPER PRINTING NOTE: Please ensure that you DO NOT have any printer scaling turned on. The templates fit on a standard A4 paper.
Each hole is spaced at 50mm radius intervals. So you have radius spacings of 100mm, 150mm, 200mm, and 250mm. These spacings cover the following frequency range:
- 100mm : 510 - 1275 MHz
- 150mm : 340 - 850 MHz
- 200mm : 255 - 637 MHz
- 250mm : 204 - 510 MHz
Alternatively, we can also recommend an alternative 3D printed antenna spacer made by a customer on Thingiverse: https://www.thingiverse.com/thing:5787042
The image below explains how the antennas should be mounted. Make sure the array is as straight as possible. ANT-0 must connect to CH-0 on the KrakenSDR. ANT-1 must connect to CH-1 and so on.

SD Card Images can be found in this Mega Upload Folder: https://mega.nz/folder/8T1jiIzR#_1Ujs4Eoy0wdRib9eHCVSg
Alternative Google Drive: https://drive.google.com/drive/folders/14NuCOGM1Fh1QypDNMngXEepKYRBsG--B?usp=sharing
The next step is to burn the KrakenSDR Direction Finding (DF) image to an SD Card. For the Pi 4 image you will need an 8GB or larger card, and for the Pi5 and OPI5B images you will need a 16GB or larger card. We also recommend using class 10 or faster to ensure no file system slowdowns.
- Using a PC, download the “Etcher” software from balena.io/etcher. NOTE: Do not use the Raspberry Pi imager software to burn the SD card, and do not customize the login details, as the code relies on the username being kept as the default "krakenrf".
- Download the latest KrakenSDR image zip file for your Pi 4, Pi 5 or Orange Pi 5B from the SD card folder linked above.
- Use Balena Etcher to burn the image onto the SD Card. Using Etcher you can burn directly from the ZIP file. (There was a report that Etcher does not properly work on MacOS, MacOS users can try Raspberry Pi's Imager instead)
- Insert the card into your Raspberry Pi 4.
Note that USB-boot cannot be used. The reason is that the USB drive interferes with the KrakenSDR USB connection and can cause a loss of samples, which results in a loss of sample coherence.
The next steps show how to run the software and get connected to the Android app.
- Create a WiFi hotspot on your Android device with username and password credentials KrakenAndroid/KrakenAndroid. We also recommend changing your Android settings to force a 2.4 GHz hotspot connection as this is often more stable than 5 GHz, especially if you have your Pi in a metal enclosure.

- Plug the KrakenSDR power port into a 5V/2.4A+ capable supply and plug the data port into the Raspberry Pi 4.
- Boot up the Raspberry Pi 4 / OPI5B with the KrakenSDR Direction Finding SD card image installed. Keep your phone within WiFi range of the Pi 4 / OPI5B. Once booted, if the KrakenSDR hotspot is detected by the Pi 4 / OPI5B, it will automatically connect to the hotspot. You should be able to see the device with hostname 'krakensdr' show up under 'Connected devices' once connected.
- Using the 'Details' button in Mobile Hotspot (or the equivalent for your particular phone), determine the IP address of the connected Raspberry Pi 4 / OPI5B. Google Pixel phones: It has come to our attention that Pixel phones do not have any ability to show IP addresses built in to the OS. You can try a Terminal Emulator App like Termux. When the device is connected type in "ip neighb" to get the IP address of the connected device. If Termux does not work for you, try the Lan Scan feature in Network Analyzer. In both cases make sure WiFi is off, any only the mobile connection is active.

- Open a browser and connect to IP_ADDR:8080, replacing IP_ADDR with the IP Address of the Pi 4 / OPI5B server. You should see the Web GUI load. If it doesn't load, wait another 1-2 minutes in case the Pi 4 / OPI5B system is still booting.
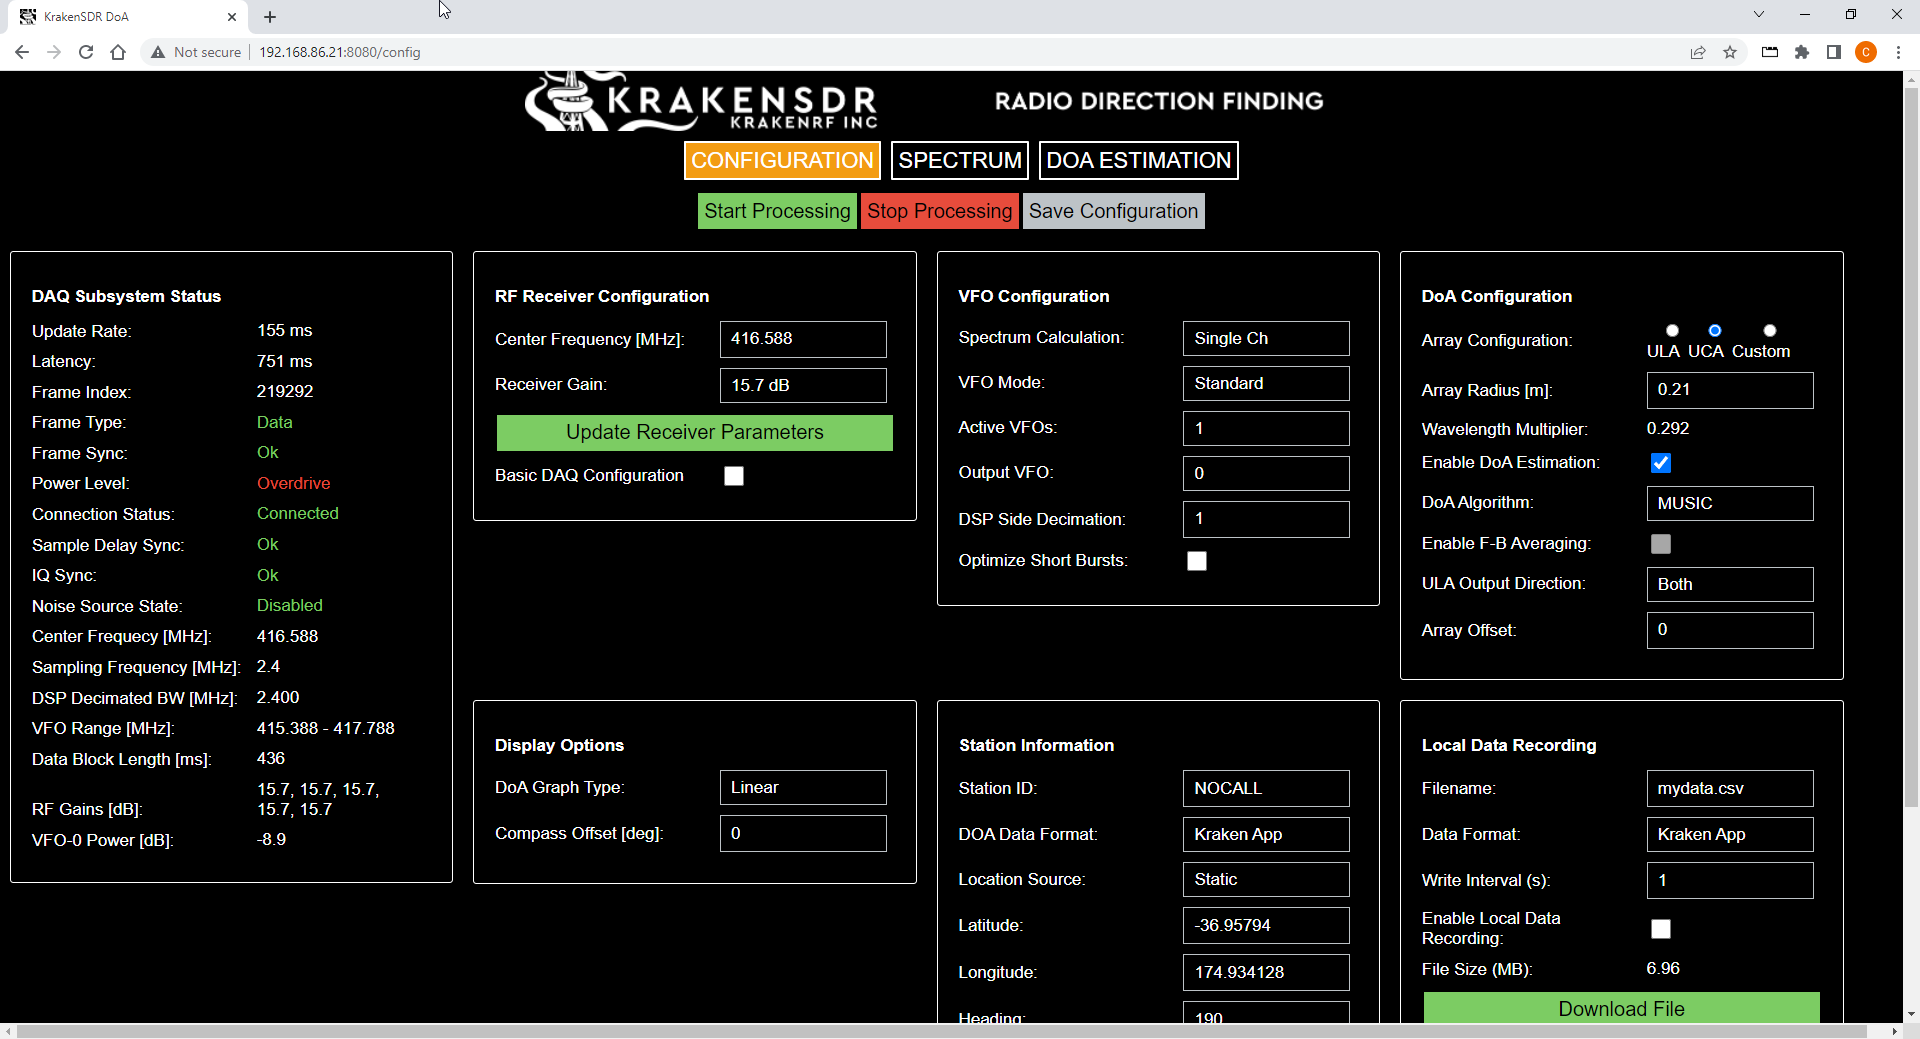
- The KrakenSDR will automatically have started processing. Ensure that the Connection Status, Sample Delay Sync and IQ Sync indicators are all green, or all turn green after a few seconds if you opened the page during calibration, and that the Frame Index is increasing.
- Set the desired center frequency, gain, antenna array radius configuration, and other settings like VFO bandwidth and squelch for the specific signal of interest. Make sure to apply the update by clicking on “Update Receiver Parameters” after changing the centre frequency or gain settings.
- Check the Spectrum screen to ensure that your signal is being received as expected.

Alternatively, if you do not want to create a mobile WiFi hotspot with your phone (no data plan, no mobile reception etc) you can use the hotspot created by the Pi 4 / OPI5B. But there will be no internet connection:
- Plug in your KrakenSDR power port to a 5V 2.4A capable supply and plug the data port into the Raspberry Pi 4 / OPI5B.
- Boot up the Raspberry Pi 4 / OPI5B with the KrakenSDR Direction Finding SD card image. The Pi 4 / OPI5B will create its own WiFi hotspot if it does not find any external hotspot it can connect to.
- Open the KrakenSDR Android app, and use the download offline maps feature to download the maps for the region that you will be working in.
- Connect to the KrakenSDR Wi-Fi hotspot on your Android device, with credentials krakensdr/krakensdr.
- The IP address of the Hotspot is fixed at 192.168.50.5
- Enter the 192.168.50.5 in the KrakenSDR Android App settings.
- You can now continue from "Start and Control the KrakenSDR" in the previous section.


- Open the KrakenSDR Android app and enter the IP Address of the Pi 4 / OPI5B server in the settings.
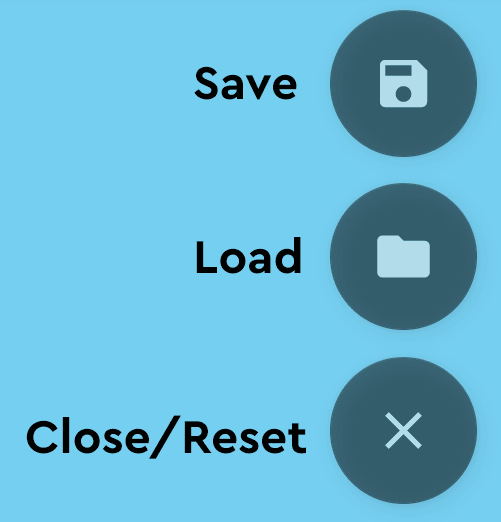
- Create a log file by pressing on the save button.
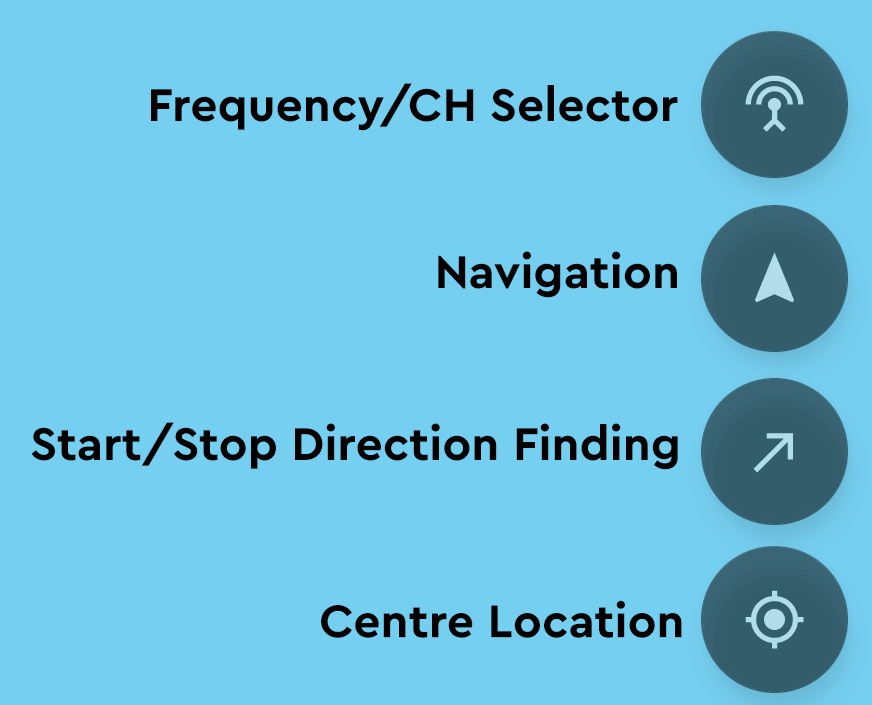
- Press the Start DOA button to begin logging data and generating the heatmap. The start DOA button looks like a diagonal arrow and is in the bottom right of the screen.
- Drive around to collect bearing data from multiple locations in order to triangulate the source.
- You can use the built-in navigation feature in the Android App, or by having your navigator direct you so that you move in the direction of the plotted bearing.
Note: If you are testing the app while stationary, the apps default is to pause data collection while no movement is detected. Hence if you are not actually driving, you may see the app not receiving data.
This is to prevent bogus headings from being generated as GPS requires movement in order to calculate an accurate heading. If you are just testing, you can temporarily turn this off in the settings, under the "Logging Options", "Pause Data Collection When Stationary" setting.
Note 2: We recommend NOT enabling 'Plot Log File' during a drive as this could cause app sluggishness and a cluttered view of the map space. This feature is intended for post drive analysis.