-
Notifications
You must be signed in to change notification settings - Fork 14
New issue
Have a question about this project? Sign up for a free GitHub account to open an issue and contact its maintainers and the community.
By clicking “Sign up for GitHub”, you agree to our terms of service and privacy statement. We’ll occasionally send you account related emails.
Already on GitHub? Sign in to your account
Mac 安装 nginx #158
Comments
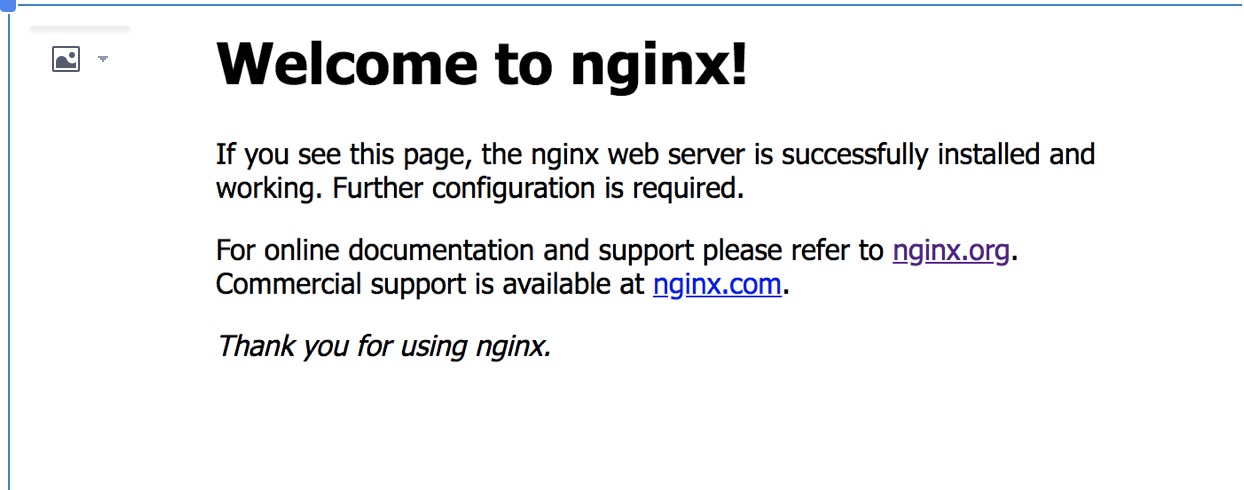
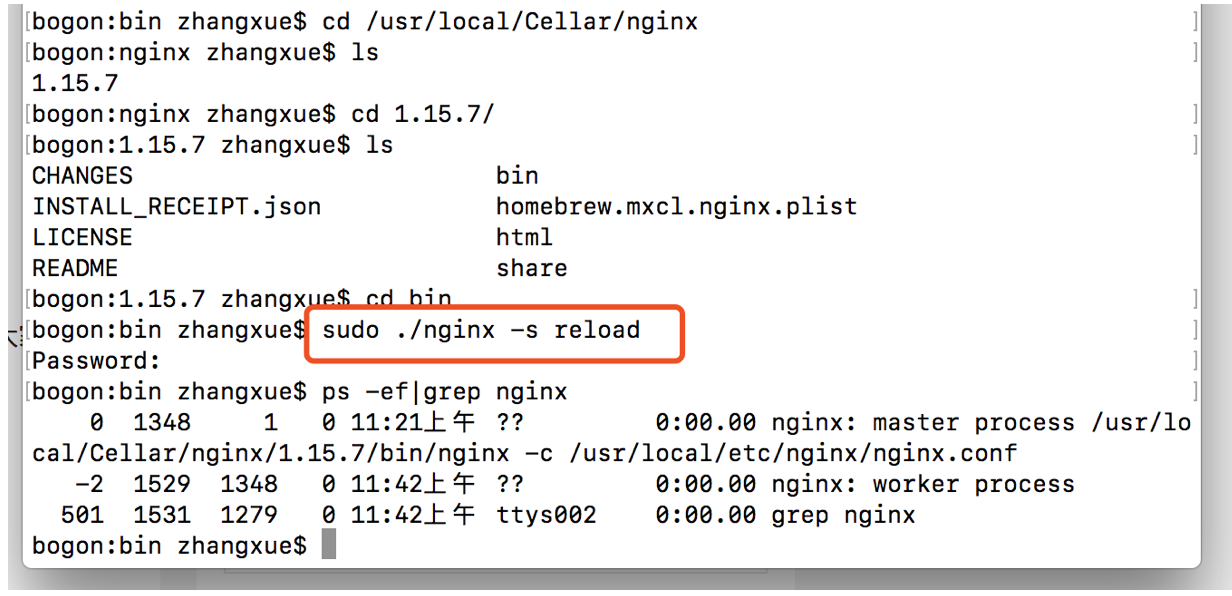
一、安装使用brew安装nginx,所以前提是装有brew 1.1、安装brew brew介绍:https://brew.sh/index_zh-cn.html 终端输入 /usr/bin/ruby -e "$(curl -fsSL https://raw.githubusercontent.com/Homebrew/install/master/install)" 1.2、检查电脑是否有nginx brew search nginx //查询要安装的软件是否存在 1.3、可以查看一下nginx的信息 brew info nginx 1.4、正式安装nginx brew install nginx 1.5、找到nginx的启动文件终端输入nginx【一般在/usr/local/Cellar/nginx/1.15.7/bin/nginx目录下】 nginx 1.6、浏览器访问localhost:8080【默认端口,如需更改请求配置文件conf更改】 出现如下所示,即启动成功 二、文件目录配置文件路径:/usr/local/etc/nginx/nginx.conf 安装路径:/usr/local/Cellar/nginx/1.15.7 服务器默认路径:/usr/local/var/www 三、启动、重启、停止3.1、查看是否启动:ps -ef|grep nginx 启动成功【有master这个进程】: 3.2、启动: sudo /usr/local/Cellar/nginx/1.15.7/bin/nginx -c /usr/local/etc/nginx/nginx.conf 或者直接去/usr/local/Cellar/nginx/1.15.7/bin/下输入sudo nginx 【不知道直接sudo nginx】可以不 3.3、重启: 3.3.1、方法1 进入/usr/local/Cellar/nginx/1.15.7/bin/ 输入sudo ./nginx -s reload 3.3.2、方法2 kill -HUP 进程号 kill -HUP 1348 3.4、停止 ps -ef|grep nginx 找到master对应的进程号1348 kill -QUIT 1348 (从容的停止,即不会立刻停止) Kill -TERM 1348 (立刻停止) Kill -INT 1348 (和上面一样,也是立刻停止 |


1、打开终端
2、安装Command Line tools
xcode-``select--install3、安装brew命令
ruby -e ``"$(curl -fsSL https://raw.githubusercontent.com/Homebrew/install/master/install)"4、安装nginx
brew install nginx5、启动nginx
sudo nginxOK, nginx就安装好了,可以在浏览器访问了,默认端口为8080,
在浏览器输入 http://localhost:8080/ 就能看到nginx在本计算机搭建的服务器
相关截图:
8080是nginx自带的默认网站设置的端口,
现在我们自己来创建一个网站,设置端口和映射路径
6、自定义网站和端口
6.1 创建网站,编写几个测试网页
6.2 复制网站TanWeb文件夹物理路径,打开终端,准备编辑nginx的配置文件:
vim /usr/local/etc/nginx/nginx.conf
6.3 进入nginx.conf页面后,按 “i" 键进入编辑状态,
自定义端口,和配置本地网站TanWeb, 注意设置访问权限( user root owner; ),不然等会访问网站会出现403错误
6.4 按esc键退出编辑状态,输入 :wq 保存退出nginx.conf页面
6.5 重新启动nginx
sudo nginx -s reload
6.6 在浏览器输入localhost加自定义的端口,就能访问到配置好的网站了,
比如我的端口配置为5188, 则在浏览器输入http://localhost:5188/, 如图

另外如果不想通过终端对nginx.conf进行编辑,可以直接去nginx文件夹打开配置文件进行编辑保存
The text was updated successfully, but these errors were encountered: