-
-
Notifications
You must be signed in to change notification settings - Fork 7
How to use simulated sample temperature
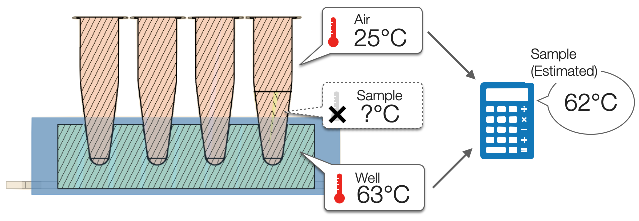
NinjaLAMP has an option to use simulated temperature of the sample instead of the measured temperature of the well. To obtain precise result, you need to specify some parameters.
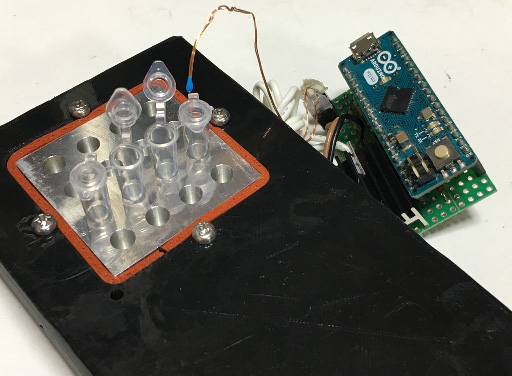
First, remove the air thermistor from the box.
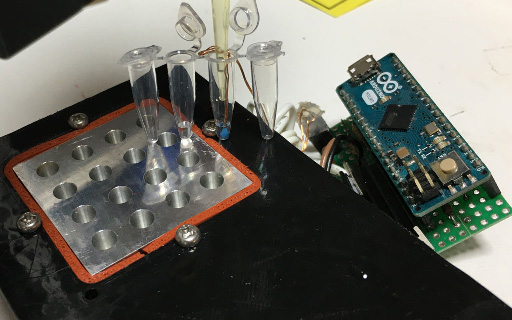
Prepare two or more tubes and put the same quantity of water as you use in the experiment int a tube. Then, insert the thermistor to the bottom of another tube and add water until the two tubes have equal water levels.

(TODO: detailed description) Start NinjaLAMP withOUT the heat simulation feature (do not call NinjaLAMPCore.enableSampleTempSimulation function).
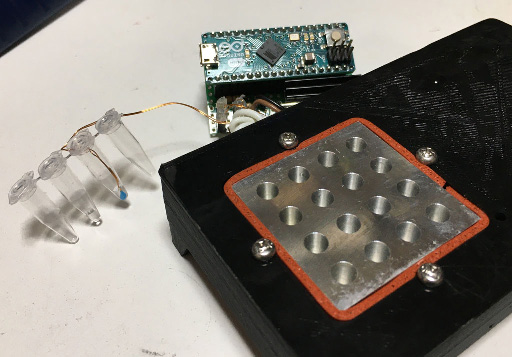
Open Tools > Serial Monitor or Tools > Serial Plotter of Arduino IDE and wait until the well temperature reaches the target.
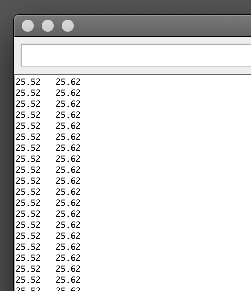
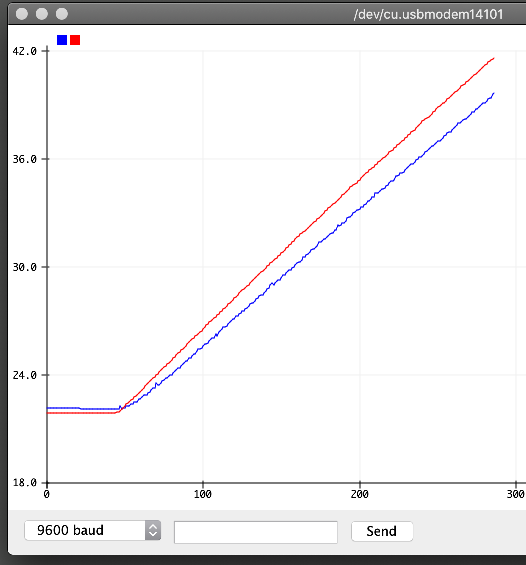
Then, set the tubes to the well and measure the speed of heating. Note that NinjaLAMP send one line every 0.5 second. You can save the record by capturing the image of Arduino's Serial plotter or copy & paste the output of the Serial monitor.
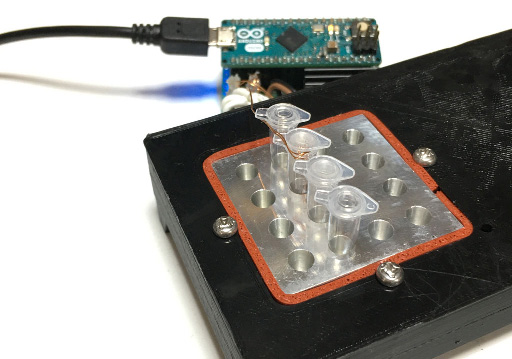
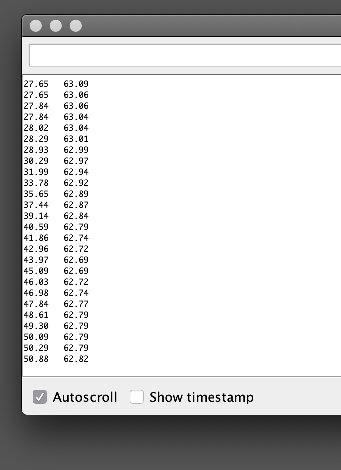
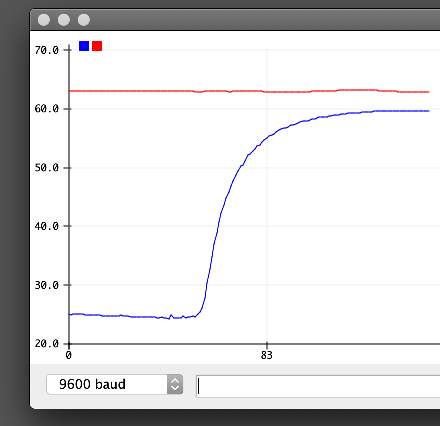
Then, wait for a while until the air temperature get stable and record the temperature. It is supposed to a bit cooler than the well.
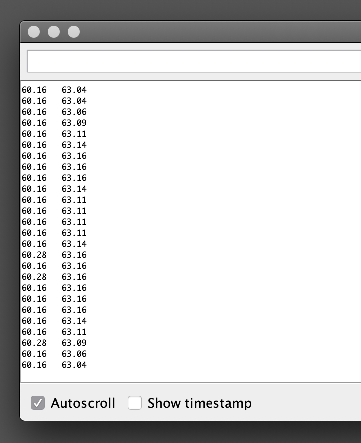
Now you are ready to fix the parameters!
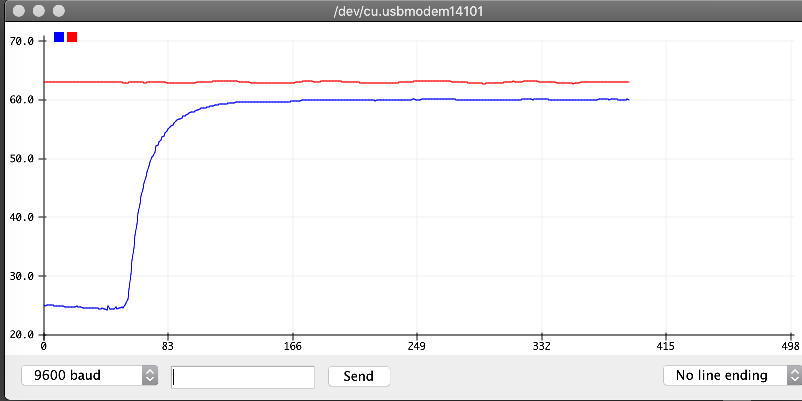
sampleTemp : Sample's temperature (measured by the air thermistor) after getting stable airTemp : Air's temperature measured before heating the well wellTemp : Well temperature speed : dT/dt at the first stage of heating the sample
HEAT_RESISTANCE_RATIO = (sampleTemp-airTemp) / (wellTemp-sampleTemp) TUBE_HEAT_CAPACITY = (wellTemp - airTemp) / speed
#define HEAT_RESISTANCE_RATIO 24.0 /* <-- Modify this line */
#define TUBE_HEAT_CAPACITY 8.0 /* <-- Modify this line */
Pass the two values as the parameters of NinjaLAMPCore.enableSampleTempSimulation() function.
core.enableSampleTempSimulation(HEAT_RESISTANCE_RATIO, TUBE_HEAT_CAPACITY);
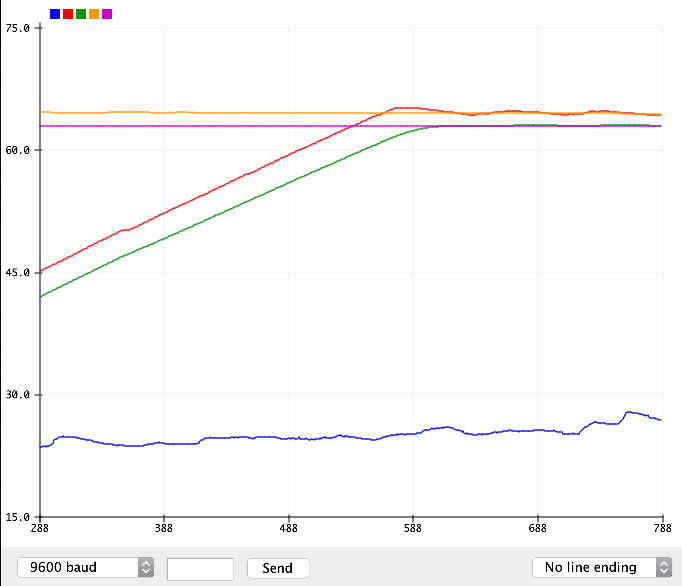
With the temperature simulation feature, NinjaLAMP shows serial output with 5 series of numbers.
