中文 | English
Note
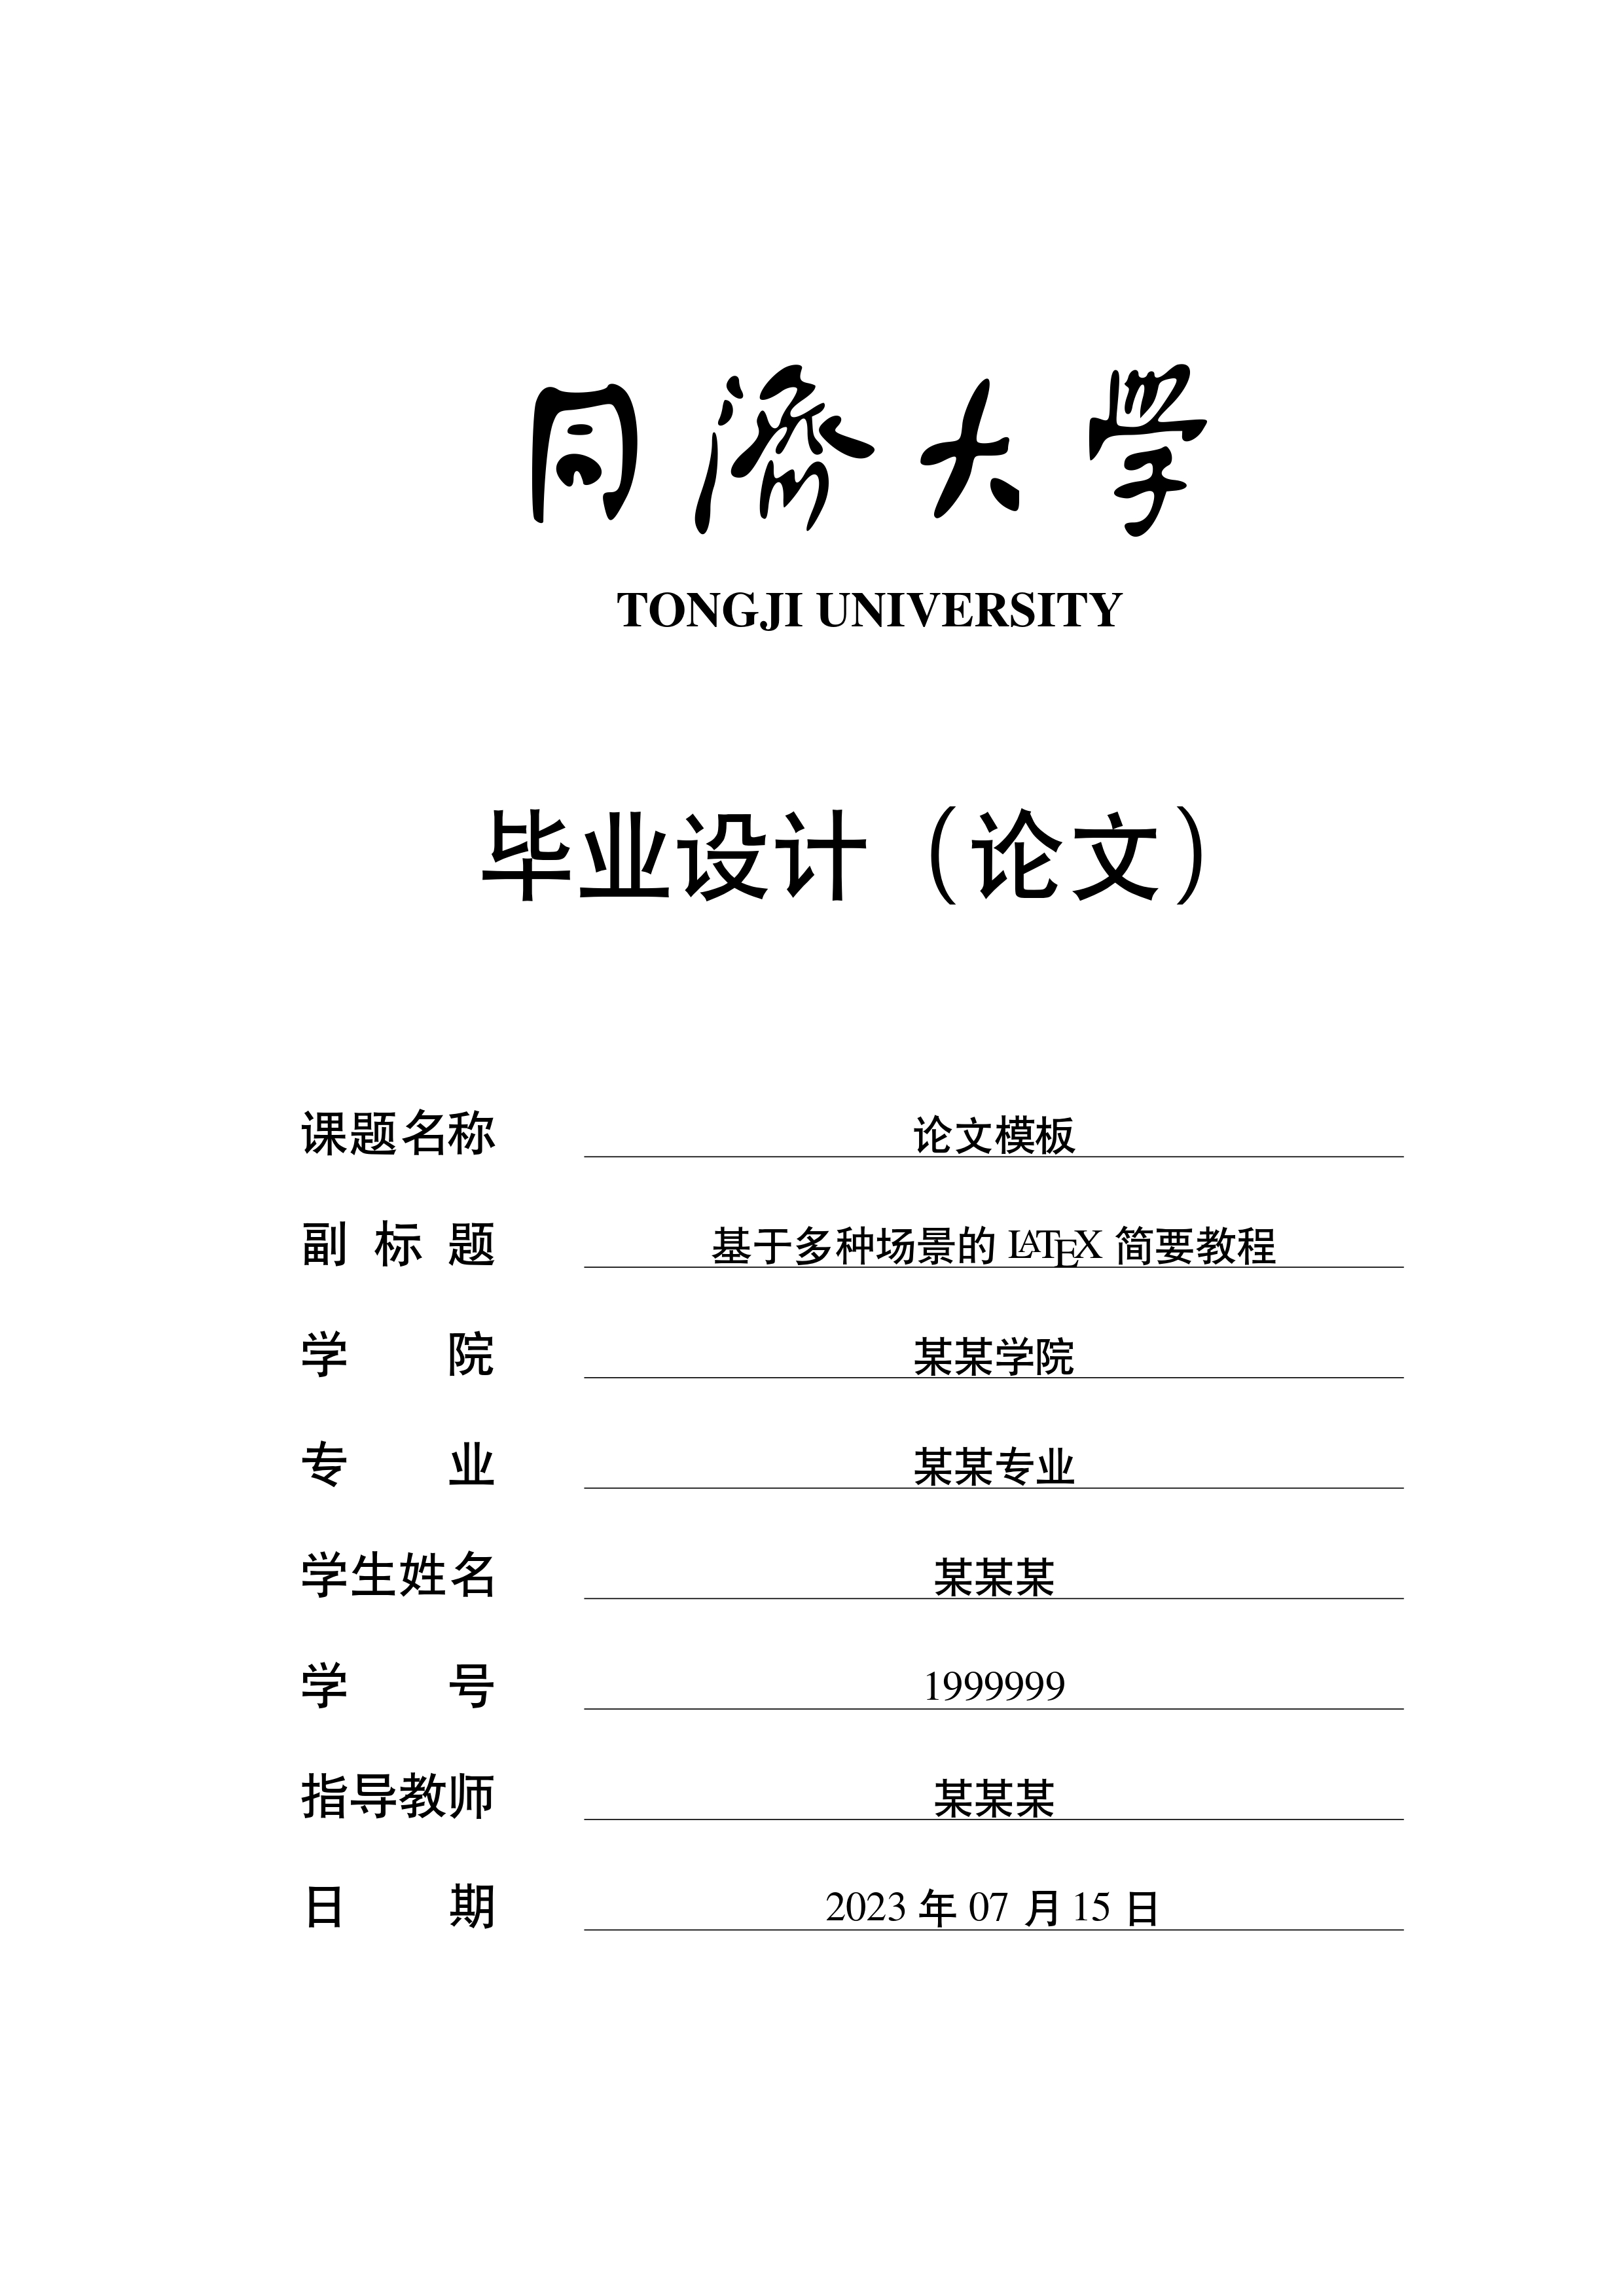
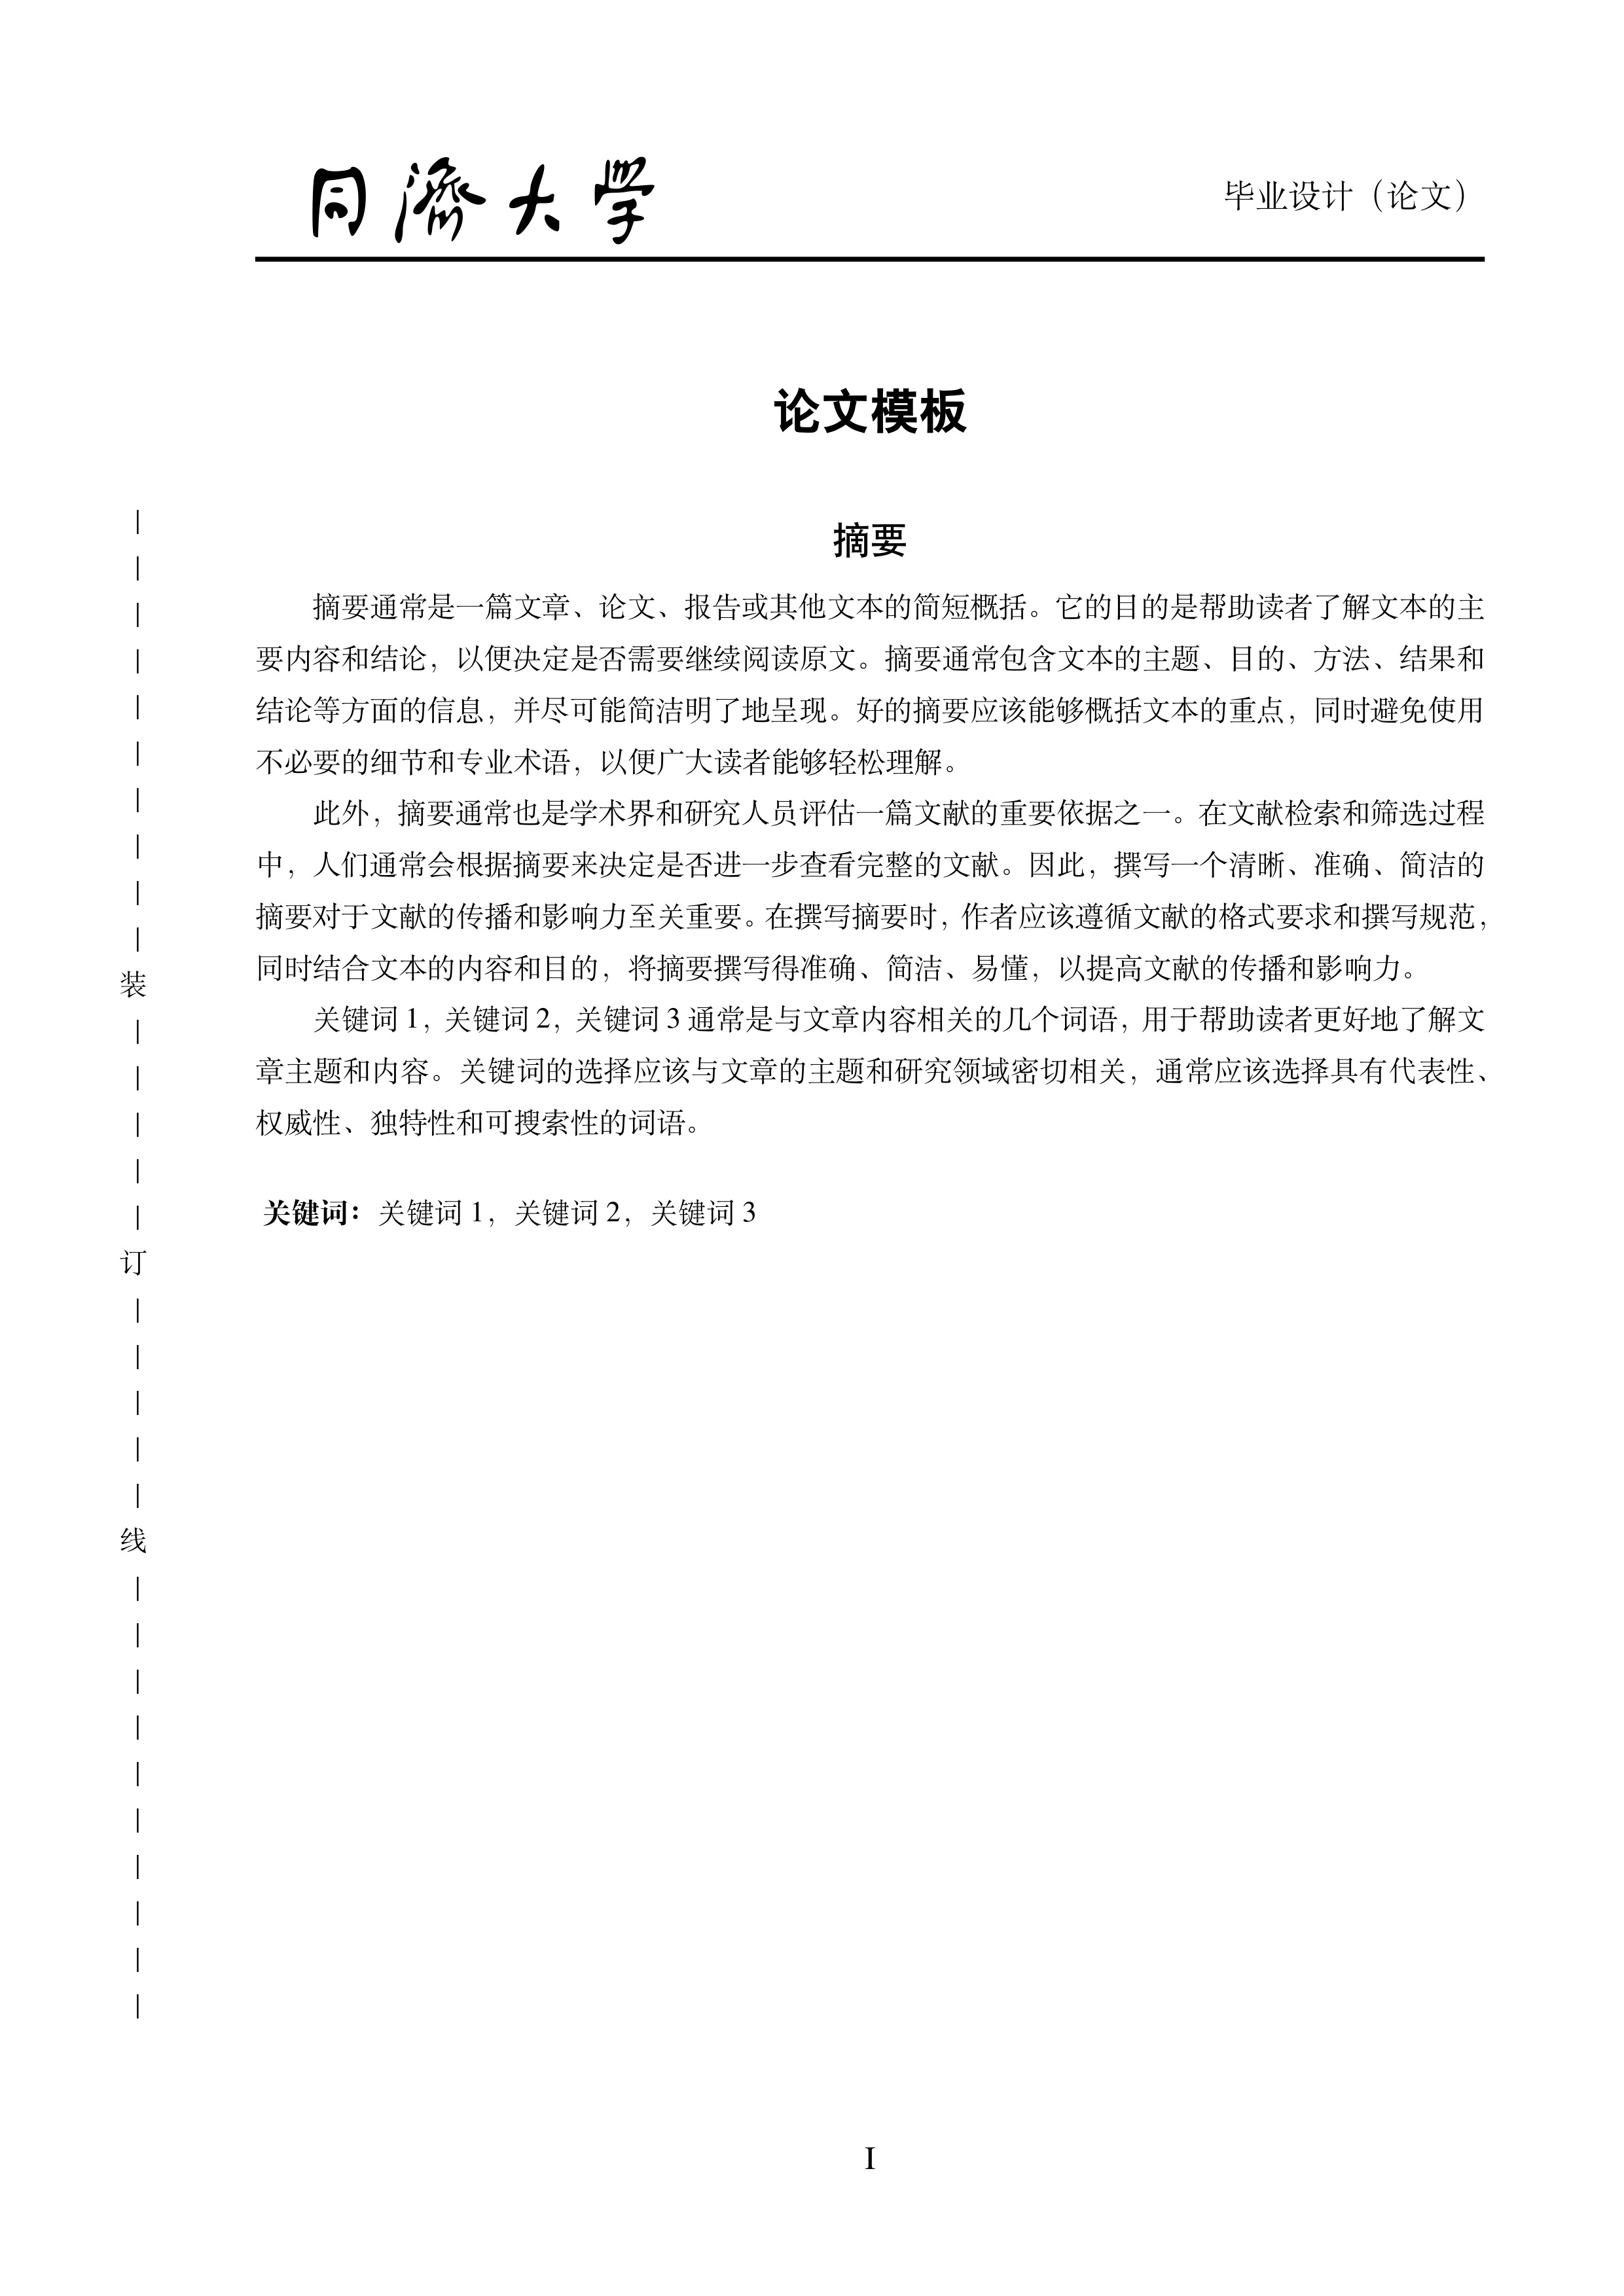
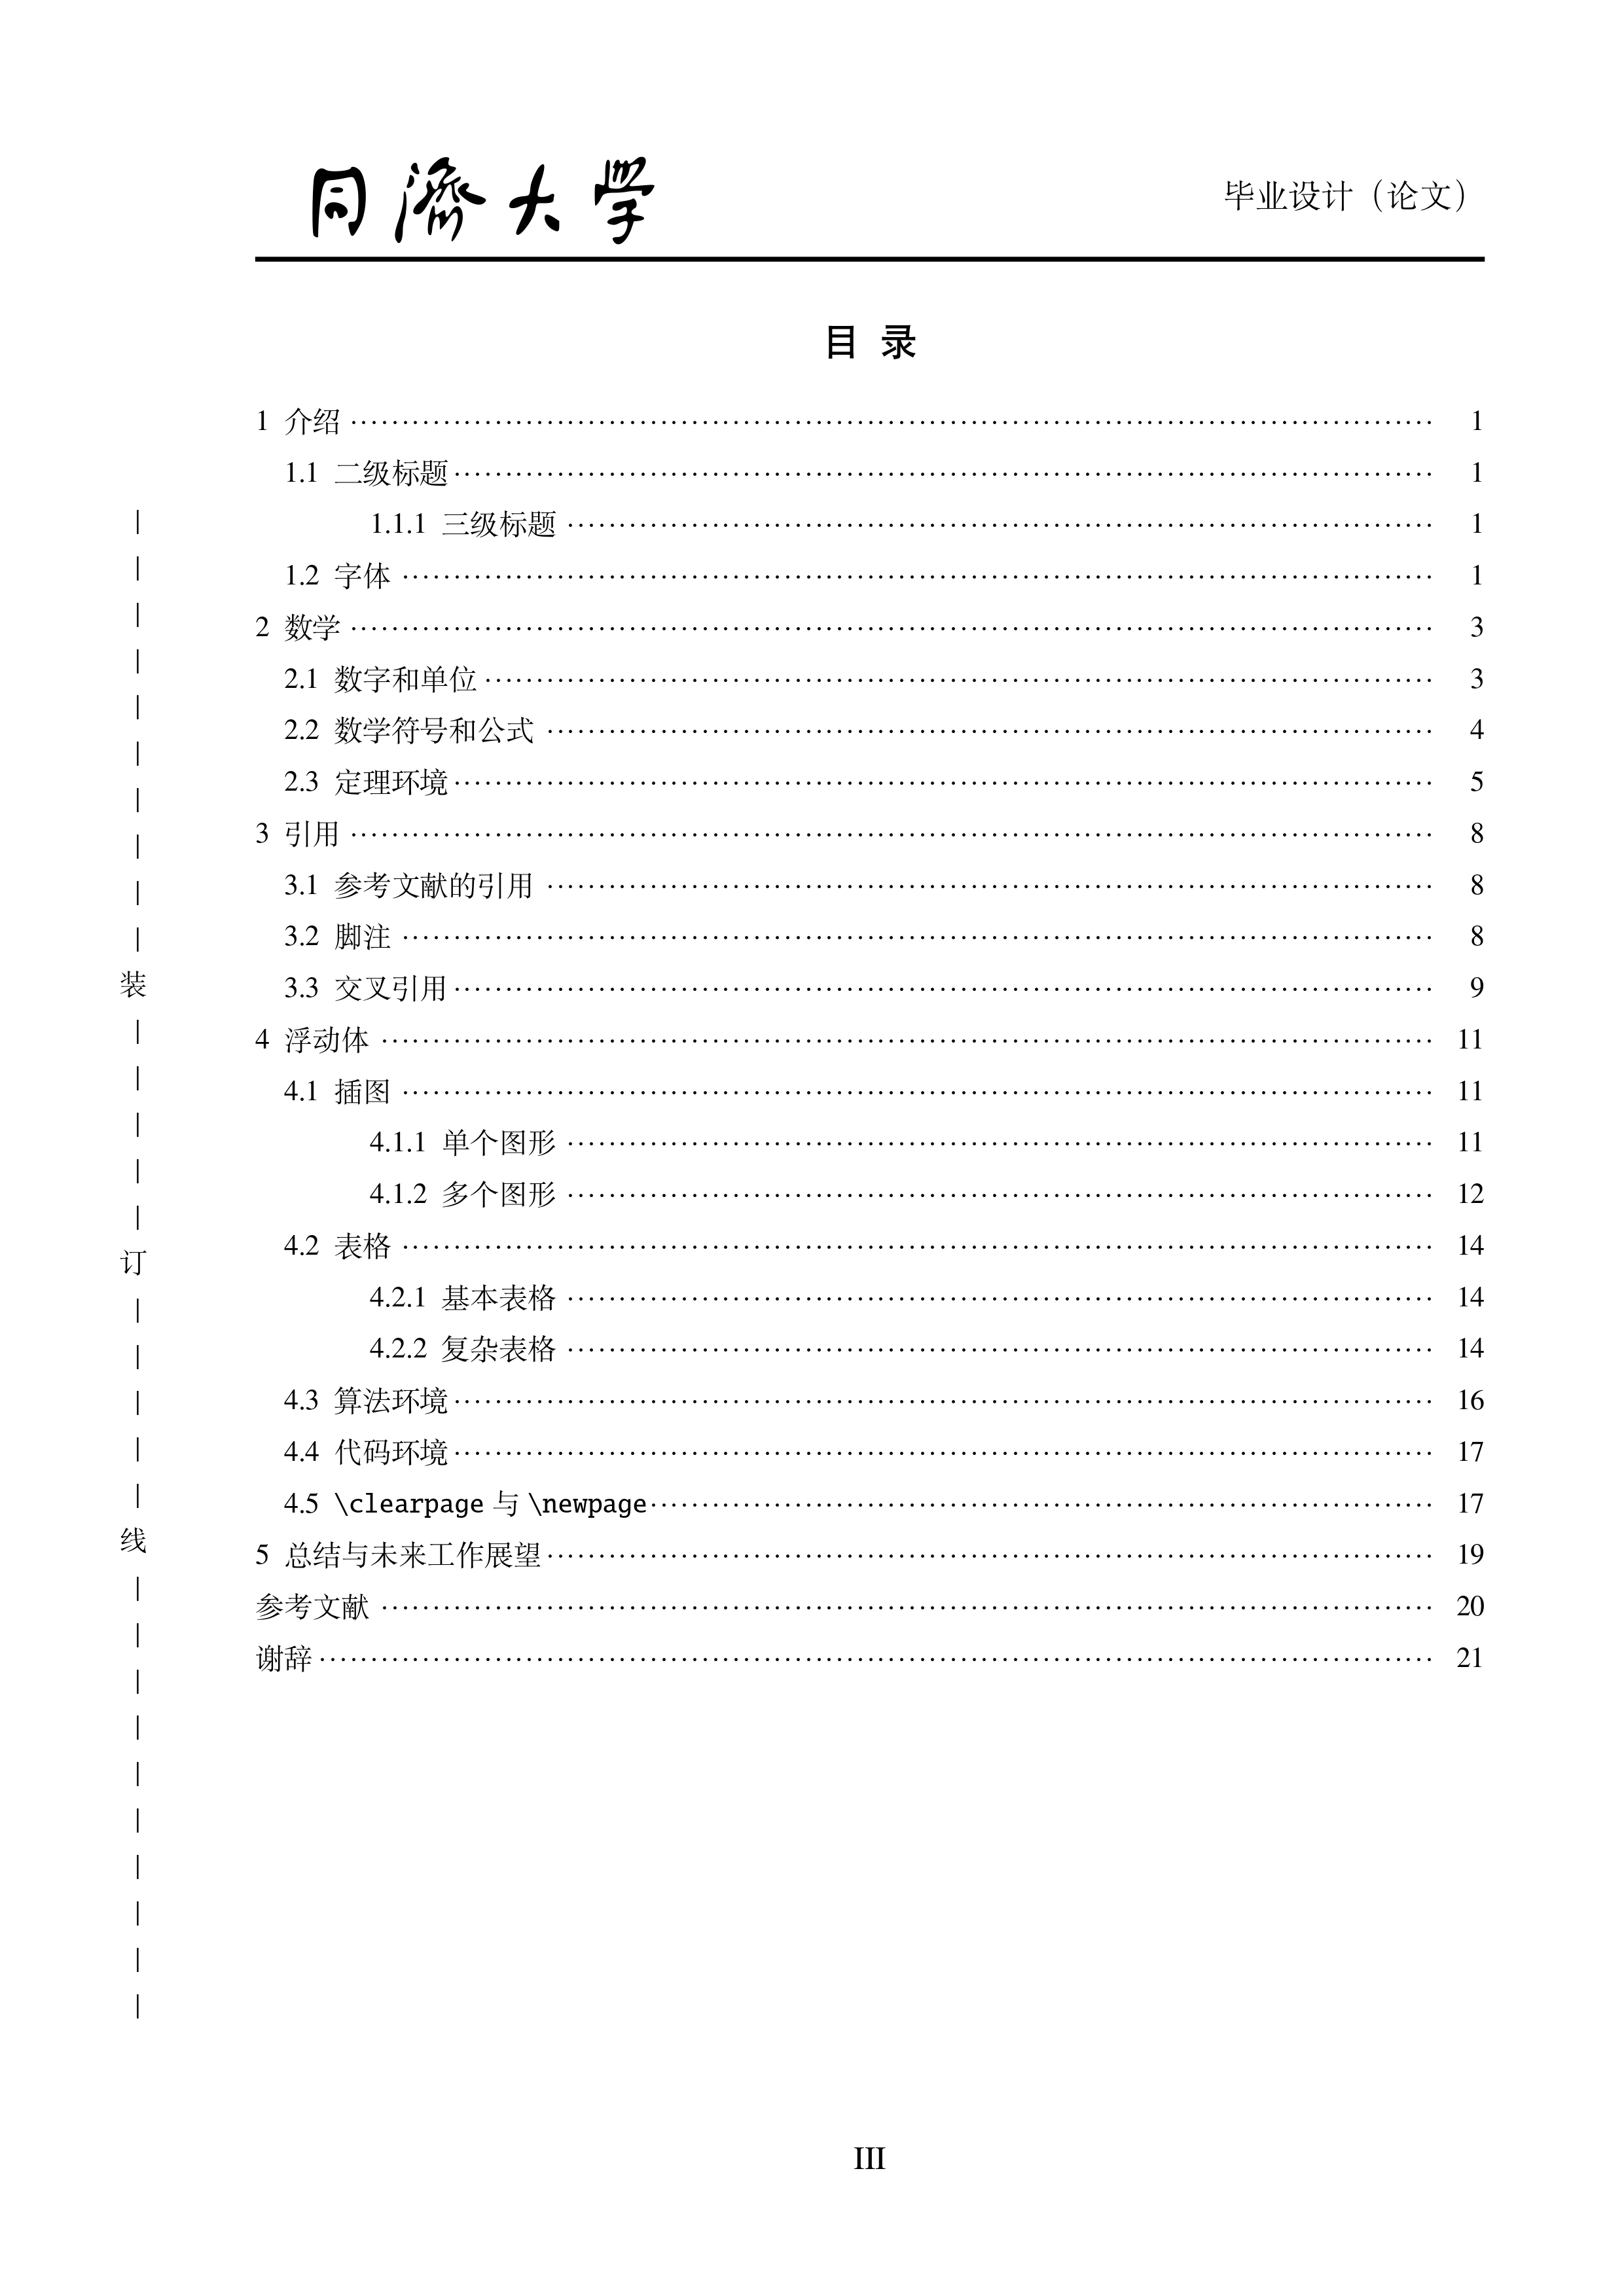
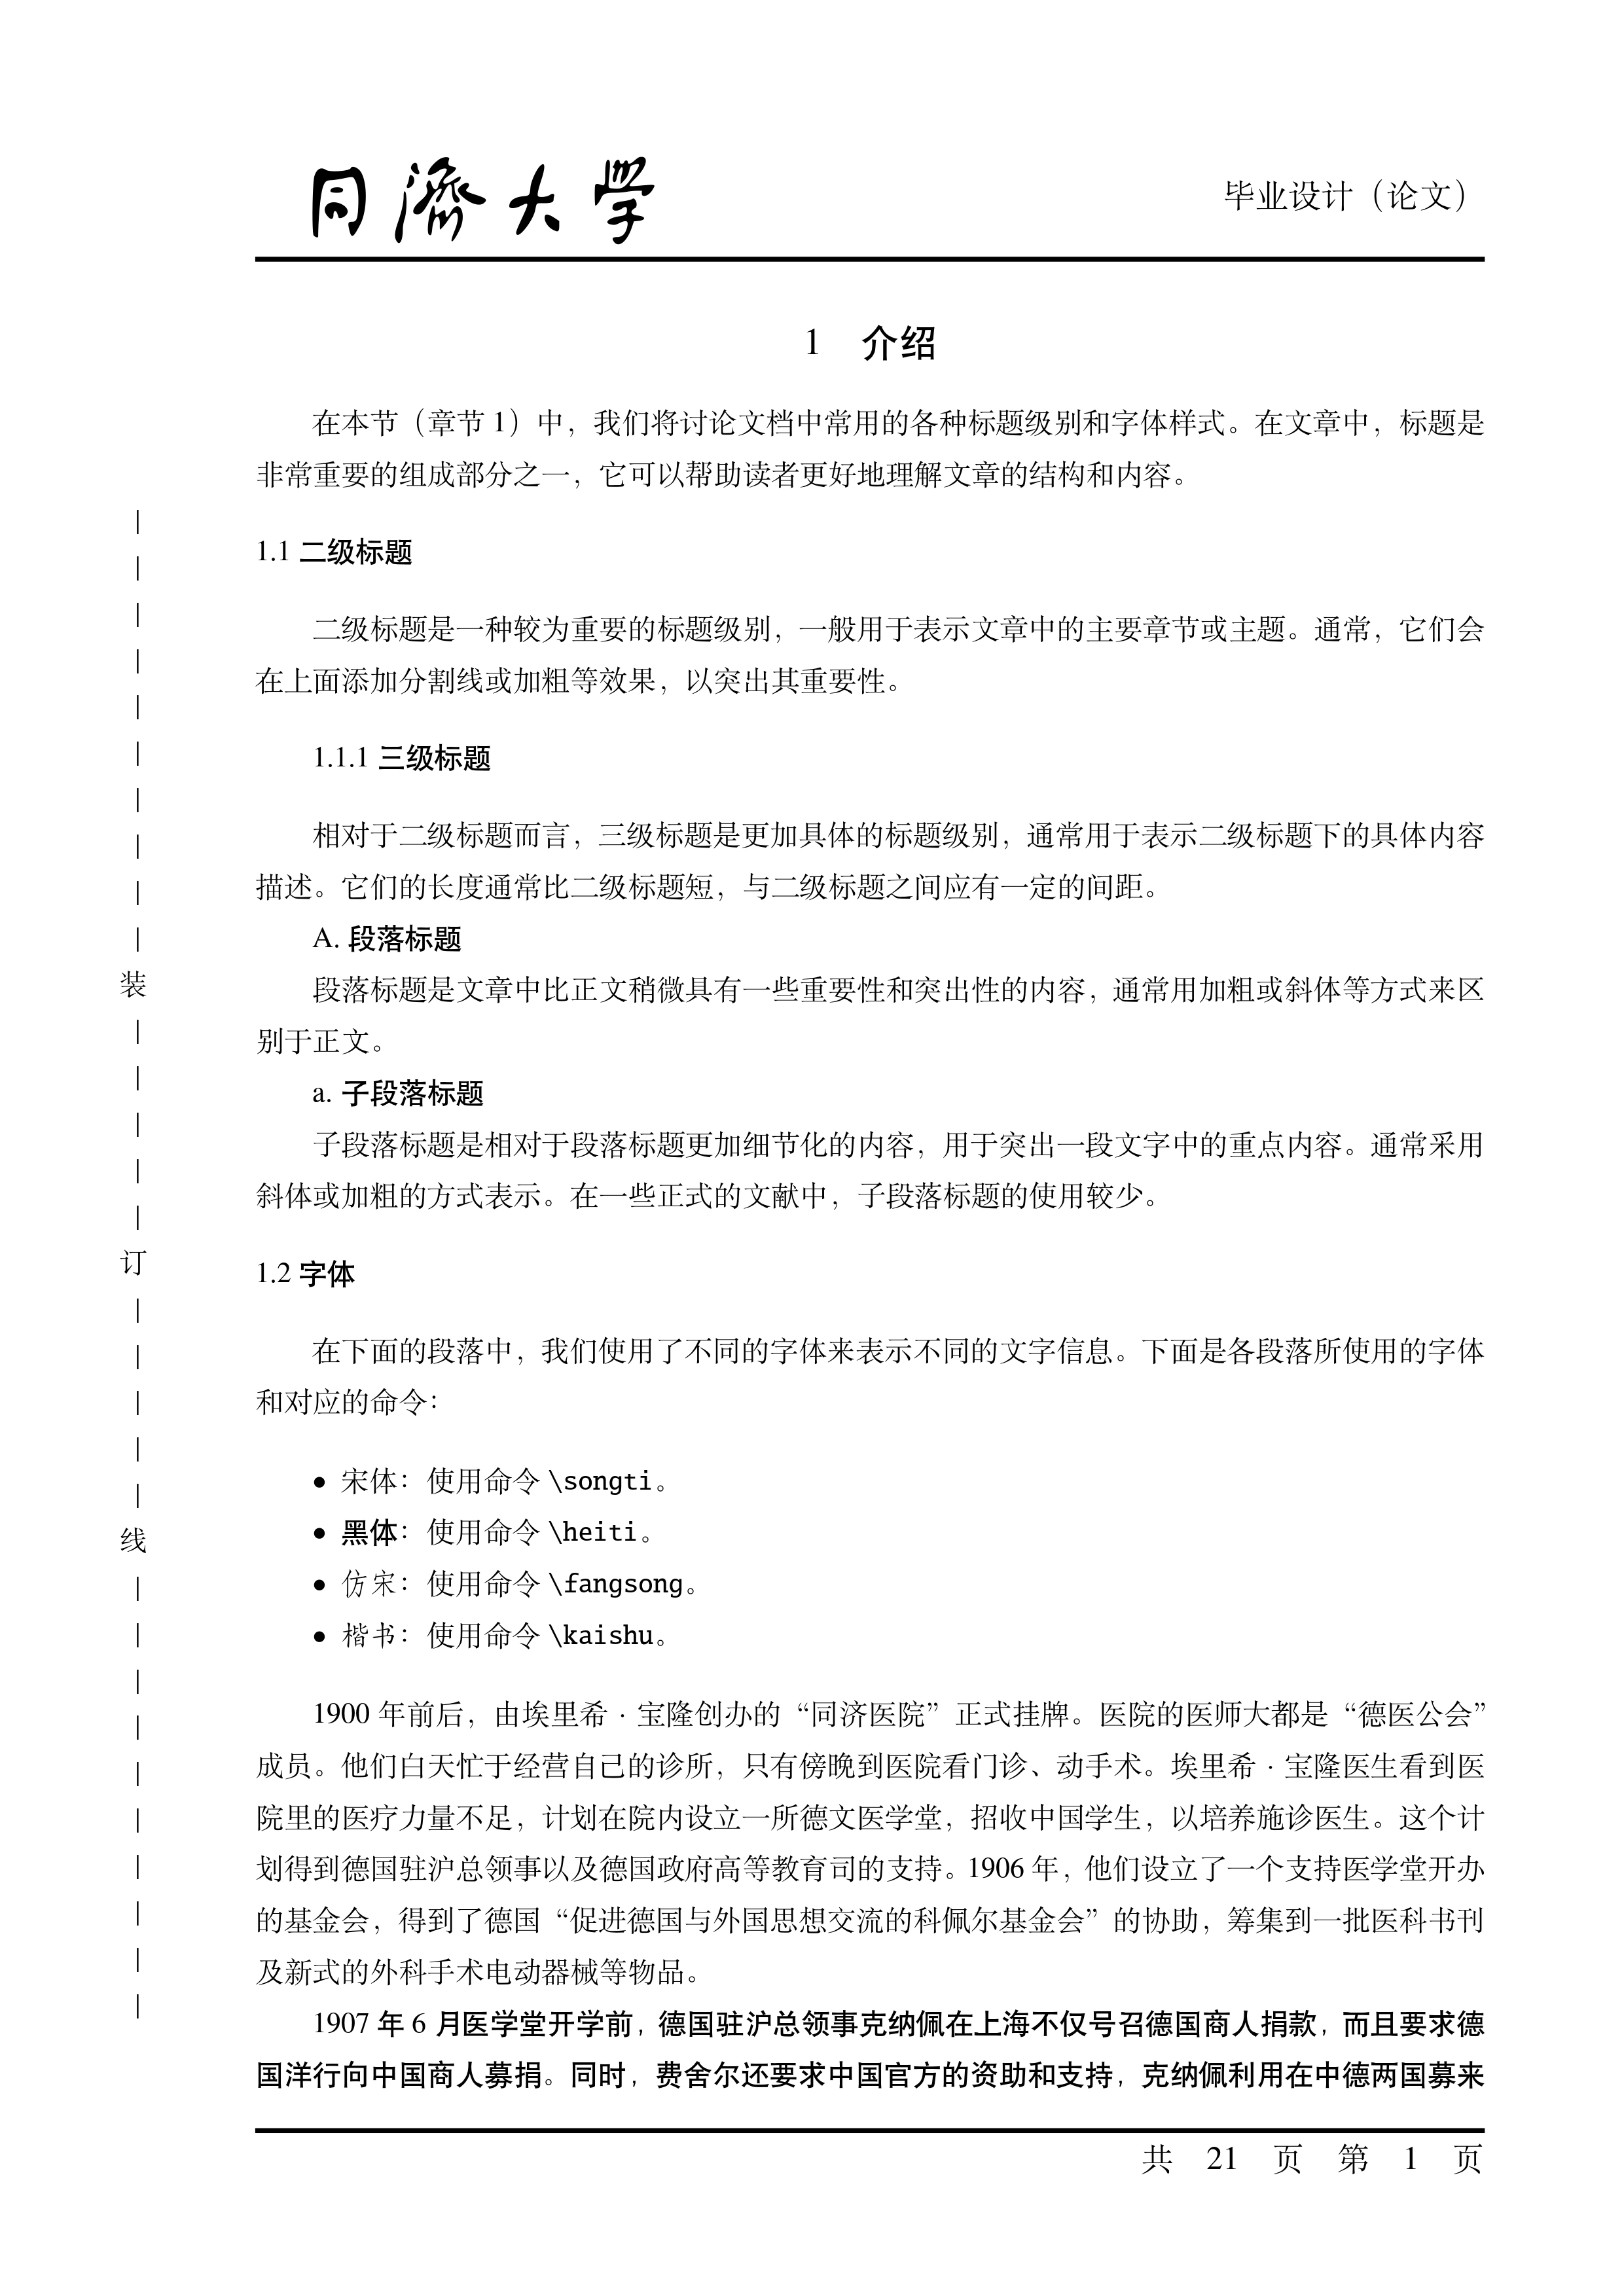
完整样例可见 模板输出样例展示(完整版)、Release 页 中 "Assets" 下的 pdf 下载链接或 Overleaf 模版 PDF。
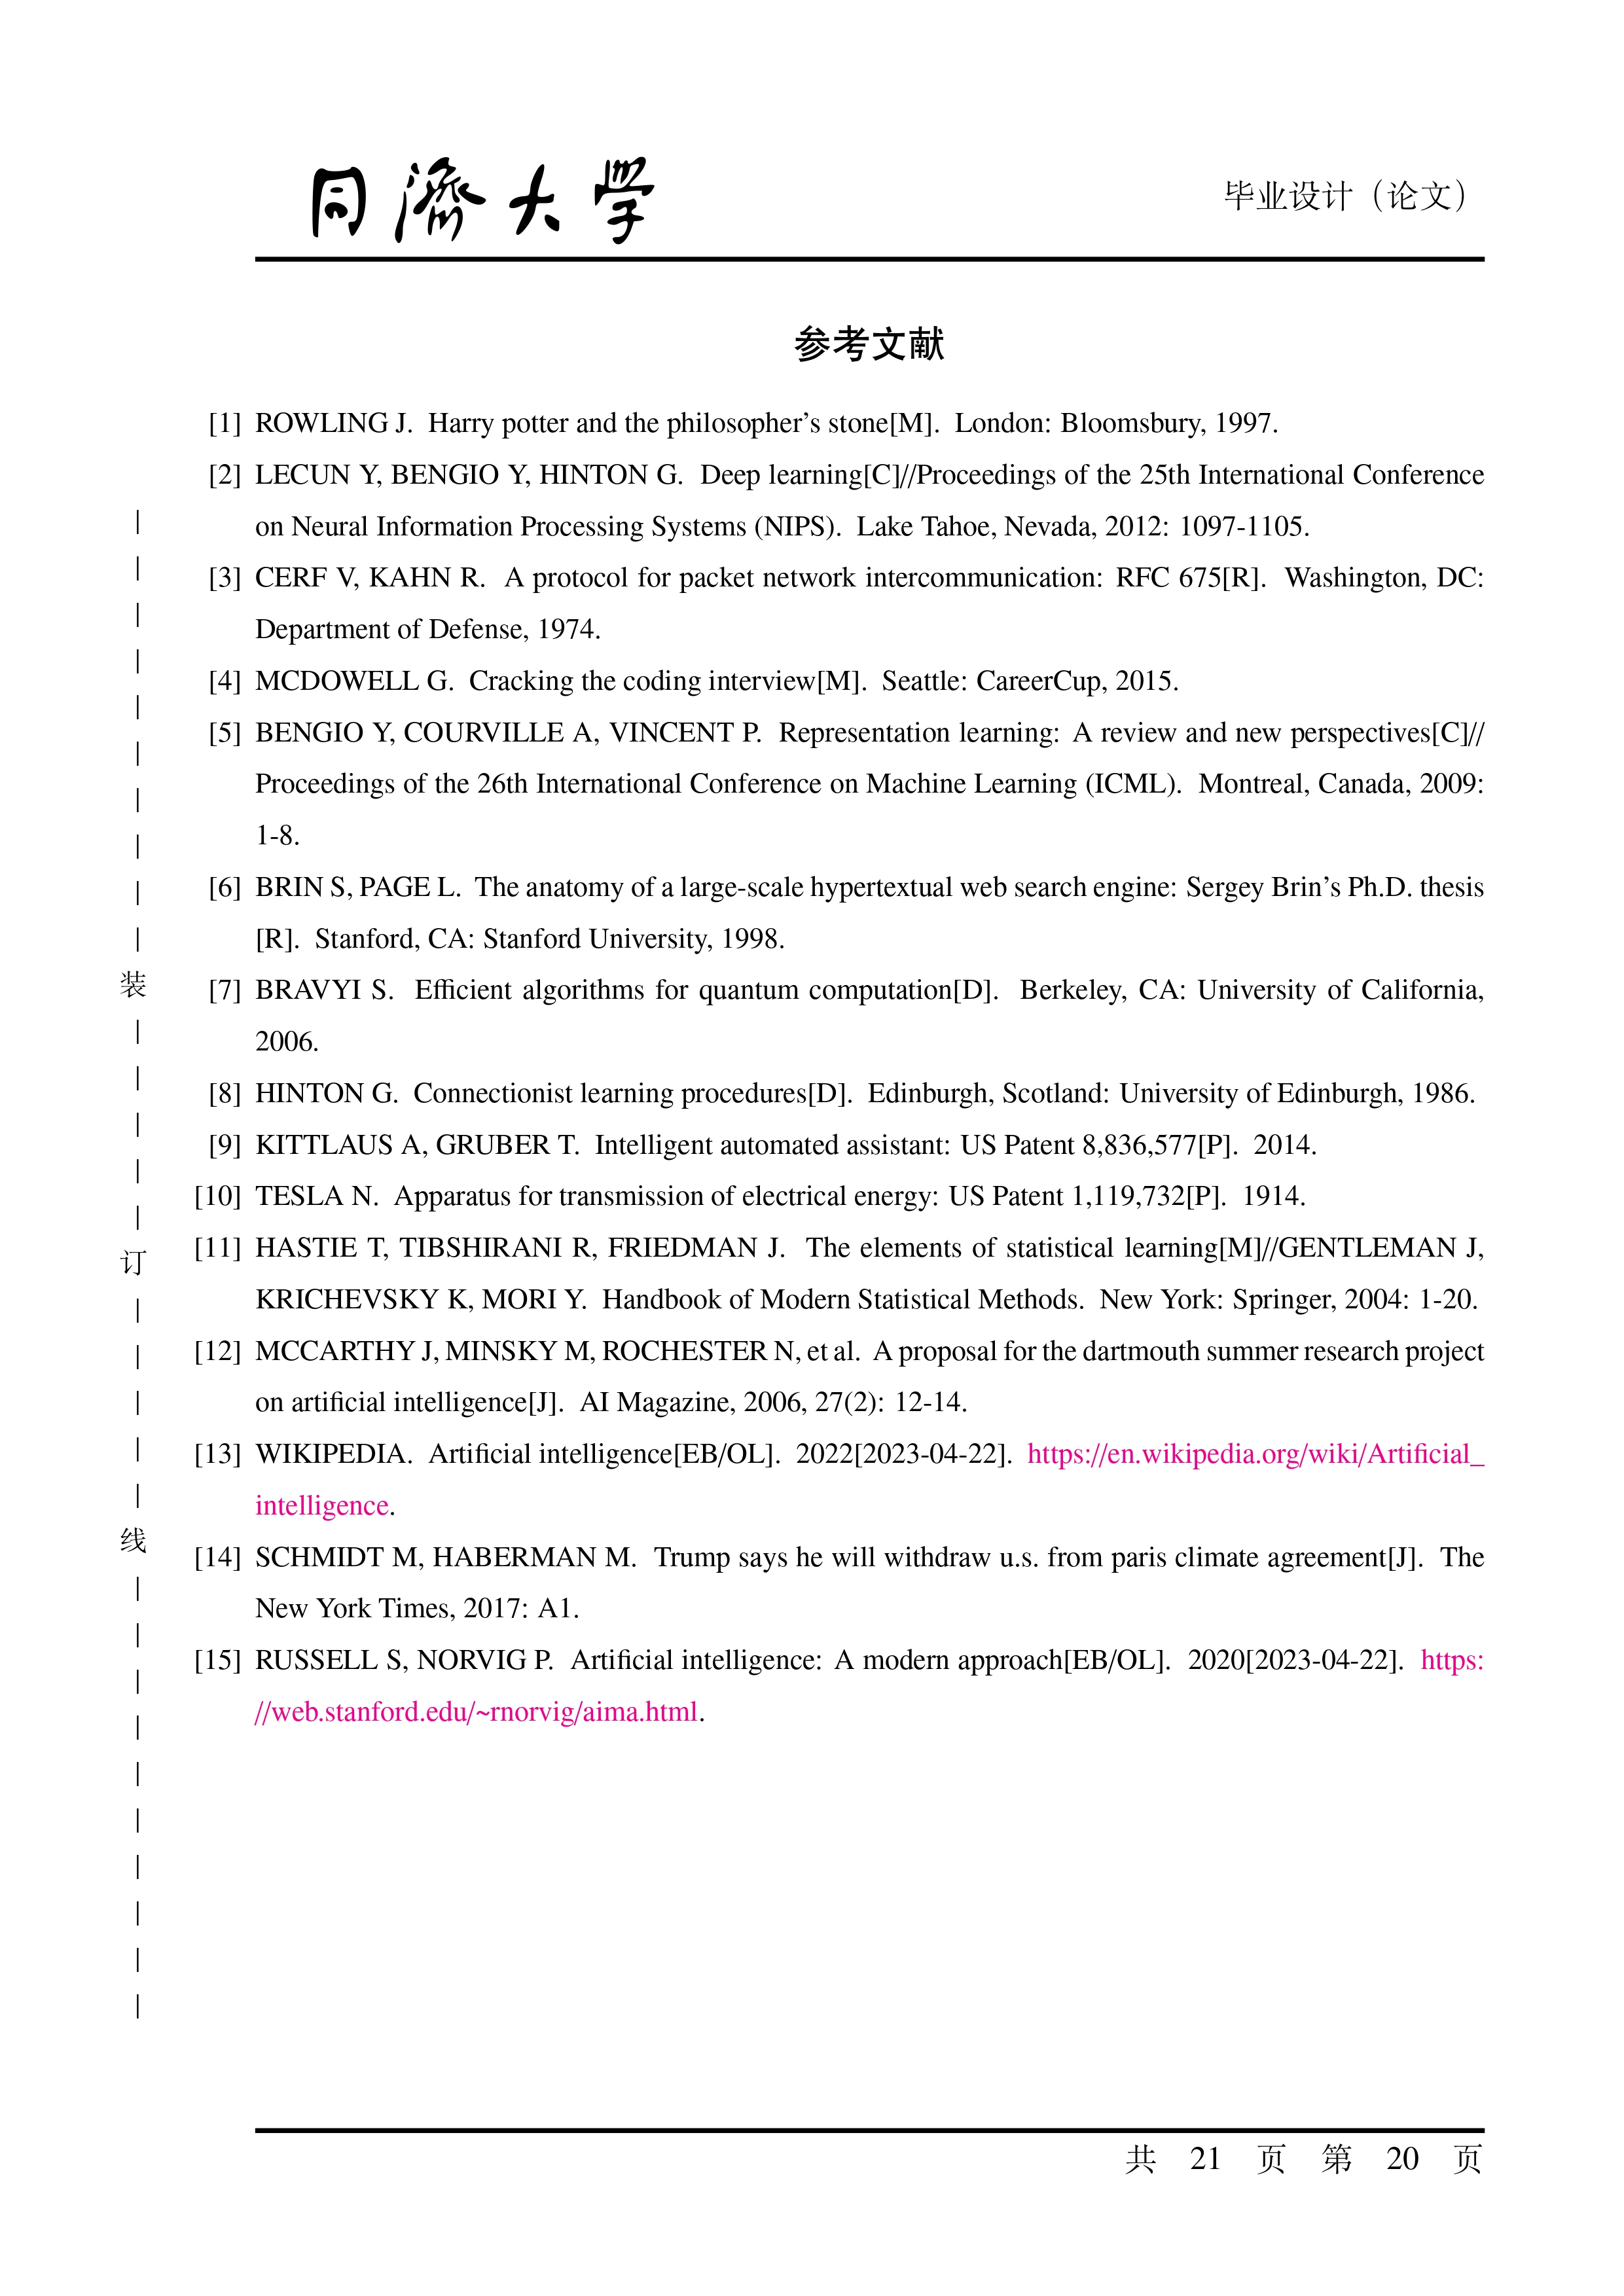
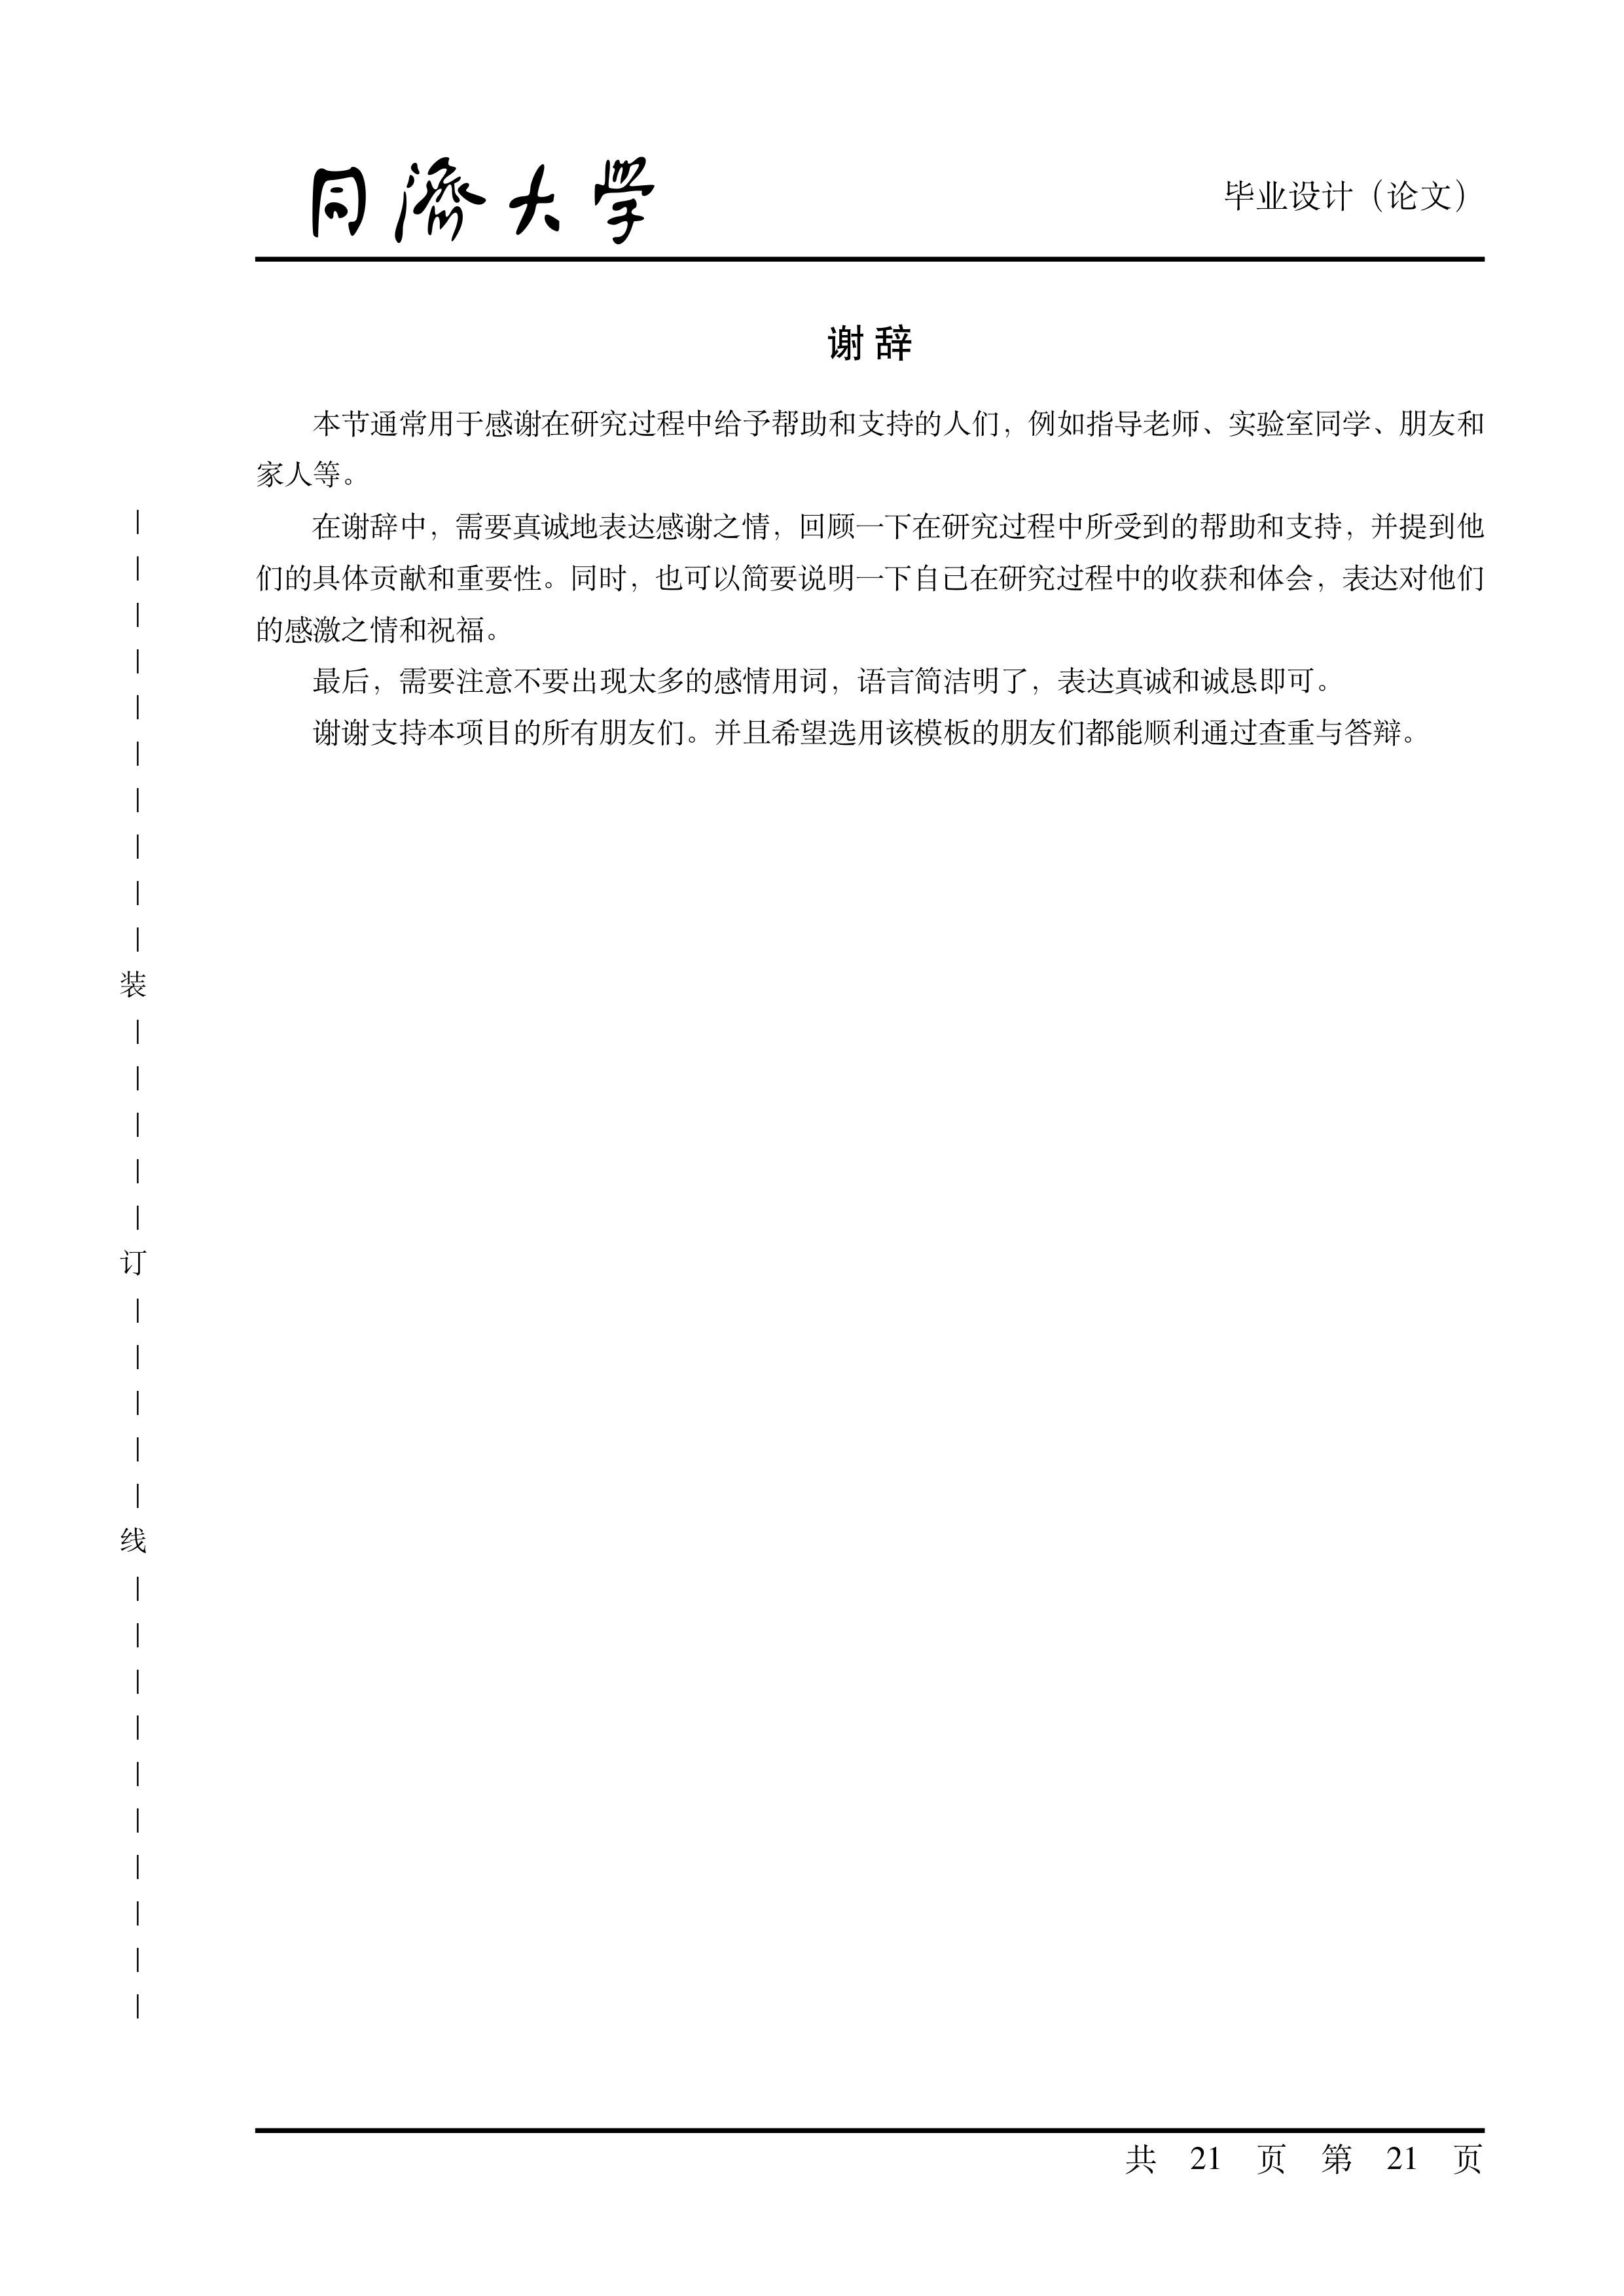
以下依次展示 “封面”、“中文摘要”、“目录”、“主要内容”、“参考文献” 与 “谢辞”。
您可以通过以下链接访问我们的 Overleaf 模板并使用:
Important
在使用 Overleaf 模板时,请检查编译器和主入口的设置:
- 将
main.tex文件设为主入口文件,而不是项目中的其他.tex文件(尤其是tongjithesis.cls或tongjithesis.sty); - 推荐使用
XeLaTeX和LuaLaTeX编译器,本模板不支持某些编译器(如pdfLaTeX)。
- 通过本仓库主页项目文件列表上方的
Code | Download ZIP下载本仓库; - 打开 Overleaf;
- 通过拖拽下载的
zip文件上传至 Overleaf。
项目以 .github/workflows/*.yaml 配置了 GitHub Actions,push 代码到 fork 仓库或 template-generated 仓库均可触发测试。可通过 commit 对应的 workflow run 中的 Summary | Artifacts 获得多平台构建产物。
(通过勾选 Settings | Actions | General | Allow all actions and reusable workflows 打开 GitHub Actions)
我们建议参照官方快速安装指南安装 TeX Live(Windows、Linux)或 MacTeX(macOS)。
本模板通过引入 minted 宏包支持代码高亮。minted 宏包需要 Python 环境支持,因此您需要安装 Python 并使用 pip 安装 Pygments。此后,需要将装有 Pygments 的 Python 路径添加到环境变量 PATH 中,或者按照下面的说明配置,使得 minted 宏包。
不想将此 Python 路径添加到环境变量 `PATH` 中?
可以在 main.tex 文件中添加重定向 minted 宏包的 Python 路径:
\renewcommand{\MintedPython}{/path/to/your/python}若您不需要代码高亮,请将 minted 宏包相关内容注释掉。
因为本模版的文件结构较为复杂,我们不推荐直接使用 TeX Live 自带的 latexmk 等命令进行编译。
我们推荐使用命令行构建项目。进一步地,我们也支持通过 VS Code 的 LaTeX Workshop 插件,在一个完整的 UI 环境中构建项目。
make all                # compile main.pdf
make ENGINE=$ENGINE all # use $ENGINE(where $ENGINE=-xelatex or -lualatex) to compile main.pdf
make clean              # rm intermediate files
make cleanall           # rm all intermediate files (including .pdf)
make wordcount # wordcount.\make.bat # the same to "make.bat thesis"
.\make.bat thesis # compile main.pdf
.\make.bat thesis $ENGINE # use $ENGINE (where $ENGINE=-xelatex or -lualatex) to compile main.pdf
.\make.bat clean # clean all work files by latexmk -c
.\make.bat cleanall # clean all work files and main.pdf by latexmk -C
.\make.bat wordcount # wordcount
.\make.bat help # read the manual在 VS Code 中安装 LaTeX Workshop 插件,然后打开本项目根目录。
因为我们已经在 .vscode/settings.json 中配置了 LaTeX Workshop 插件,所以您只需要:
- 选中
main.tex文件; - 点击左侧边栏中带有
$\TeX$ 图标的按钮; - 点击
Build LaTeX project列表中的Recipe: latexmk (xelatex)编译.pdf文件。
或者,LaTeX Workshop 插件会在您保存文件时自动编译。
详细使用方法见 tongji-undergrad-thesis-env。
如果您需要使用双面打印版,请在 main.tex 中将第 1 行的
\documentclass[oneside]{tongjithesis}修改为
\documentclass[twoside]{tongjithesis}即可。
由于本模版默认使用 Fandol 字体,对于姓名、专有名词等生僻字的支持可能不够完善。我们在本模版 GitHub 仓库的 fonts 分支中提供了 Adobe 字体集,您可以下载、安装这些字体,然后在 style/tongjithesis.cls 中将
\LoadClass[UTF8,a4paper,fontset=fandol]{ctexart}修改为
\LoadClass[UTF8,a4paper,fontset=adobe]{ctexart}这样修改后,LaTeX 将使用 Adobe 字体集来渲染文档。您可以在模板文档的 1.2.1 小节 “测试生僻字” 中查看具体效果。
Warning
将 Adobe 字体文件放置在项目根目录下并在 main.tex 中指定字体路径的方式并不总是有效。因此,我们建议您将 Adobe 字体文件安装到系统字体目录中。
经测试,在 Overleaf 项目的根目录下放置 Adobe 字体文件,并只在使用 LuaLaTeX 编译的方式是有效的,但这种方式可能会导致编译速度变慢。
还请查看 How to pull request。
该项目使用 LPPL-1.3c 许可证。
%% tongji-undergrad-thesis
%% Copyright 2023 TJ-CSCCG
%
% This work may be distributed and/or modified under the
% conditions of the LaTeX Project Public License, either version 1.3
% of this license or (at your option) any later version.
% The latest version of this license is in
%   http://www.latex-project.org/lppl.txt
% and version 1.3 or later is part of all distributions of LaTeX
% version 2003/12/01 or later.
%
% This work has the LPPL maintenance status "maintained".
%
% This Current Maintainer of this work is R. Lin.
%
% This work consists of all the *.tex, *.cls, *.cfg, and *.sty files in
%   https://github.com/TJ-CSCCG/tongji-undergrad-thesis
- 该项目起源于 YukuanHU 的本科毕业设计论文,论文于 2019.05.24 上传;
- 2021.05.09 起,ganler 以上述项目为基础,增强其功能(项目结构与平台适配)并开始维护新项目。
- 2022.05.12 起,skyleaworlder 开始贡献本项目,并将其整合进 TJ-CSCCG,并持续对该项目进行更新和改进,目前已经成为一个完善的本科毕业论文模板。
- 2023.04 起,RizhongLin 开始贡献本项目,并负责项目的维护和更新。
我们非常感谢以上贡献者的付出,他们的工作为更多同学提供了方便和帮助。
在使用本模板时,如果您觉得本项目对您的毕业设计或论文有所帮助,我们希望您可以在您的致谢部分感谢并致以敬意。
我们从顶尖高校的优秀开源项目中学到了很多:
- sjtug/SJTUThesis: makefile & batchfile
- stone-zeng/fduthesis: workflows
# Python
[
    f'jiawei#@$.edu'.replace('#', '6').replace('$', 'illinois'),
    f'jgli22@$.edu.cn'.replace('$', 'm.fudan'),
    f'rizhong.lin@$.%'.replace('$', 'epfl').replace('%', 'ch'),
]