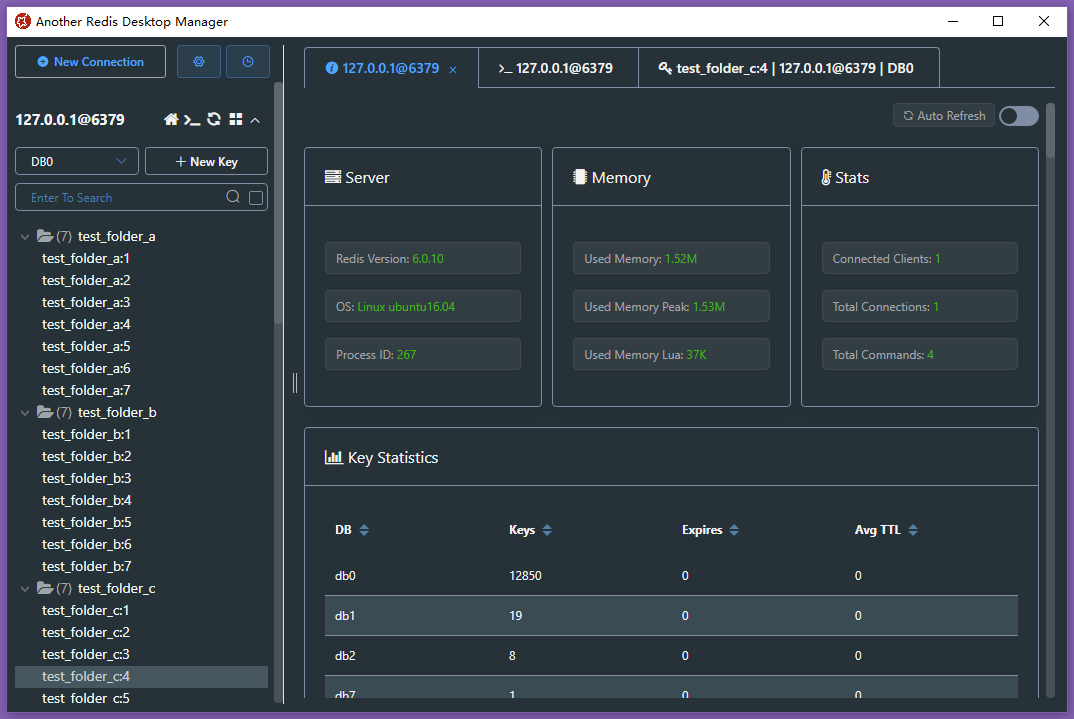
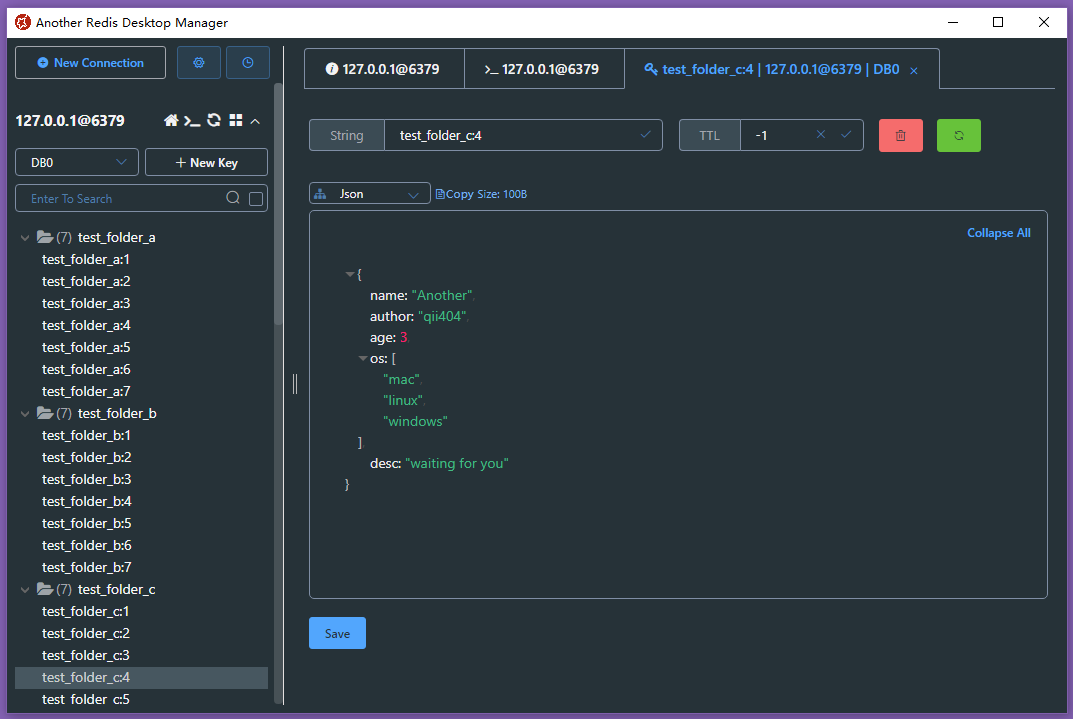
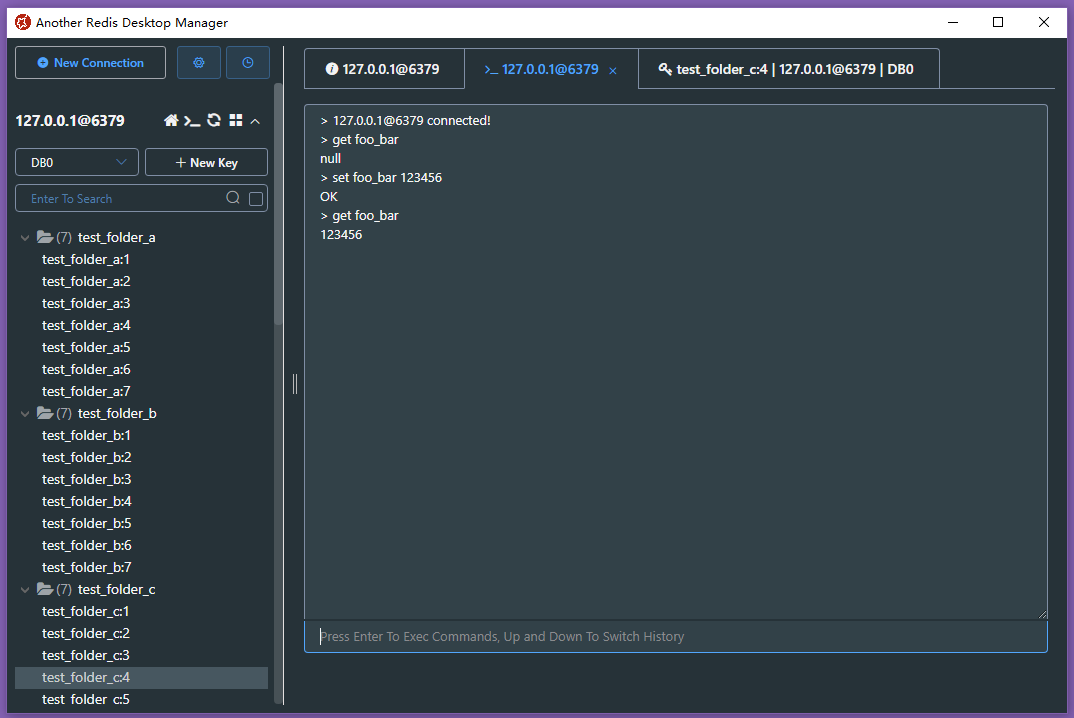
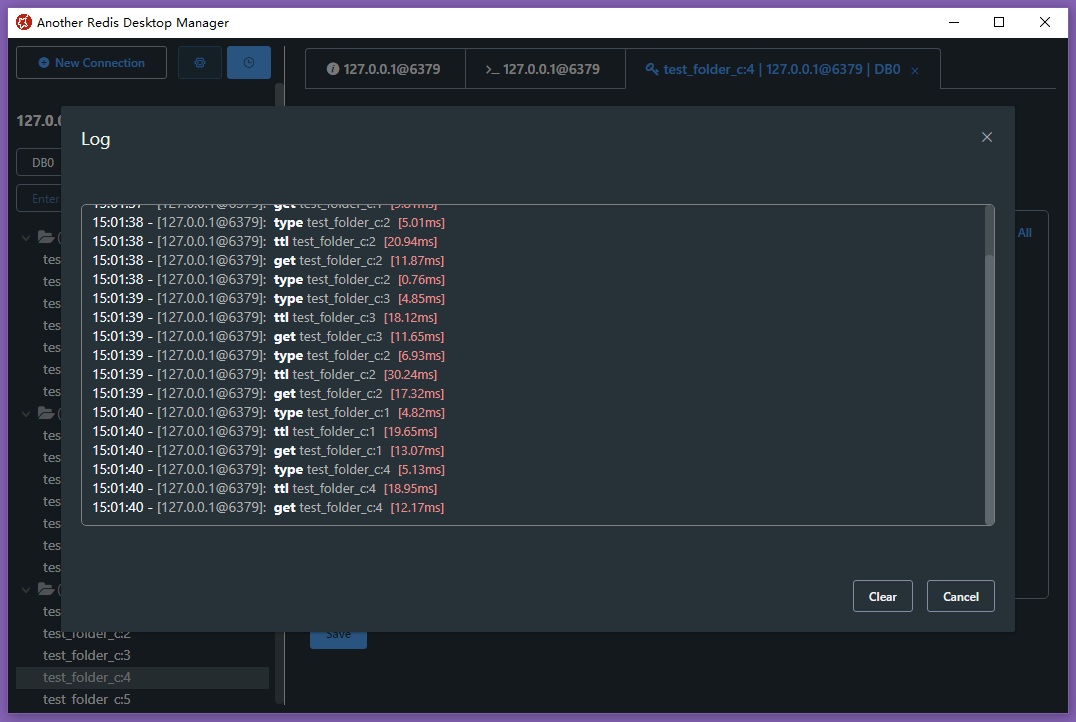
🚀🚀🚀 更快、更好、更稳定的Redis桌面(GUI)管理客户端,兼容Windows、Mac、Linux,性能出众,轻松加载海量键值
- 可以在github 或者 gitee下载
exe安装包 - 或者通过chocolatey:
choco install another-redis-desktop-manager - 或者通过winget:
winget install qishibo.AnotherRedisDesktopManager - 或者通过Win Store赞助,然后让Win Store帮你自动更新版本
- 可以在github 或者 gitee下载
AppImage包,chmod +x, 双击运行 - 或者通过snap:
sudo snap install another-redis-desktop-managerTips: 如果选择私钥时提示权限不足,执行sudo snap connect another-redis-desktop-manager:ssh-keys来获取对~/.ssh文件夹的权限
如果通过brew或者dmg安装后无法打开,报错不受信任或者移到垃圾箱,执行下面命令后再启动即可:
sudo xattr -rd com.apple.quarantine /Applications/Another\ Redis\ Desktop\ Manager.app
- 可以在github 或者 gitee下载
dmg安装包 - 通过 brew:
brew install --cask another-redis-desktop-manager - 或者通过App Store赞助, 然后让App Store帮你自动更新版本
- 2024-06-06: 搜索链接支持(>=4)
- 2024-04-10: DB自定义名称支持
- 2024-02-21: Java/Pickle解码视图支持
- 2024-02-15: STEAM支持查看群组和消费者
- 2024-01-31: 好久不见! 命令行参数启动支持
- 2023-06-22: 不同db\数据库之间支持导入导出key
- 2023-05-26: Stream类型搜索支持 && 支持慢日志查询
- 2023-04-01: List类型搜索支持 && Deflate raw 支持
- 2022-10-07: Key列表方向键 && 内存分析支持指定文件夹
- 2022-08-05: 克隆连接 && Tabs右键和滚轮支持
- 2022-04-01: Protobuf 支持 && 内存占用分析
- 2022-03-03: 只读模式 && Mointor 支持
- 2022-01-01: Brotli\Gzip\Deflate 解压缩支持 && RedisJSON 支持
- 2021-11-26: JSON可编辑 && Subscribe支持
- 2021-08-30: 命令执行日志 && 快捷键
- 2021-08-16: 自定义文本视图
- 2021-06-30: 哨兵支持
- 2021-06-24: Redis>=6.0的ACL支持
- 2021-05-03: Stream 视图支持 && Cli命令行提示
- 2021-02-28: 链接颜色标记 && 搜索历史提示
- 2021-02-03: 多选支持 && Msgpack视图支持
- 2020-12-30: 树状列表
- 2020-11-03: Binary视图 && SSH Passparse\Timeout 支持
- 2020-09-04: SSH 集群支持
- 2020-06-18: SSL/TLS 支持
- 2020-04-28: 页面缩放 && 大键值Scan操作 && 自动Json
- 2020-04-18: 不可见键值对支持
- 2020-04-04: 集群支持
- 2020-03-13: 暗黑模式
- 2020-02-16: SSH 私钥支持
- 2020-02-13: Cli新Tab打开
- 2019-06-14: 自定义字体支持
- 2019-05-28: Key列表调节宽度
- 2019-05-09: Hash List Set Zset搜索支持
- 2019-04-26: 自动更新
- 2019-04-09: SSH 通道支持
- 2019-04-01: 精确搜索
- 2019-02-22: 单链接支持
- 2019-01-08: 项目孵化
Tips: 此为开发环境,用于运行完整项目,普通用户直接从前面下载安装包即可
# clone code
git clone https://github.com/qishibo/AnotherRedisDesktopManager.git --depth=1
cd AnotherRedisDesktopManager

# install dependencies
npm install

# if download electron failed during installing, use this command
# ELECTRON_MIRROR="https://npmmirror.com/mirrors/electron/" npm install

# serve with hot reload at localhost:9988
npm start


# after the previous step is completed to 100%, open another tab, build up a desktop client
npm run electron
If linux errors like this:
# if error like this
../src/FontManagerLinux.cc:1:35: fatal error: fontconfig/fontconfig.h: No such file or directory

# then try this
sudo apt install libfontconfig1-dev# install build tools for the first time, just execute once
npm install -g windows-build-tools
# clone code
git clone https://github.com/qishibo/AnotherRedisDesktopManager.git --depth=1
cd AnotherRedisDesktopManager
# install dependencies, 32-bit or 64-bit all use win32
npm install --platform=win32
# if download electron failed during installing, use this command
# npm config set ELECTRON_MIRROR https://npmmirror.com/mirrors/electron/
# npm install --platform=win32
# serve with hot reload at localhost:9988
npm start
# after the previous step is completed to 100%, open another tab, build up a desktop client
npm run electron# prepare before package
npm run pack:prepare
# build package on respective platforms
# on windows build 64bit package
npm run pack:win
# on windows build 32bit package
npm run pack:win32
# on mac
npm run pack:mac
# on linux
npm run pack:linux-
给我点个Star⭐⭐ 或者 Producthunt点个赞
-
如果你是Mac用户, 也可以通过从App Store购买来赞助, 然后应用商店会为你自动更新
-
如果你是Windows用户,还可以通过从Win Store购买来赞助,商店就会帮你自动更新
-
微信赞助码 [觉得好用,赞助一些大白兔🐇奶糖!]
当默认可视化方式不满足需求时,可以使用自定义脚本来格式化你的内容。
方式:可视化列表下拉到底部,点击"自定义->新增",然后参考下面说明。
注意:脚本需要通过console.logecho等输出格式化好的内容,可以是任意字符串或者JSON字符串
| 配置项 | 参数说明 |
|---|---|
Name |
自定义名称 |
Command |
可执行命令,如xxx.py xxx.js xxx.class等,该文件需要具有可执行的x权限,可以通过形如./xxx.py方式执行;也可以直接用系统命令/bin/node /bin/bash等,此时需要把脚本路径放到Params里 |
Params |
拼接在Command后的参数,如"--key {KEY} --value {VALUE}",其中{KEY}和{VALUE}在执行时会被替换成对应的Redis key和value。注意如果内容为二进制等不可见字符时,可以使用{HEX},{HEX}会被替换成对应value的16进制即hex编码。如果HEX过长(>8000字符)时会被写入到临时文件,可以用{HEX_FILE}获取文件路径,脚本中自行读取即可 |
脚本文件首行一般要增加env说明,最终执行的命令如:
./home/qii/pickle_decoder.py {HEX}, 脚本中可以使用argv[1]接收参数,参考 #978
| Command | Params |
|---|---|
/home/qii/pickle_decoder.py |
{HEX} |
/home/qii/shell_decoder.sh |
{VALUE} |
最终执行的命令如:
/bin/node /home/qii/node_decoder.js {HEX}, 脚本中可以使用argv[1]接收参数
| Command | Params |
|---|---|
/bin/bash |
/home/qii/shell_decoder.sh {VALUE} |
/bin/node |
/home/qii/node_decoder.js {HEX} --key={KEY} |
如果你有需求从命令行启动程序,可以通过如下方式,自定义不同的连接参数。
# Linux
# ./Another Redis Desktop Manager.AppImage

# Mac
# open /Applications/Another\ Redis\ Desktop\ Manager.app --args

# Windows
"D:\xxxx\Another Redis Desktop Manager.exe"

# COMMON
--host 127.0.0.1 --port 6379 --auth 123
--name tmp_connection

# CLUSTER
--cluster

# SSH
--ssh-host 192.168.0.110
--ssh-username root --ssh-password 123

# SENTINEL
--sentinel-master-name mymaster
--sentinel-node-password 123

# save connection
--save
# readonly mode
--readonly| 参数 | 说明 | 参数 | 说明 |
|---|---|---|---|
| --host | 地址* | --port | 端口 |
| --auth | 密码 | --name | 自定义名称 |
| --separator | 分隔符 | --readonly | 开启只读模式 |
| --username | 用户名(Redis6 ACL) | --save | 保存连接(默认不保存) |
| 参数 | 说明 | 参数 | 说明 |
|---|---|---|---|
| --ssh-host | 地址* | --ssh-port | 端口(默认22) |
| --ssh-username | 用户名* | --ssh-password | 密码 |
| --ssh-private-key | 私钥路径 | --ssh-passphrase | 私钥密码 |
| --ssh-timeout | 超时(秒) |
| 参数 | 说明 |
|---|---|
| --cluster | 开启集群模式 |
| 参数 | 说明 | 参数 | 说明 |
|---|---|---|---|
| --ssl | 开启SSL模式* | --ssl-key | SSL私钥路径 |
| --ssl-ca | SSL证书机构 | --ssl-cert | SSL公钥路径 |
| 参数 | 说明 |
|---|---|
| --sentinel-master-name | Master组名称*,如mymaster |
| --sentinel-node-password | Redis节点密码 |
答:使用SSH+Cluster的方式连接(等价于先SSH到内网,再使用内网ip连接Cluster),Redis的Host填写Redis内网ip地址如127.0.0.1 192.168.x.x。
Redis内网地址如何获得?直接以SSH的方式连接,不勾选Cluster,然后打开命令行,直接执行CLUSTER NODES, 在结果中选一ip即可。
答:用户名为Redis>=6.0才支持的访问控制列表(ACL),默认不需要填写(为default),指定特殊用户时才填写。


