-
Notifications
You must be signed in to change notification settings - Fork 124
Creating JdeRobot Android component using Ice
This wiki explains how to get started with creating an Android JdeRobot component.
- A development machine running Linux, Mac OS X, or Windows
- The free Android SDK, which includes an Android emulator. (We are going to use Eclipse for android as JdeRobot supports Ice 3.5 and to develop with android studio you will need ICE 3.6b)
- An installation of Ice 3.5
- The Slice2Java Eclipse plug-in, which simplifies the translation of Slice files for Eclipse users. The Slice2Java plug-in has been tested with Eclipse Helios (3.6) and Indigo (3.7) as per the official website, but it works well with new versions too.
- Stable version of JdeRobot.
Head over to this page. Look for your operating system and download the 3.5 version of Ice.
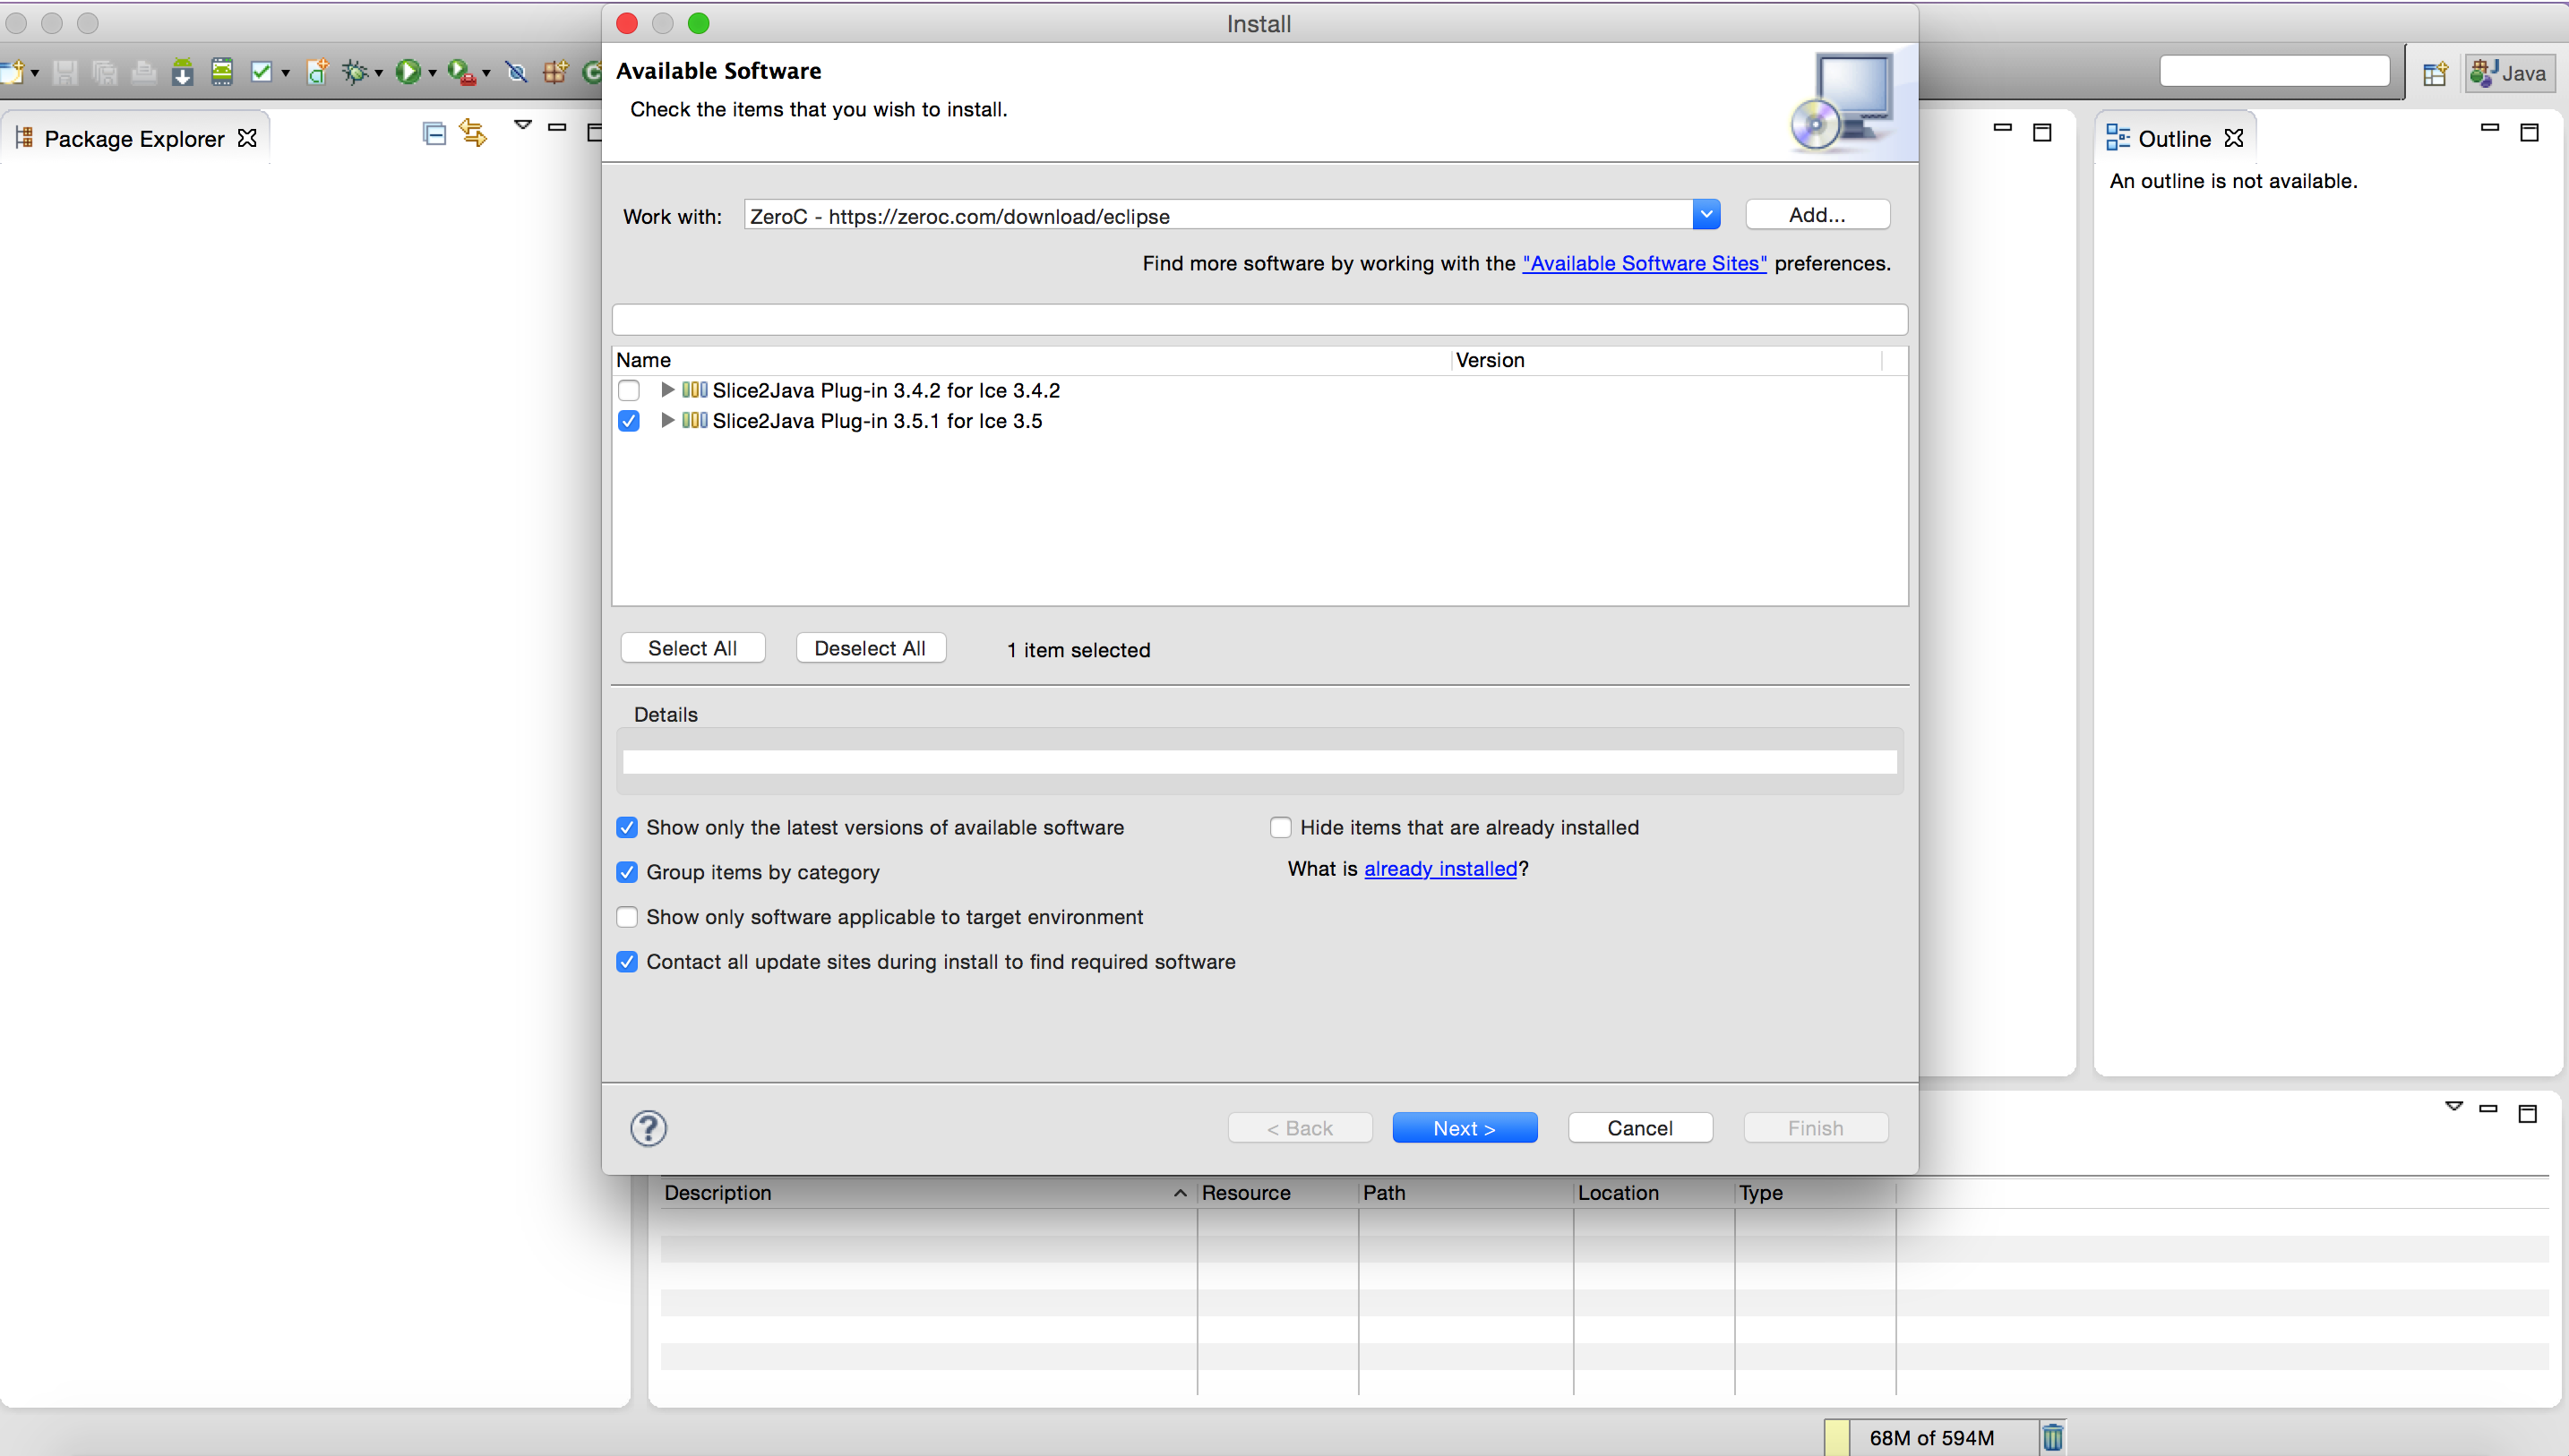
ZeroC hosts an Eclipse plug-in site that you can add to your Eclipse configuration. Follow these steps to install the Slice2Java plug-in:
- From the Help menu in eclipse, choose Install New Software.
- Click the Add button
- Enter a name in the Name field, such as ZeroC
- In the Location field, enter https://zeroc.com/download/eclipse
- Click OK

- Select the Slice2Java plug-in as per the version of ICE on your system and click Next

- Click Next again
- If you agree to the license terms, check the box and click Finish
- Click OK if you are warned about unsigned content.
Choose Window -> Preferences, select Slice2Java, and review the default setting for the location of your Ice installation. The property pane will display an error message if the plug-in considers the specified location to be invalid. If necessary, click Browse... to pick the top-level directory of your Ice installation and apply your changes.(The default location in Windows it /opt/Ice-3.5.1 and in Mac is /Library/Developer/Ice-3.5.1)
The Slice2Java plug-in automatically configures a workspace classpath variable named ICE_JAR_HOME that refers to the subdirectory containing the Ice JAR files. This variable is primarily intended for use in Android projects.
You can activate the Slice2Java plug-in for your project by right-clicking on the project, choosing Slice2Java and clicking Add Slice2Java builder.

The plug-in immediately makes several additions to your project:
- Creates a slice subdirectory to contain your Slice files. The plug-in automatically compiles any Slice file that you add to this directory.
- Creates a generated subdirectory to hold the Java source files that the slice2java translator generates from your Slice files.
- Adds a library reference to the Ice run time JAR file (Ice.jar). The plug-in assumes that the JAR file resides in the lib subdirectory of your Ice installation.
Now add the JdeRobot slice files to slice directory in your project.
You can find at JdeRobot/src/stable/interfaces/slice/jderobot .
After adding them you will see that java source files are automatically generated (Make sure that while importing Ice files the #include are correct as otherwise the java files will not be generated). Now you can use the methods in these files by just importing the required class.

After working on the app, the next part will be integrating it into the JdeRobot repository. For this, cmake will be used to link the libraries to the libraries and interfaces already present in JdeRobot. So, Slice2Java plugin would not be needed.
At present there are three jderobot android components.
- Android Teleoperator, that lets you control any robot with an android mobile/tablet/pc. Youtube Video for Pioneer and Nao.
- AndroidCameraServer, that lets you send images from android camera to any jderobot component that needs it. Youtube Video.
- AndroidCameraViewer, that fetches images sent by camera on robot. Youtube Video.
- Official manual page of Eclipse Plug-In
- The sample programs of Ice for android are available here. They are present in Ice-3.5.1-demos/demoj/android/ . There are 3 demos explaining Ice usage. You can find their info here. *The official doc for eclipse plug in is here.