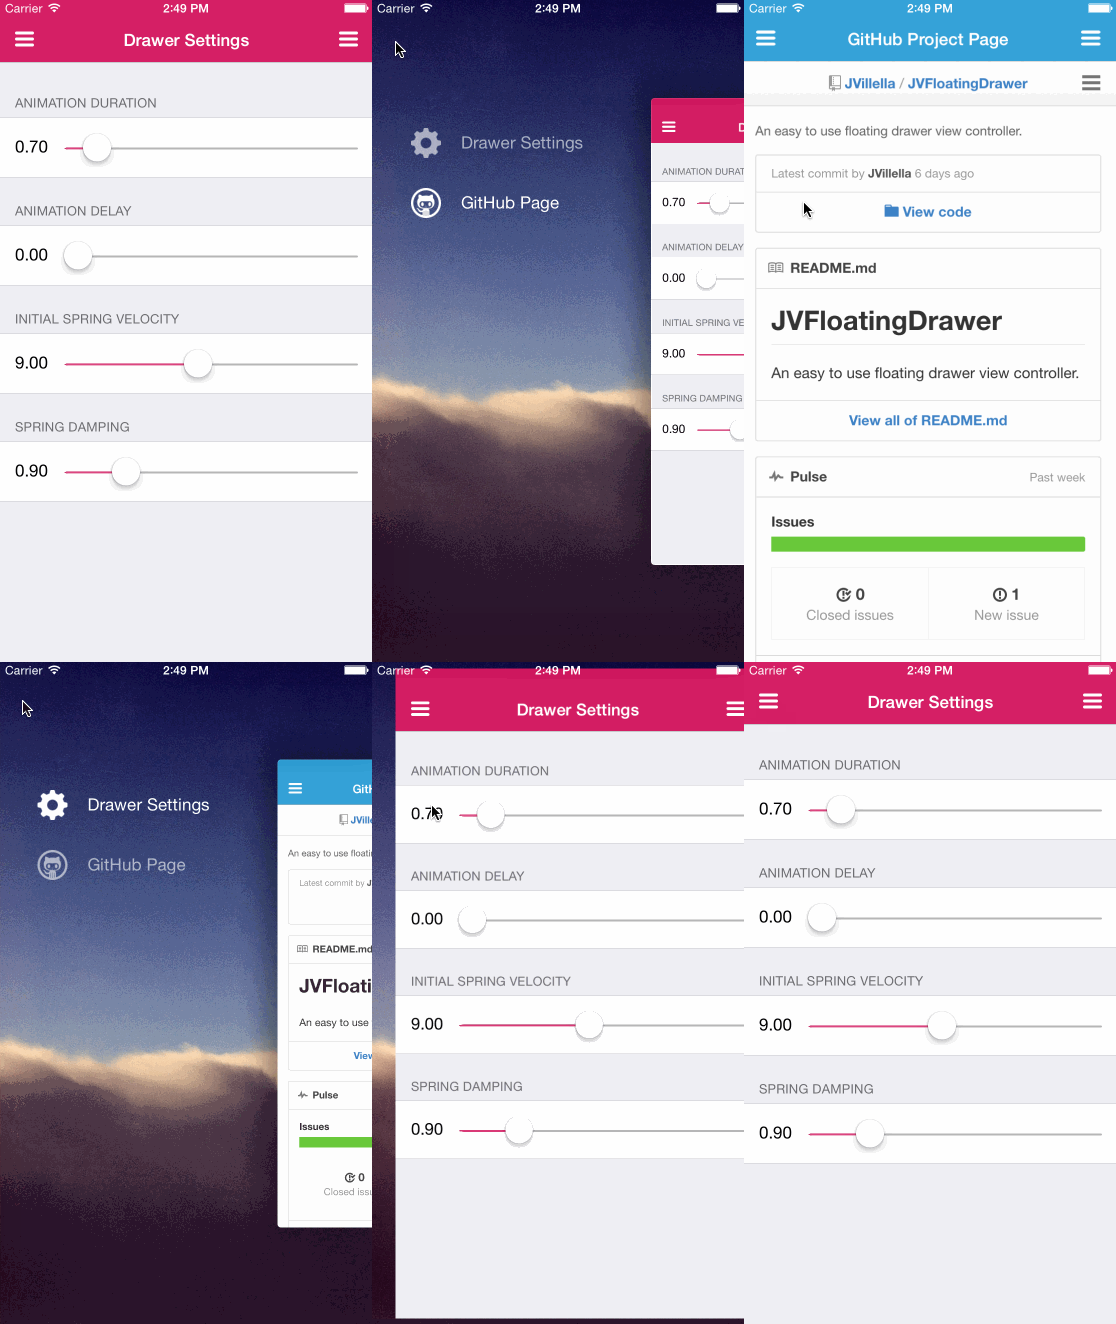
JVFloatingDrawer is a floating style drawer navigation. There is a growing number of applications leveraging the drawer pattern. Most share a similar look and feel. With JVFloatingDrawer we aimed to bring a facelift to the conventional setup.
JVFloatingDrawer is very easy to use. Below is all that is needed to get going.
JVFloatingDrawerViewController *drawerViewController = [[JVFloatingDrawerViewController alloc] init];

// Assign to your own view controllers
drawerViewController.leftViewController   = leftDrawerViewController;
drawerViewController.rightViewController  = rightDrawerViewController;
drawerViewController.centerViewController = centerViewController;

self.drawerViewController.backgroundImage = [UIImage imageNamed:@"background-image-example.jpg"];

drawerViewController.animator = [[JVFloatingDrawerSpringAnimator alloc] init];
To see an example implementation of this run the example project. Clone the repo, run pod install from the Example directory, and open up Example/JVFloatingDrawer.xcworkspace.
JVFloatingDrawer is available through CocoaPods. To install it, simply add the following line to your Podfile:
pod "JVFloatingDrawer"
JVFloatingDrawer is split up into several extensible components that communicate with each other.
The JVFloatingDrawerViewController maintains references to a center, left, and/or right UIViewController object. The centerViewController can be replaced simply by reassigning it to a different view controller. The same goes for the leftViewController and rightViewController.
JVFloatingDrawerViewController is where you open, close, and toggle your side drawers.
- (void)openDrawerWithSide:(JVFloatingDrawerSide)drawerSide animated:(BOOL)animated
                completion:(void(^)(BOOL finished))completion;

- (void)closeDrawerWithSide:(JVFloatingDrawerSide)drawerSide animated:(BOOL)animated
                 completion:(void(^)(BOOL finished))completion;

- (void)toggleDrawerWithSide:(JVFloatingDrawerSide)drawerSide animated:(BOOL)animated
                  completion:(void(^)(BOOL finished))completion;
You can also customize the leftDrawerWidth and rightDrawerWidth by setting these properties.
The background image is set by assigning the backgroundImage property.
Animators are the main players of JVFloatingDrawer. JVFloatingDrawer comes with a prebuilt spring animator that can be customized by settings its animationDuration, animationDelay, springDamping, and initialSpringVelocity. After instantiating a new animator object you assign it to the animator property on the JVFloatingDrawerViewController to let it work its magic. You can make your own animators by implementing the JVFloatingDrawerAnimation protocol. More on that later.
JVFloatingDrawerView is an internal class that you will not have to deal with as a user. It's tasked with laying out the drawer via autolayout constraints. It handles decorations like the shadow and rounded corners you see around the center view controller. Each view controller (center, left, and right) of the JVFloatingDrawerViewController are wrapped in UIView containers. This is how we support swapping drawers.
The JVFloatingDrawerSpringAnimator class is a featured animator for you to use. If you want to create your own however, it's easy. All animators adhere to the JVFloatingDrawerAnimation protocol. JVFloatingDrawerAnimation has two required methods presentation and dismissal:
- (void)presentationWithSide:(JVFloatingDrawerSide)drawerSide sideView:(UIView *)sideView centerView:(UIView *)centerView animated:(BOOL)animated completion:(void(^)(BOOL finished))completion
Given a drawer side, the containing side view, and the containing center view, implementations must bring the side view on screen. If the drawerSide is equal to JVFloatingDrawerSideLeft the view will be left-adjacent to the centerView. If the drawerSide is equal to JVFloatingDrawerSideRight the view will be right-adjacent to the centerView. You have complete control over how you do this. I used view transforms in my implementation and called UIView's -animateWithDuration:delay:usingSpringWithDamping:.... Technically, you don't even have to make it floating. You could copy the traditional drawer slide-in style if you like. Finally, implementations must react accordingly if the user wants this animated or not via the animated flag, and then call the completion block at the end.
- (void)dismissWithSide:(JVFloatingDrawerSide)drawerSide sideView:(UIView *)sideView centerView:(UIView *)centerView animated:(BOOL)animated completion:(void(^)(BOOL finished))completion
Dismissal is the exact same as presentation except it needs to be able to get the current position of the open drawer and move it off screen. Again, how you do this is up to you.
- (void)willRotateOpenDrawerWithOpenSide:(JVFloatingDrawerSide)drawerSide sideView:(UIView *)sideView centerView:(UIView *)centerView
- (void)didRotateOpenDrawerWithOpenSide:(JVFloatingDrawerSide)drawerSide sideView:(UIView *)sideView centerView:(UIView *)centerView
-willRotateOpenDrawerWithOpenSide:sideView:centerView is invoked right before a device orientation change so the animator can handle it. -didRotateOpenDrawerWithOpenSide:sideView:centerView is invoked right after. The JVFloatingDrawerSpringAnimator only implements -didRotateOpenDrawerWithOpenSide:sideView:centerView and calls the same code as -presentationWithSide:sideView:centerView:animated:completion: in it.
Julian Villella
JVFloatingDrawer is available under the MIT license. See the LICENSE file for more info.


